I N S P I R A T I O N S
I enjoy the "blue sky" phase of being inspired by an external source or theme, and coming up with preliminary sketches. I've always had a notable affinity and appreciation for natural materials and fibres: leather, wood, stone, marble, soft metals, jute, bamboo etc. I'm drawn to their inherent durability and sculptural potential. From abstract sculpture, to furniture and car design, I often challenge myself to translate designs I like from other fields, to the world of shoes.
T H E O R Y
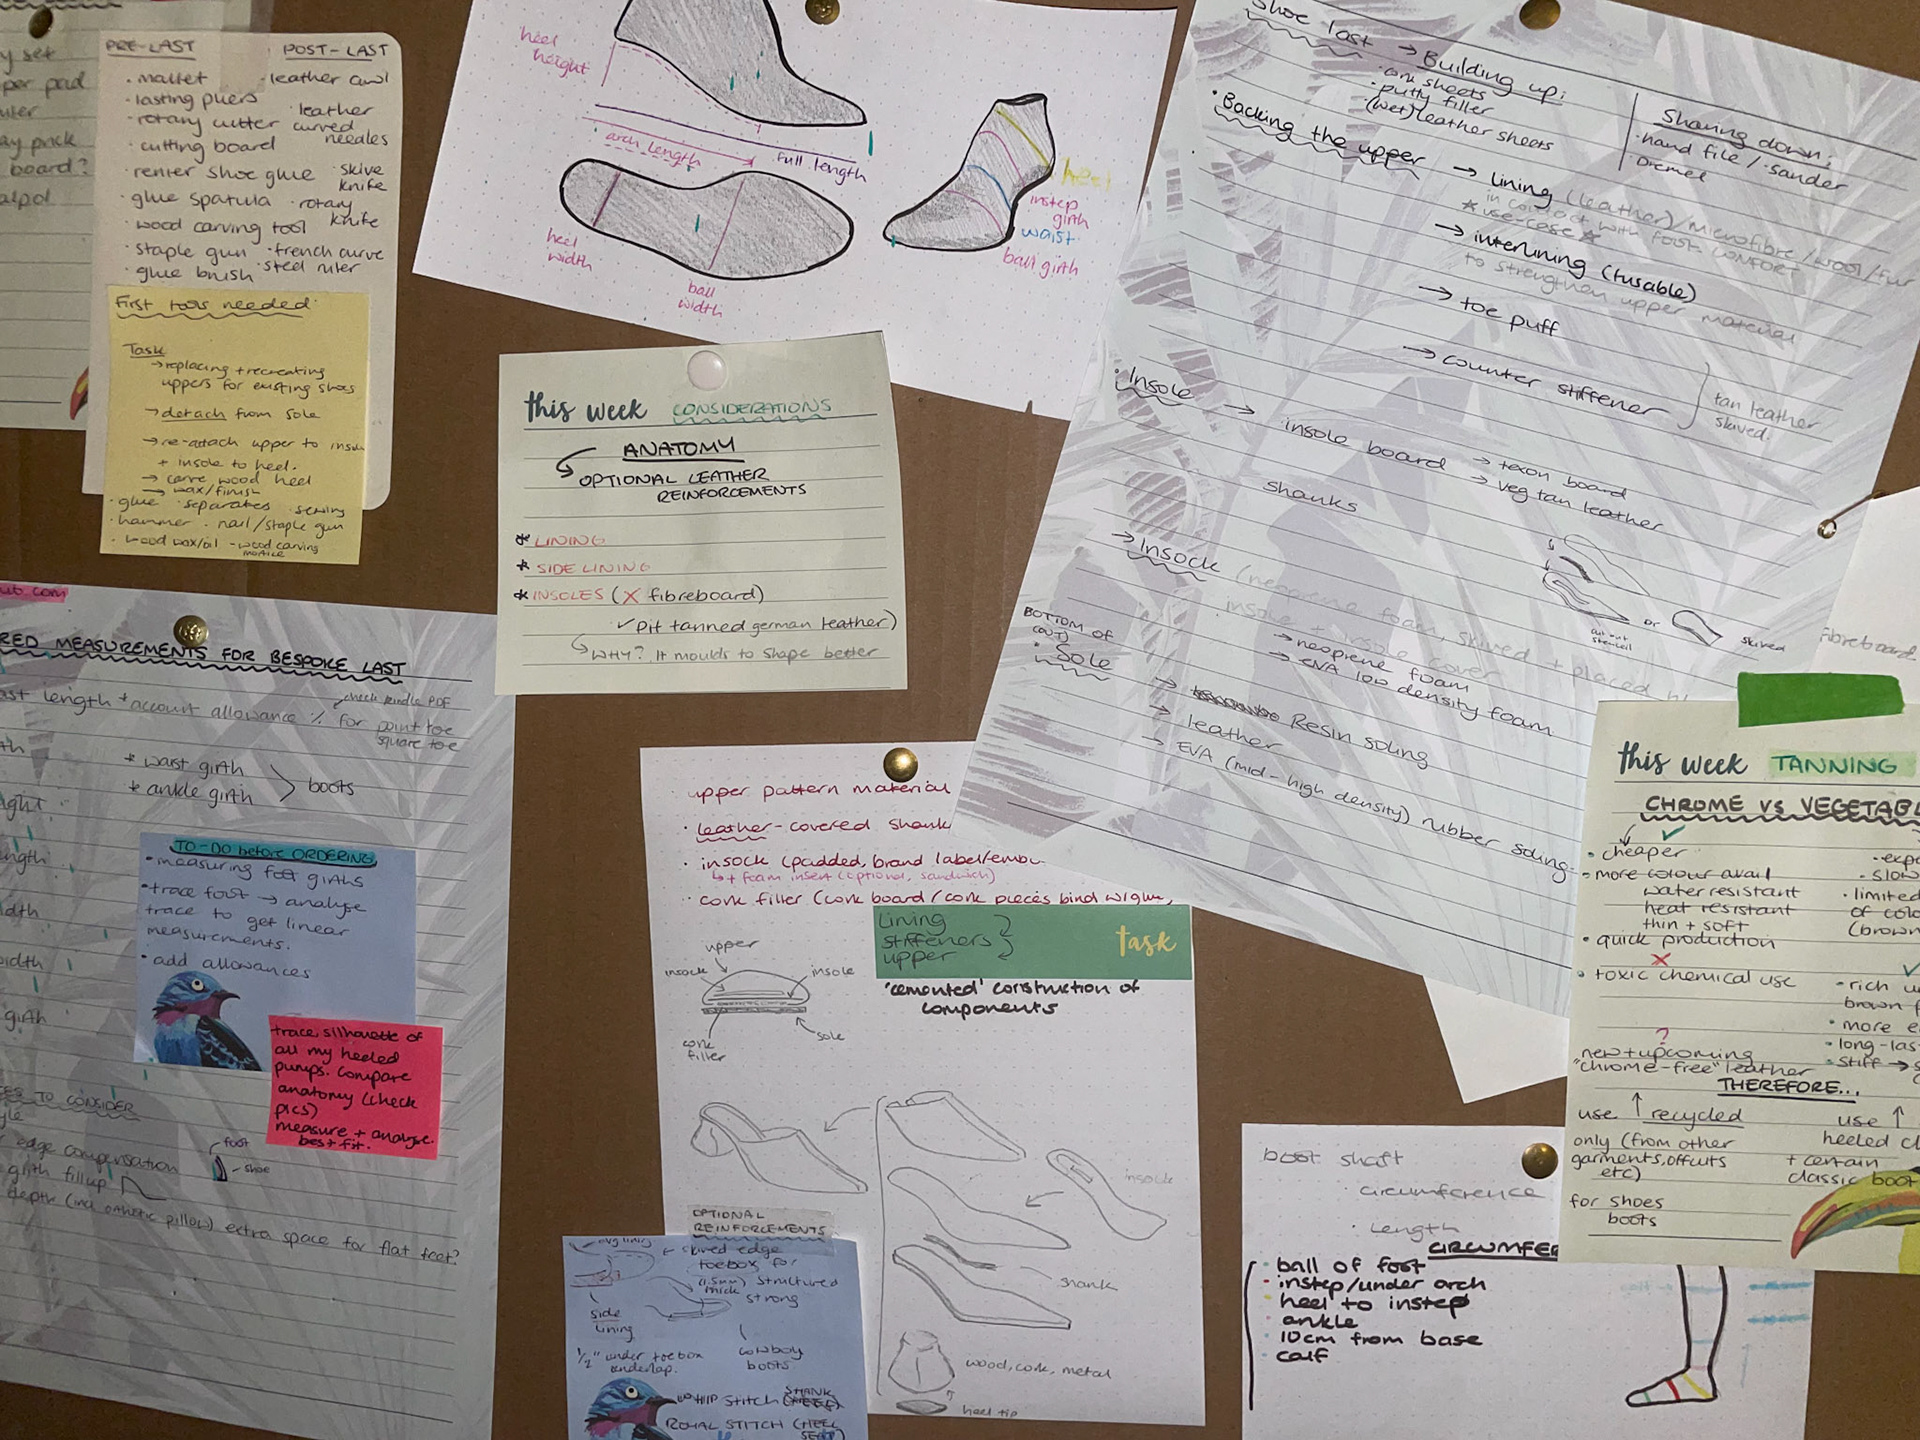
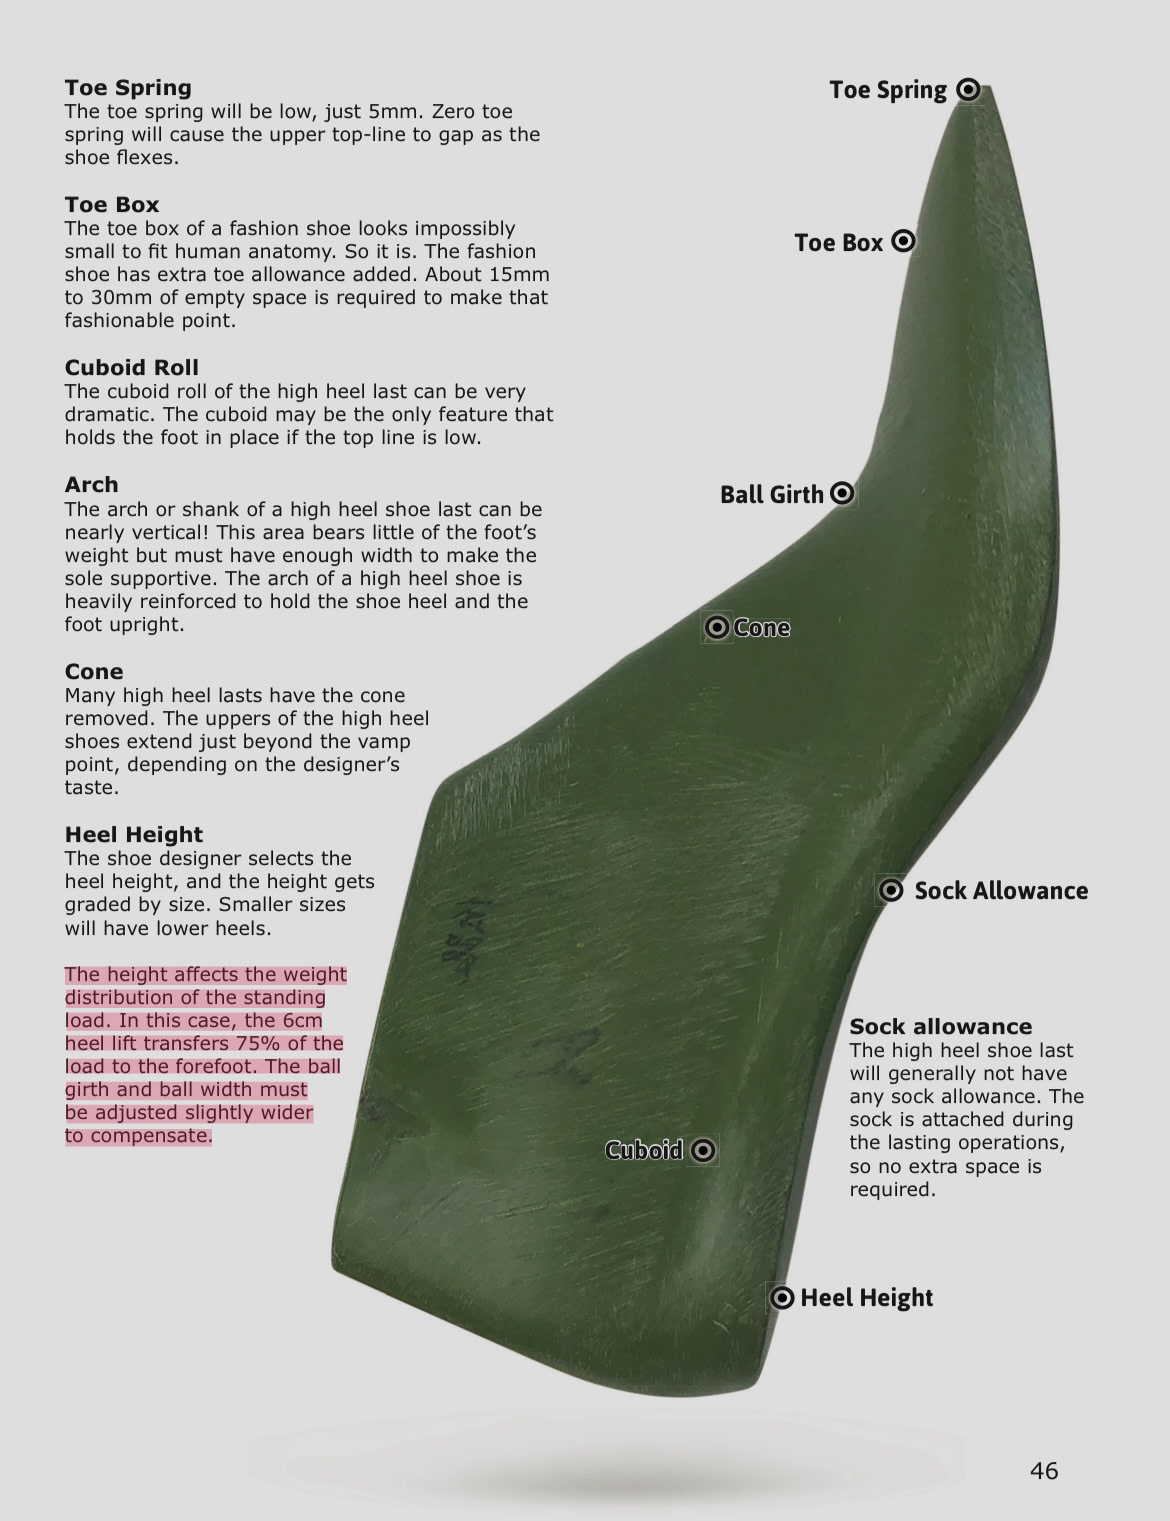
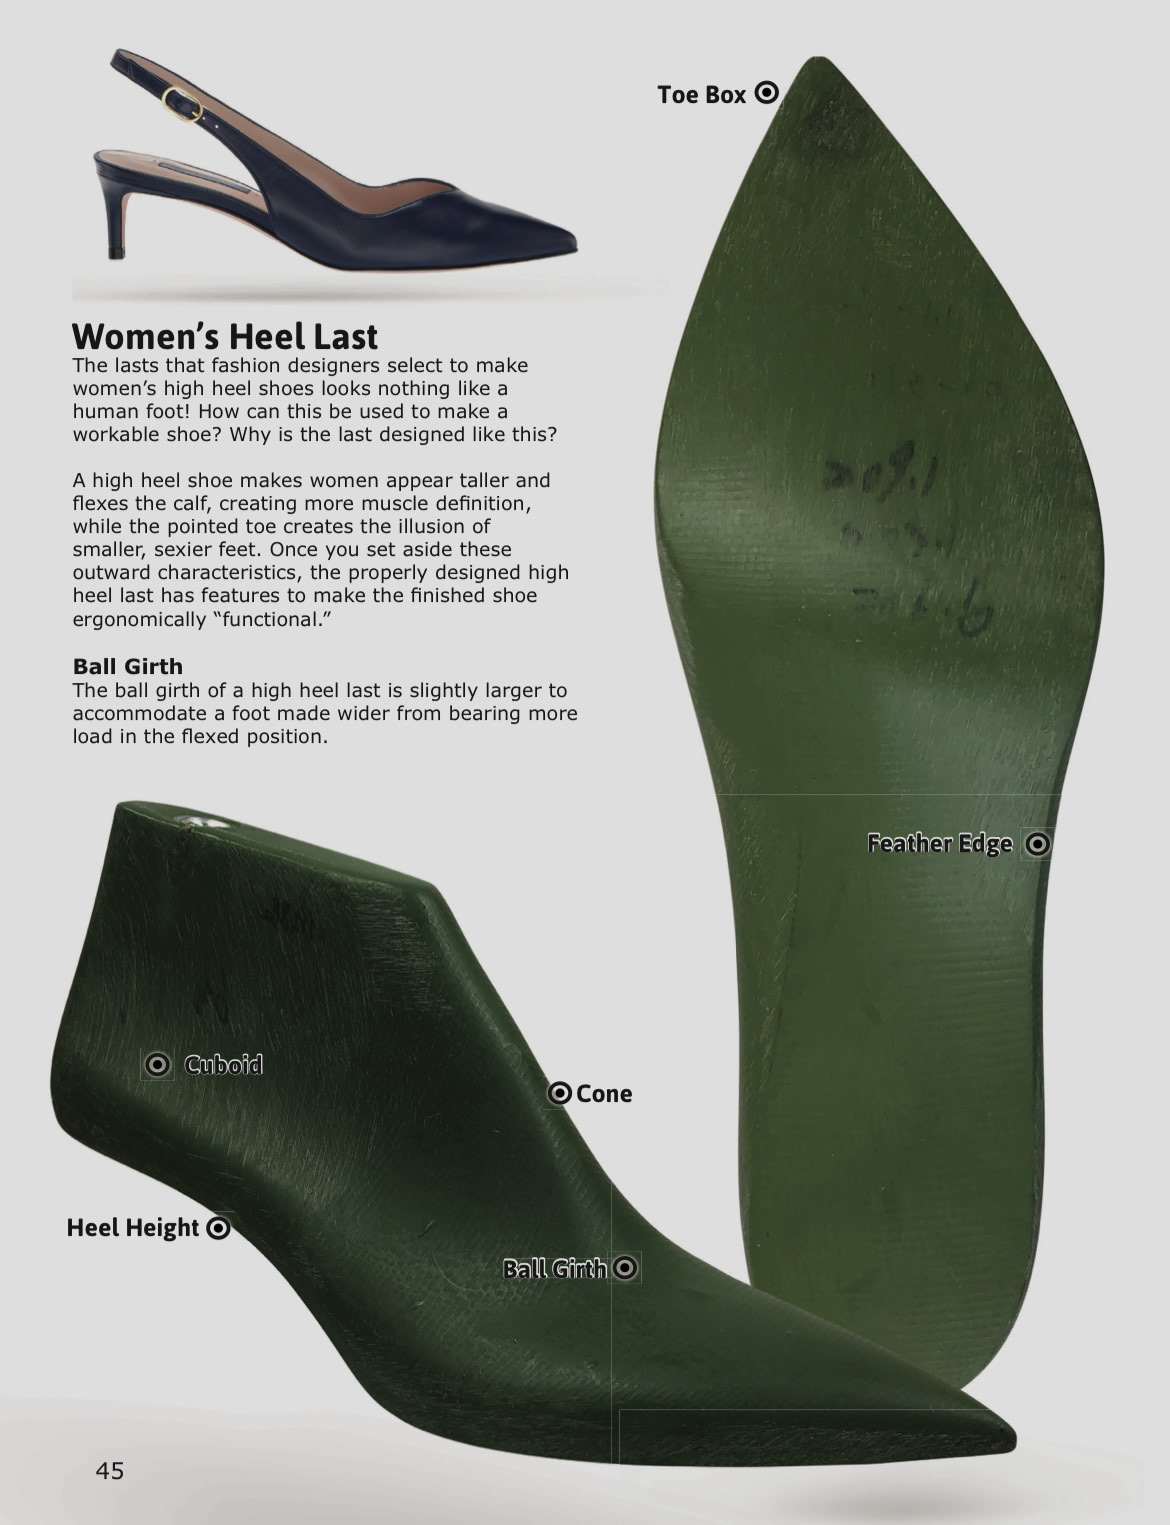
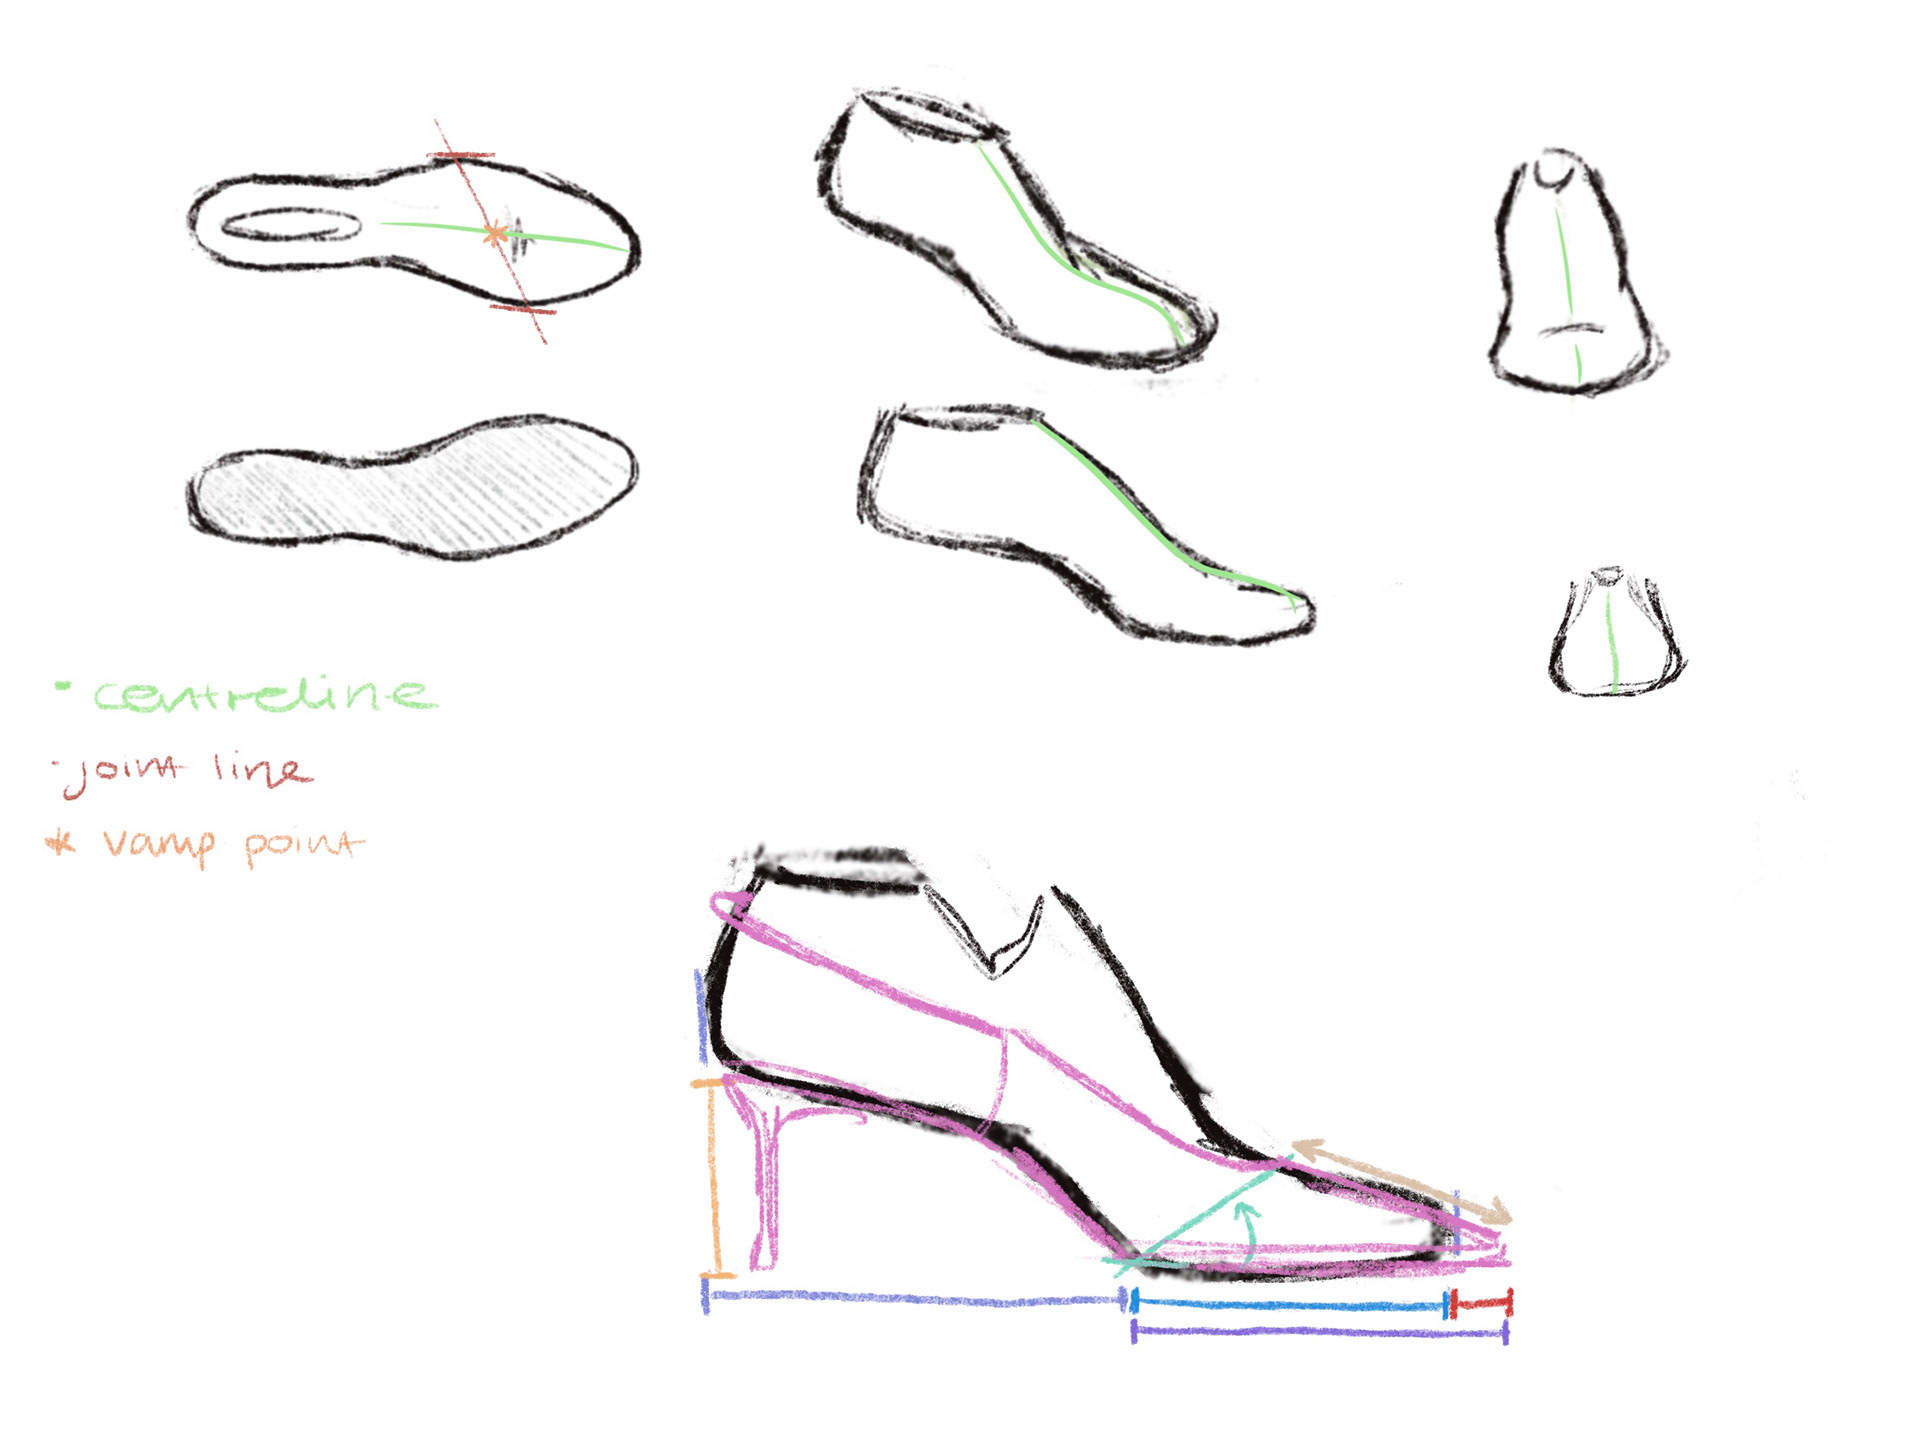
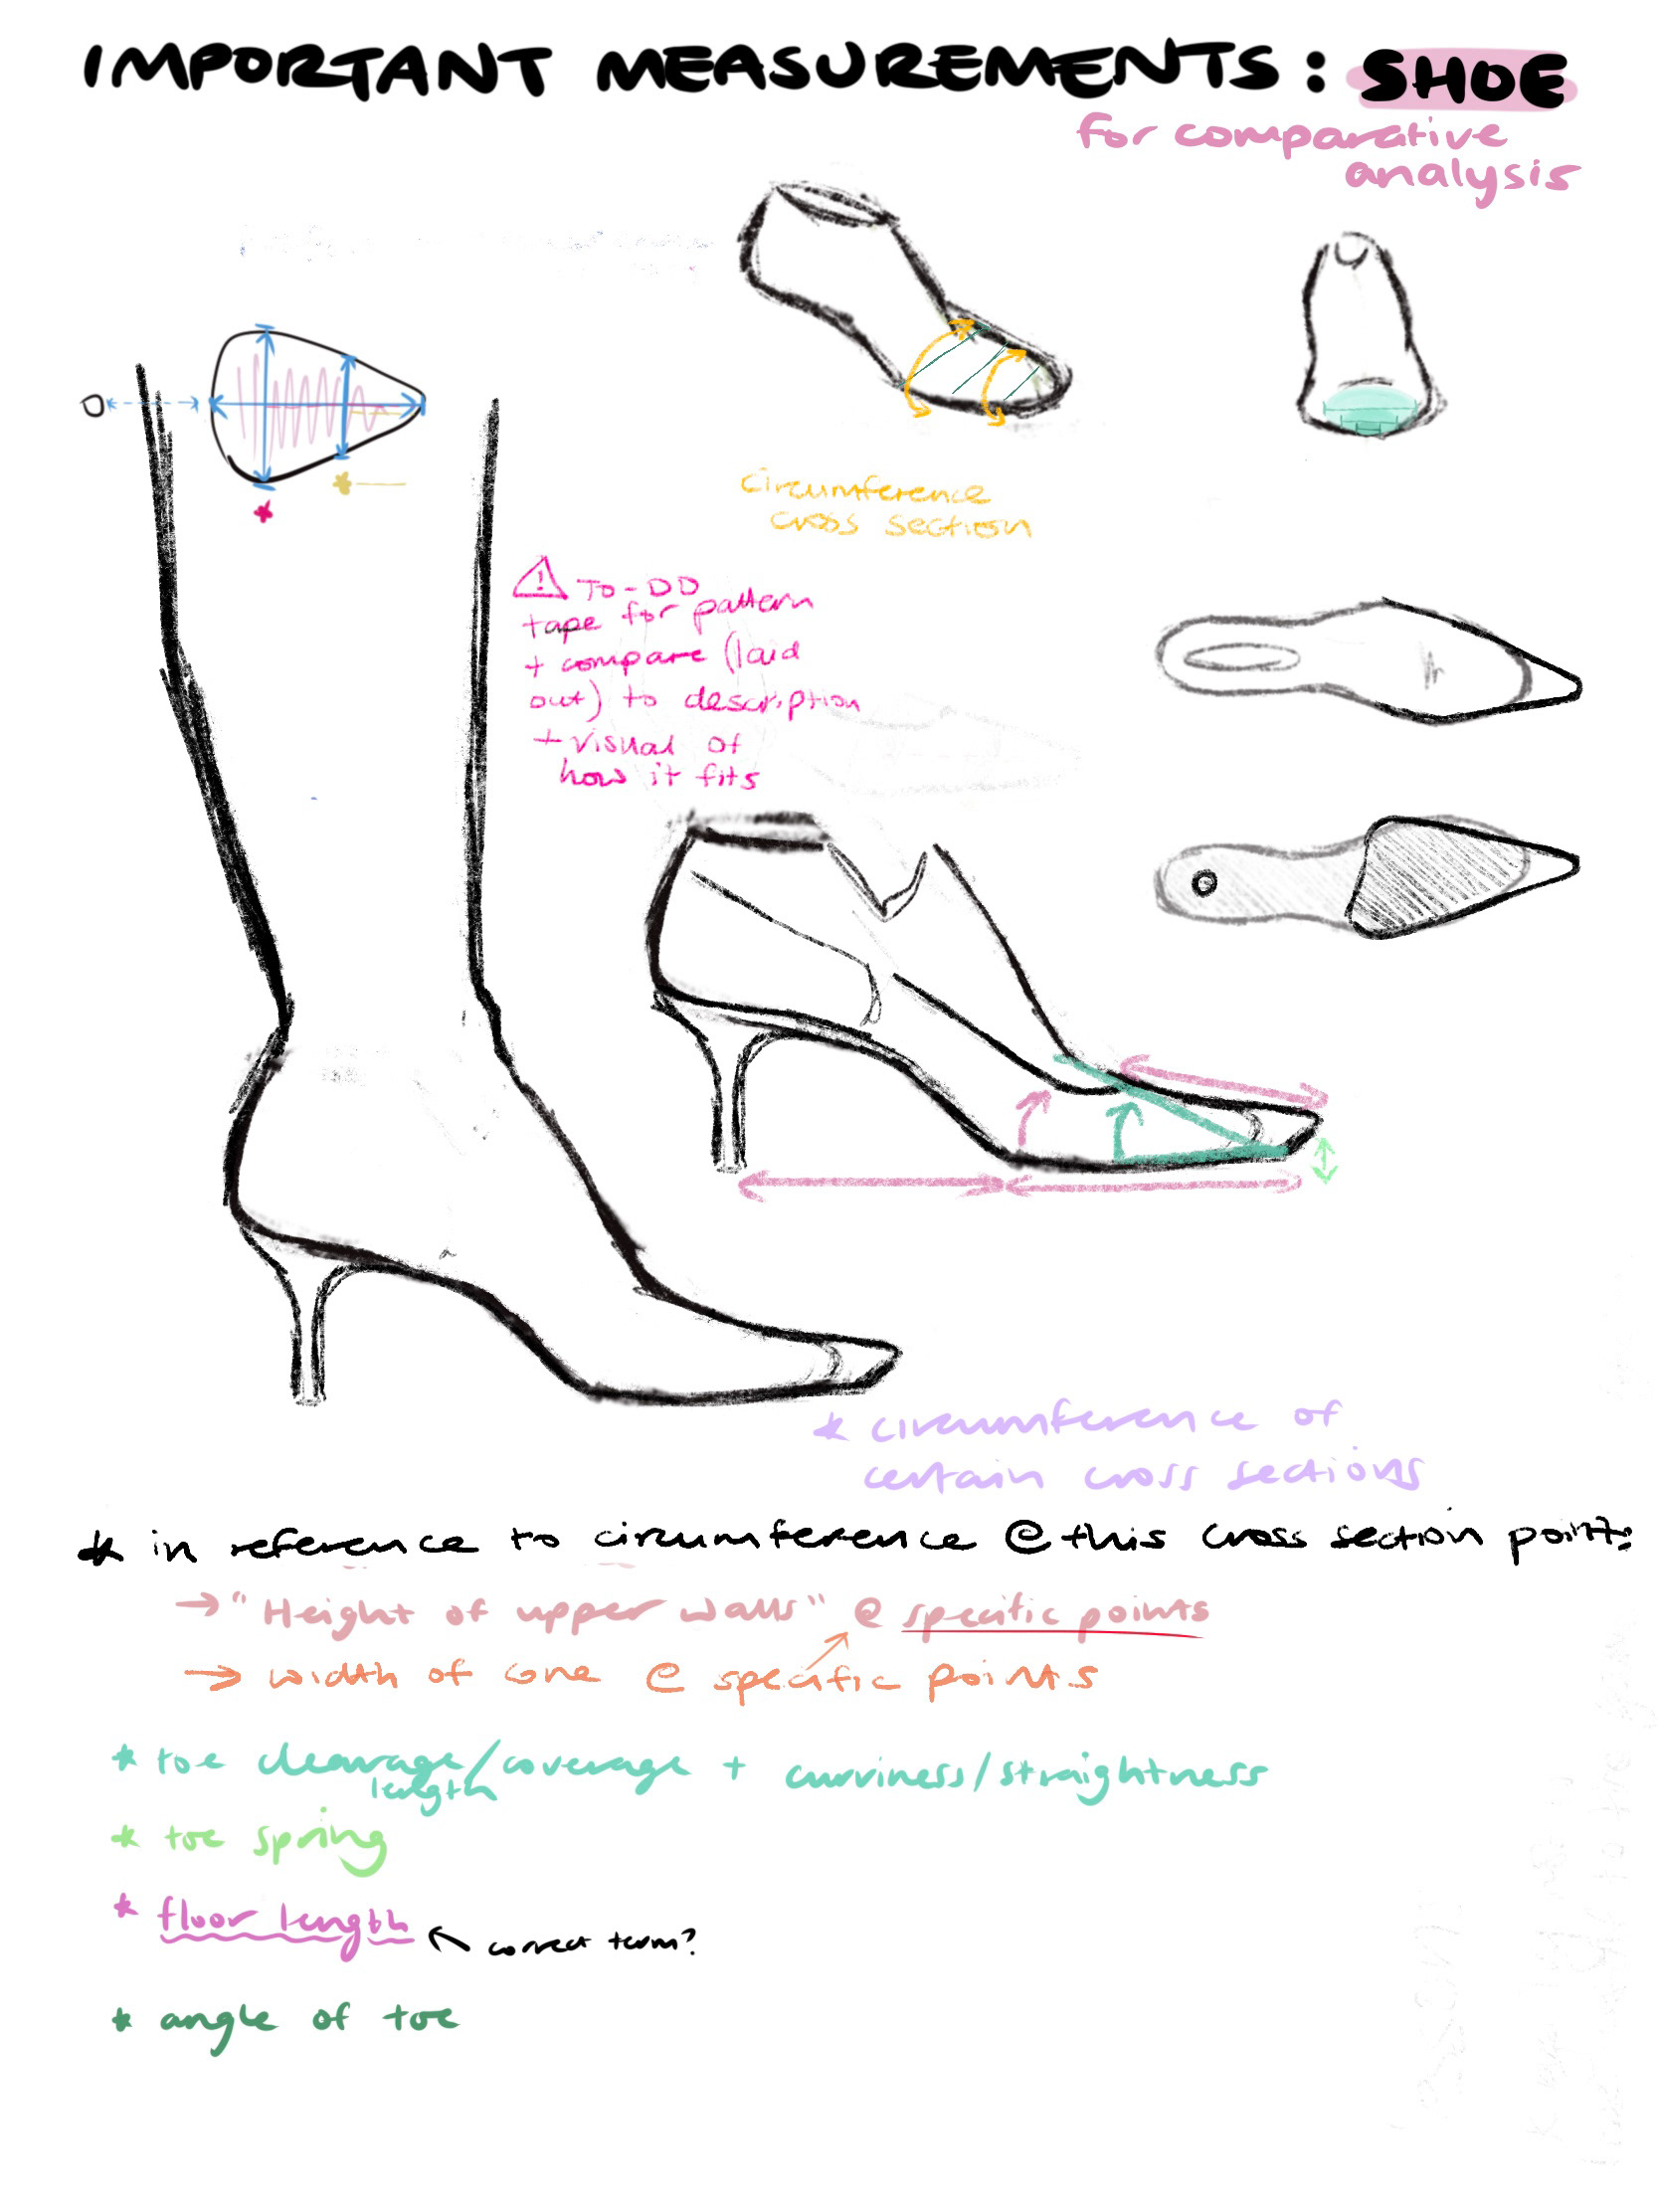
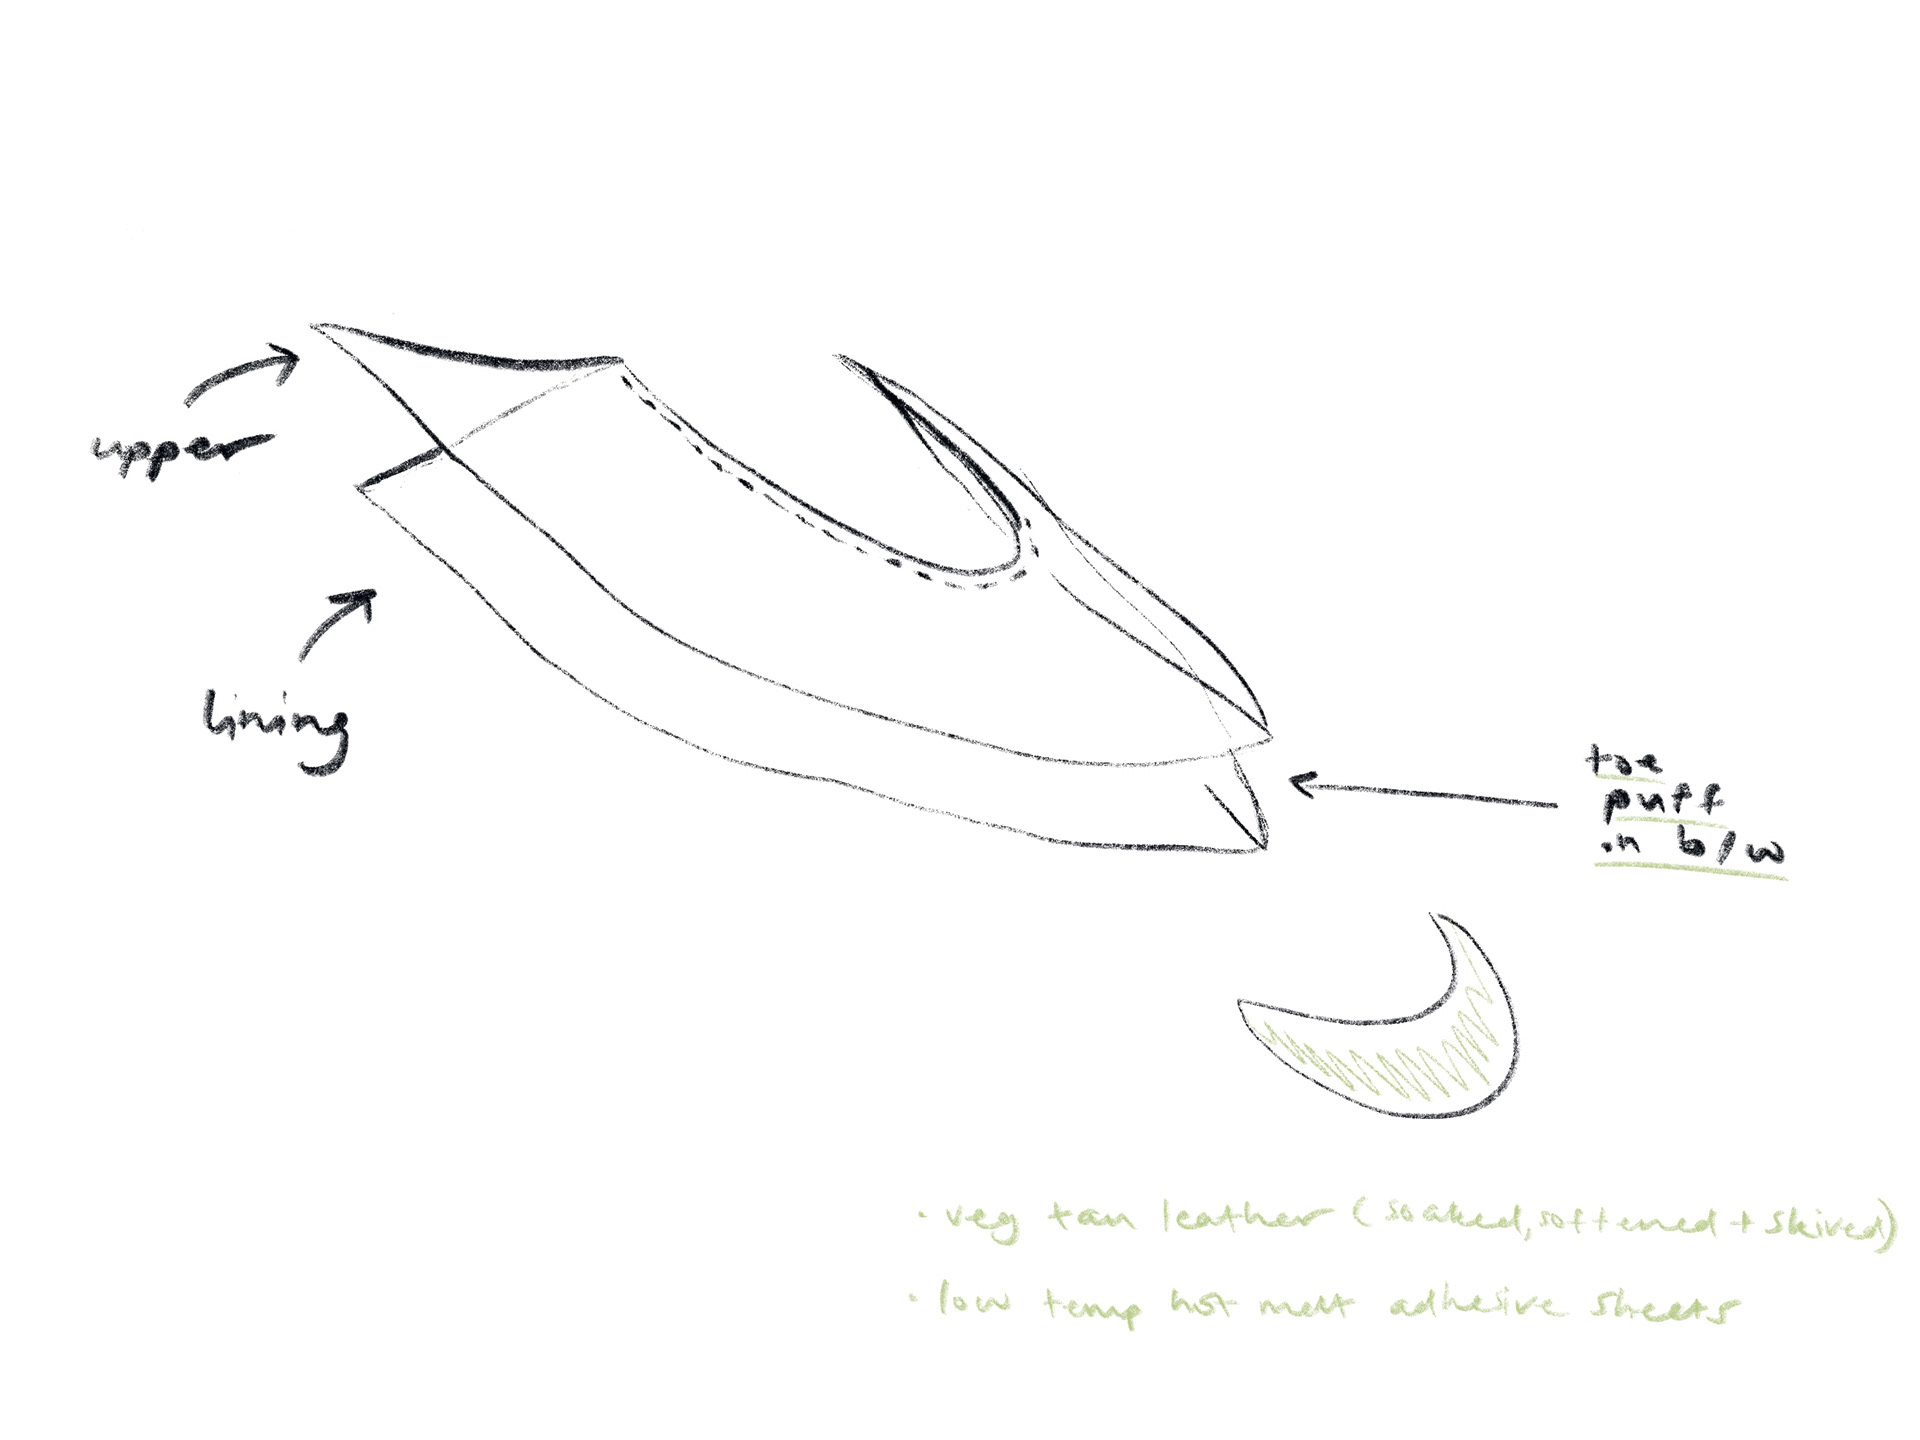
Whilst these exercises are fun, with the shoemaking theory I've learnt thus far, I'm encouraged to ground my ideas with practicality, and to properly consider structural integrity.
(some educational sources: Book: "Footwear pattern making and last design" by Wade Motawi -- Blogs: Carreducker, Mikhail Bliskavka -- YouTube: @icanmakeshoes @KpomoBespoke
P R A C T I C A L
R E C Y C L I N G: A N A L Y S I S // P R E P A R A T I O N
In efforts to build a more practical understanding of shoe anatomy and the re-usability of certain components, I bought a few second hand shoes in my size.
^ 1 / making a pattern of the outsole silhouettes between all 3 shoes. ^
^ 2 / making a pattern of the outsole silhouettes between all 3 shoes. ^
Not yet owning any shoe lasts at the time, I looked to salt dough to create a rough "half-last" of the prototype shoe, and used the prototype's outsole pattern as guidance for the reconstruction of shoes "1" and "2".
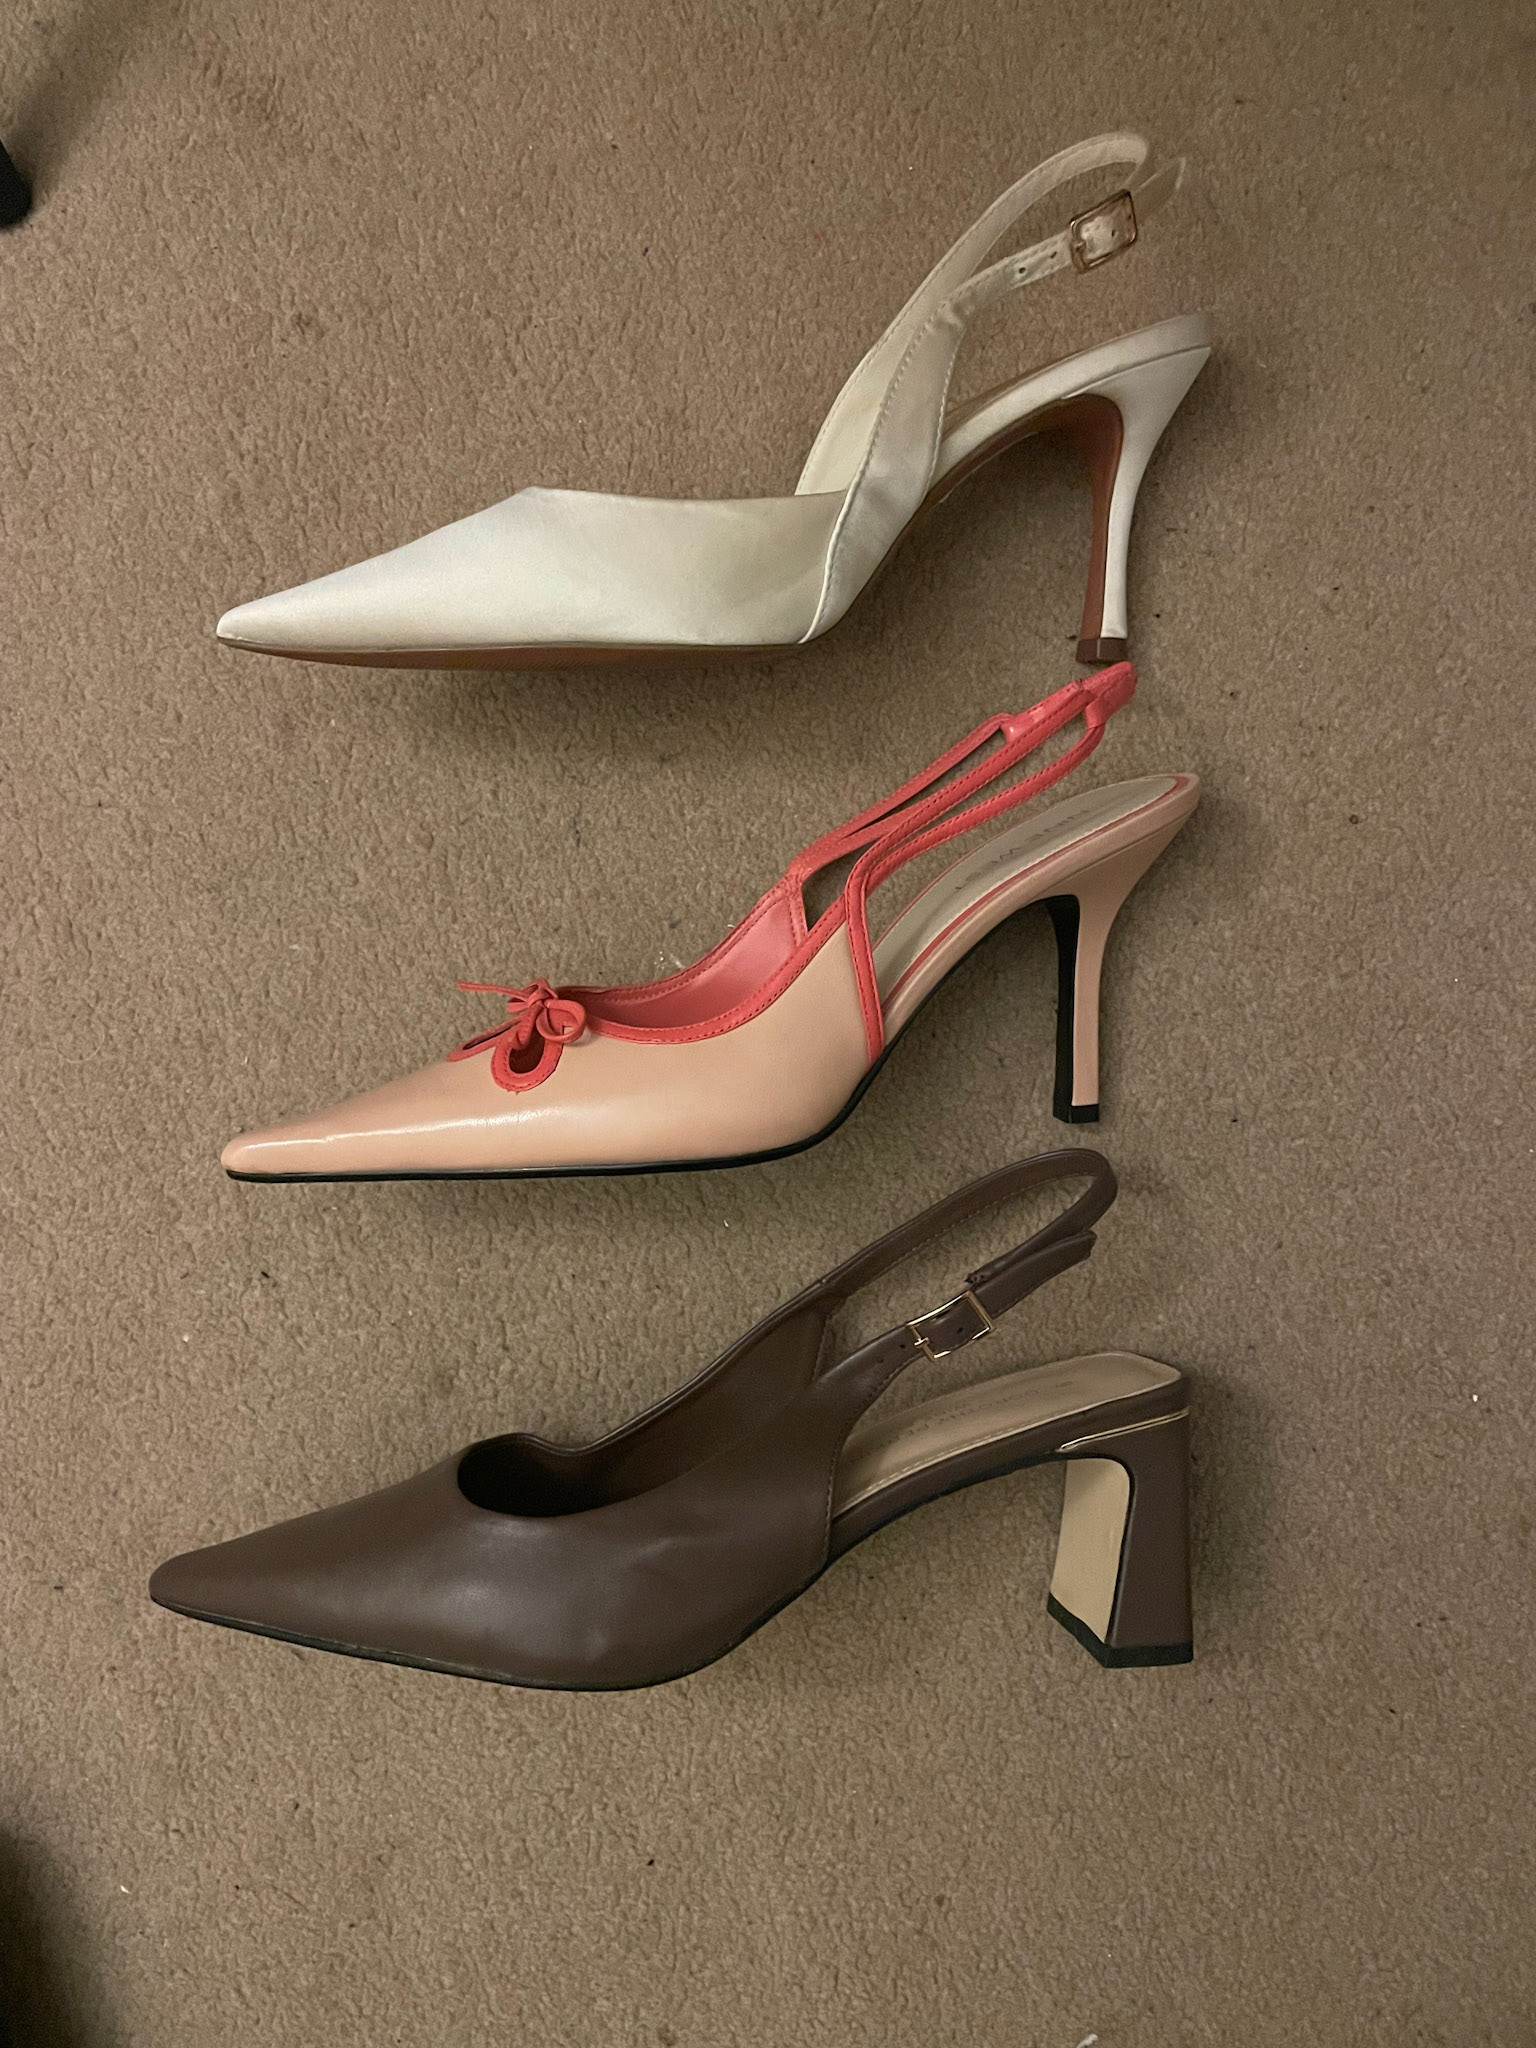
Documenting the profile difference between the 2 "upyclees" and the prototype
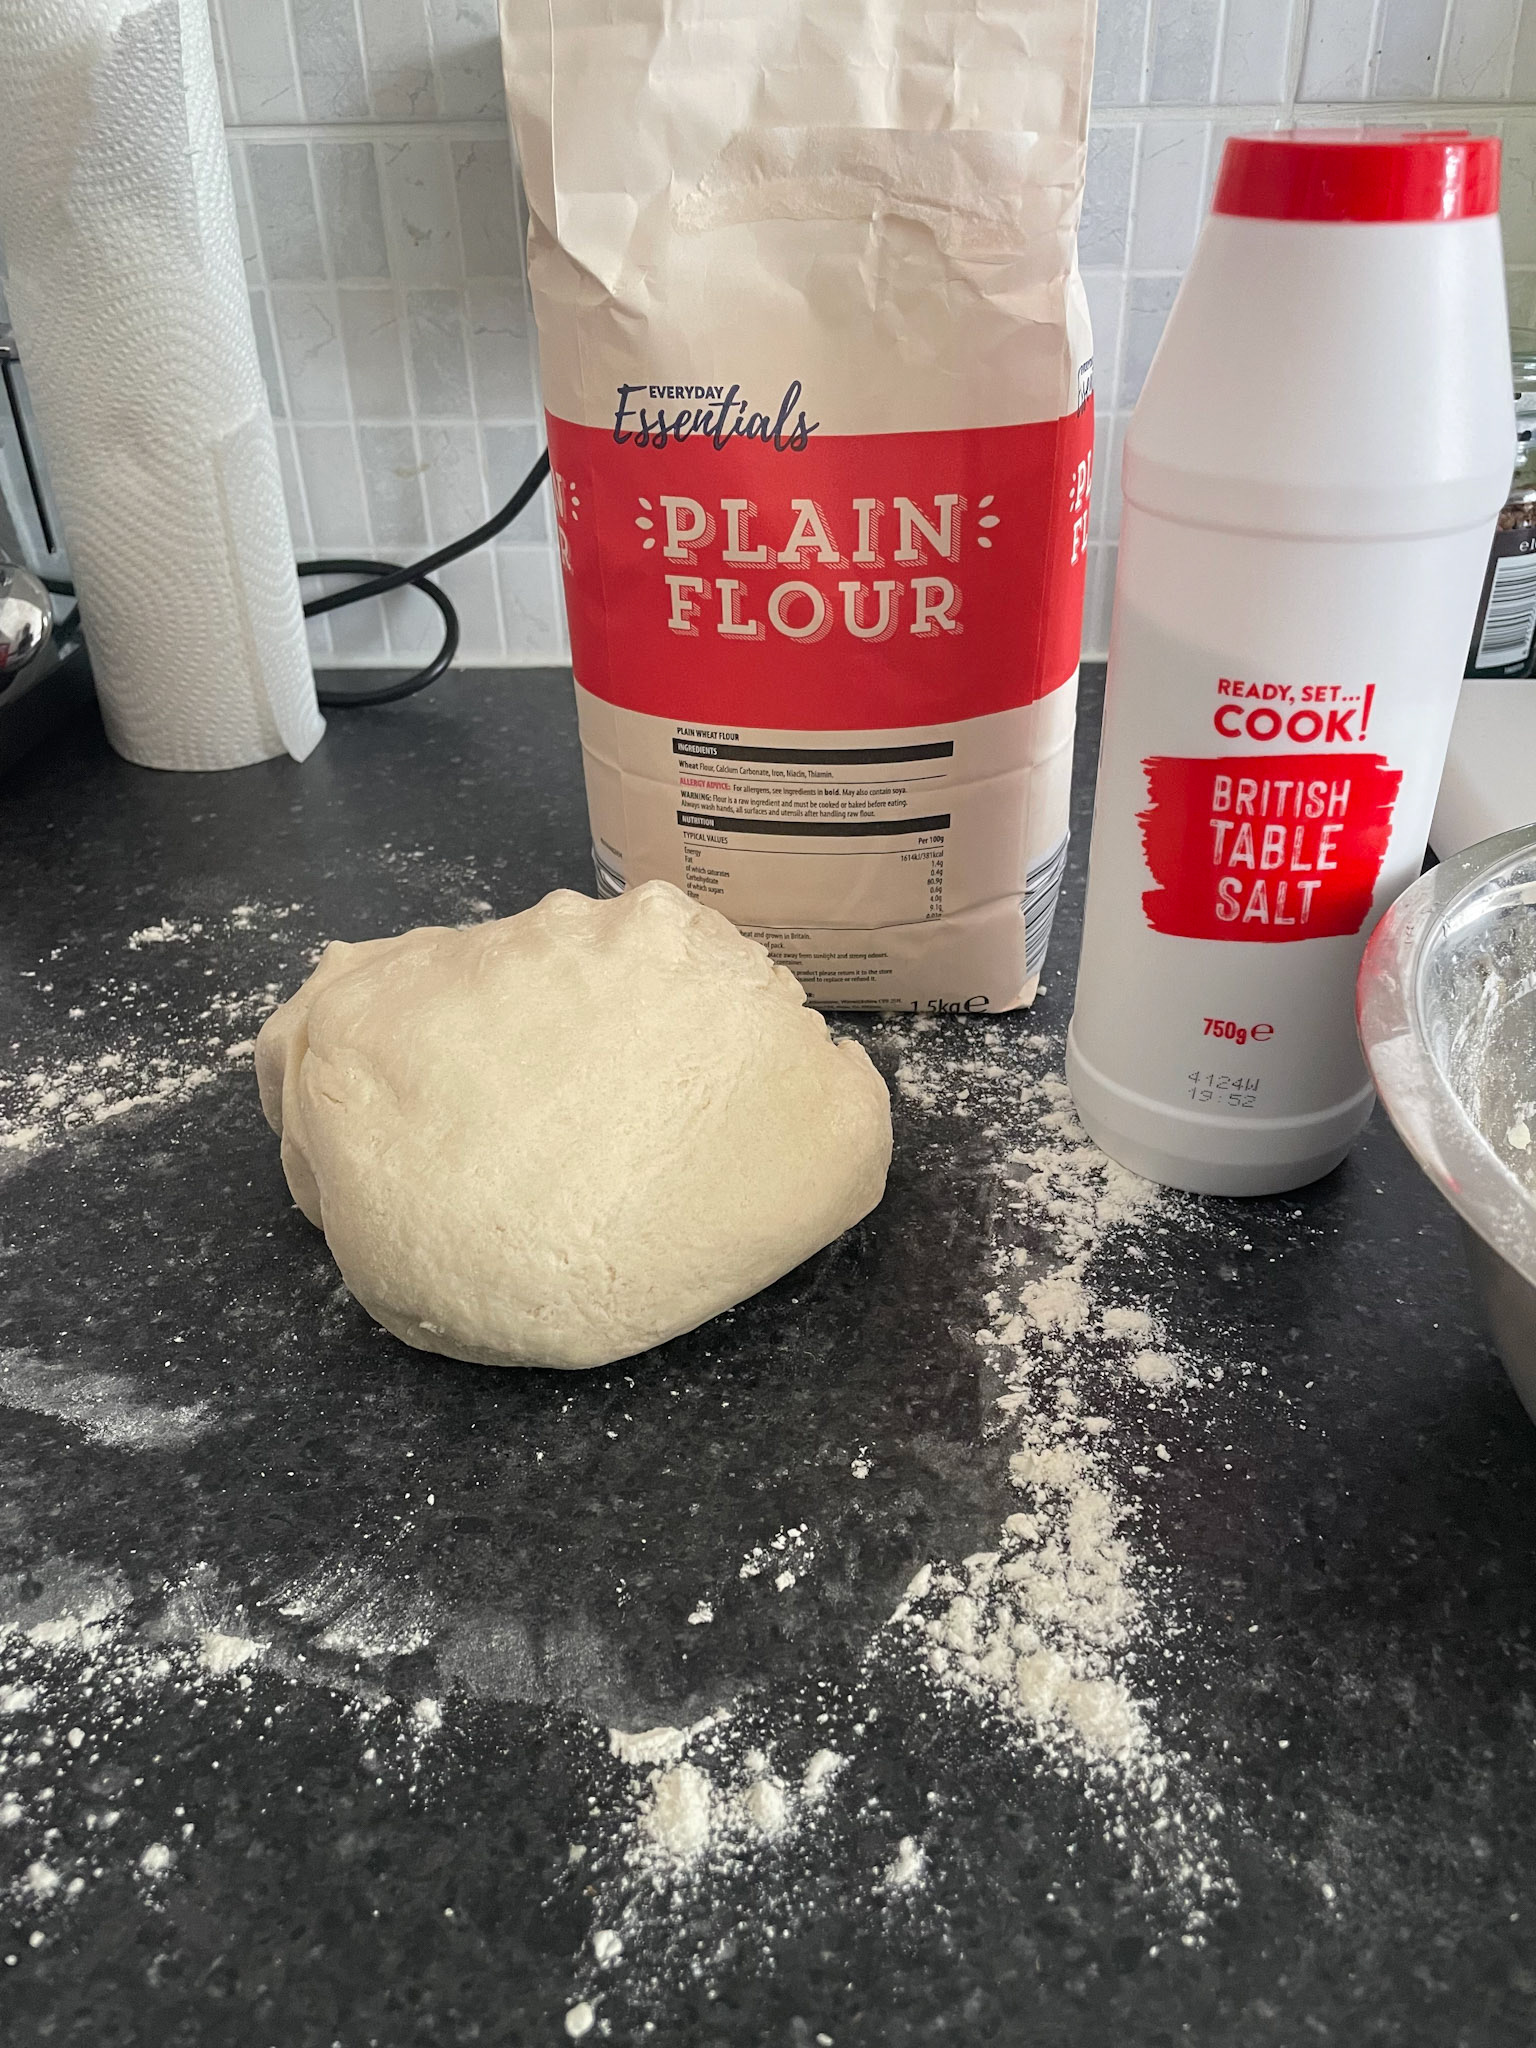
Salt dough formation.
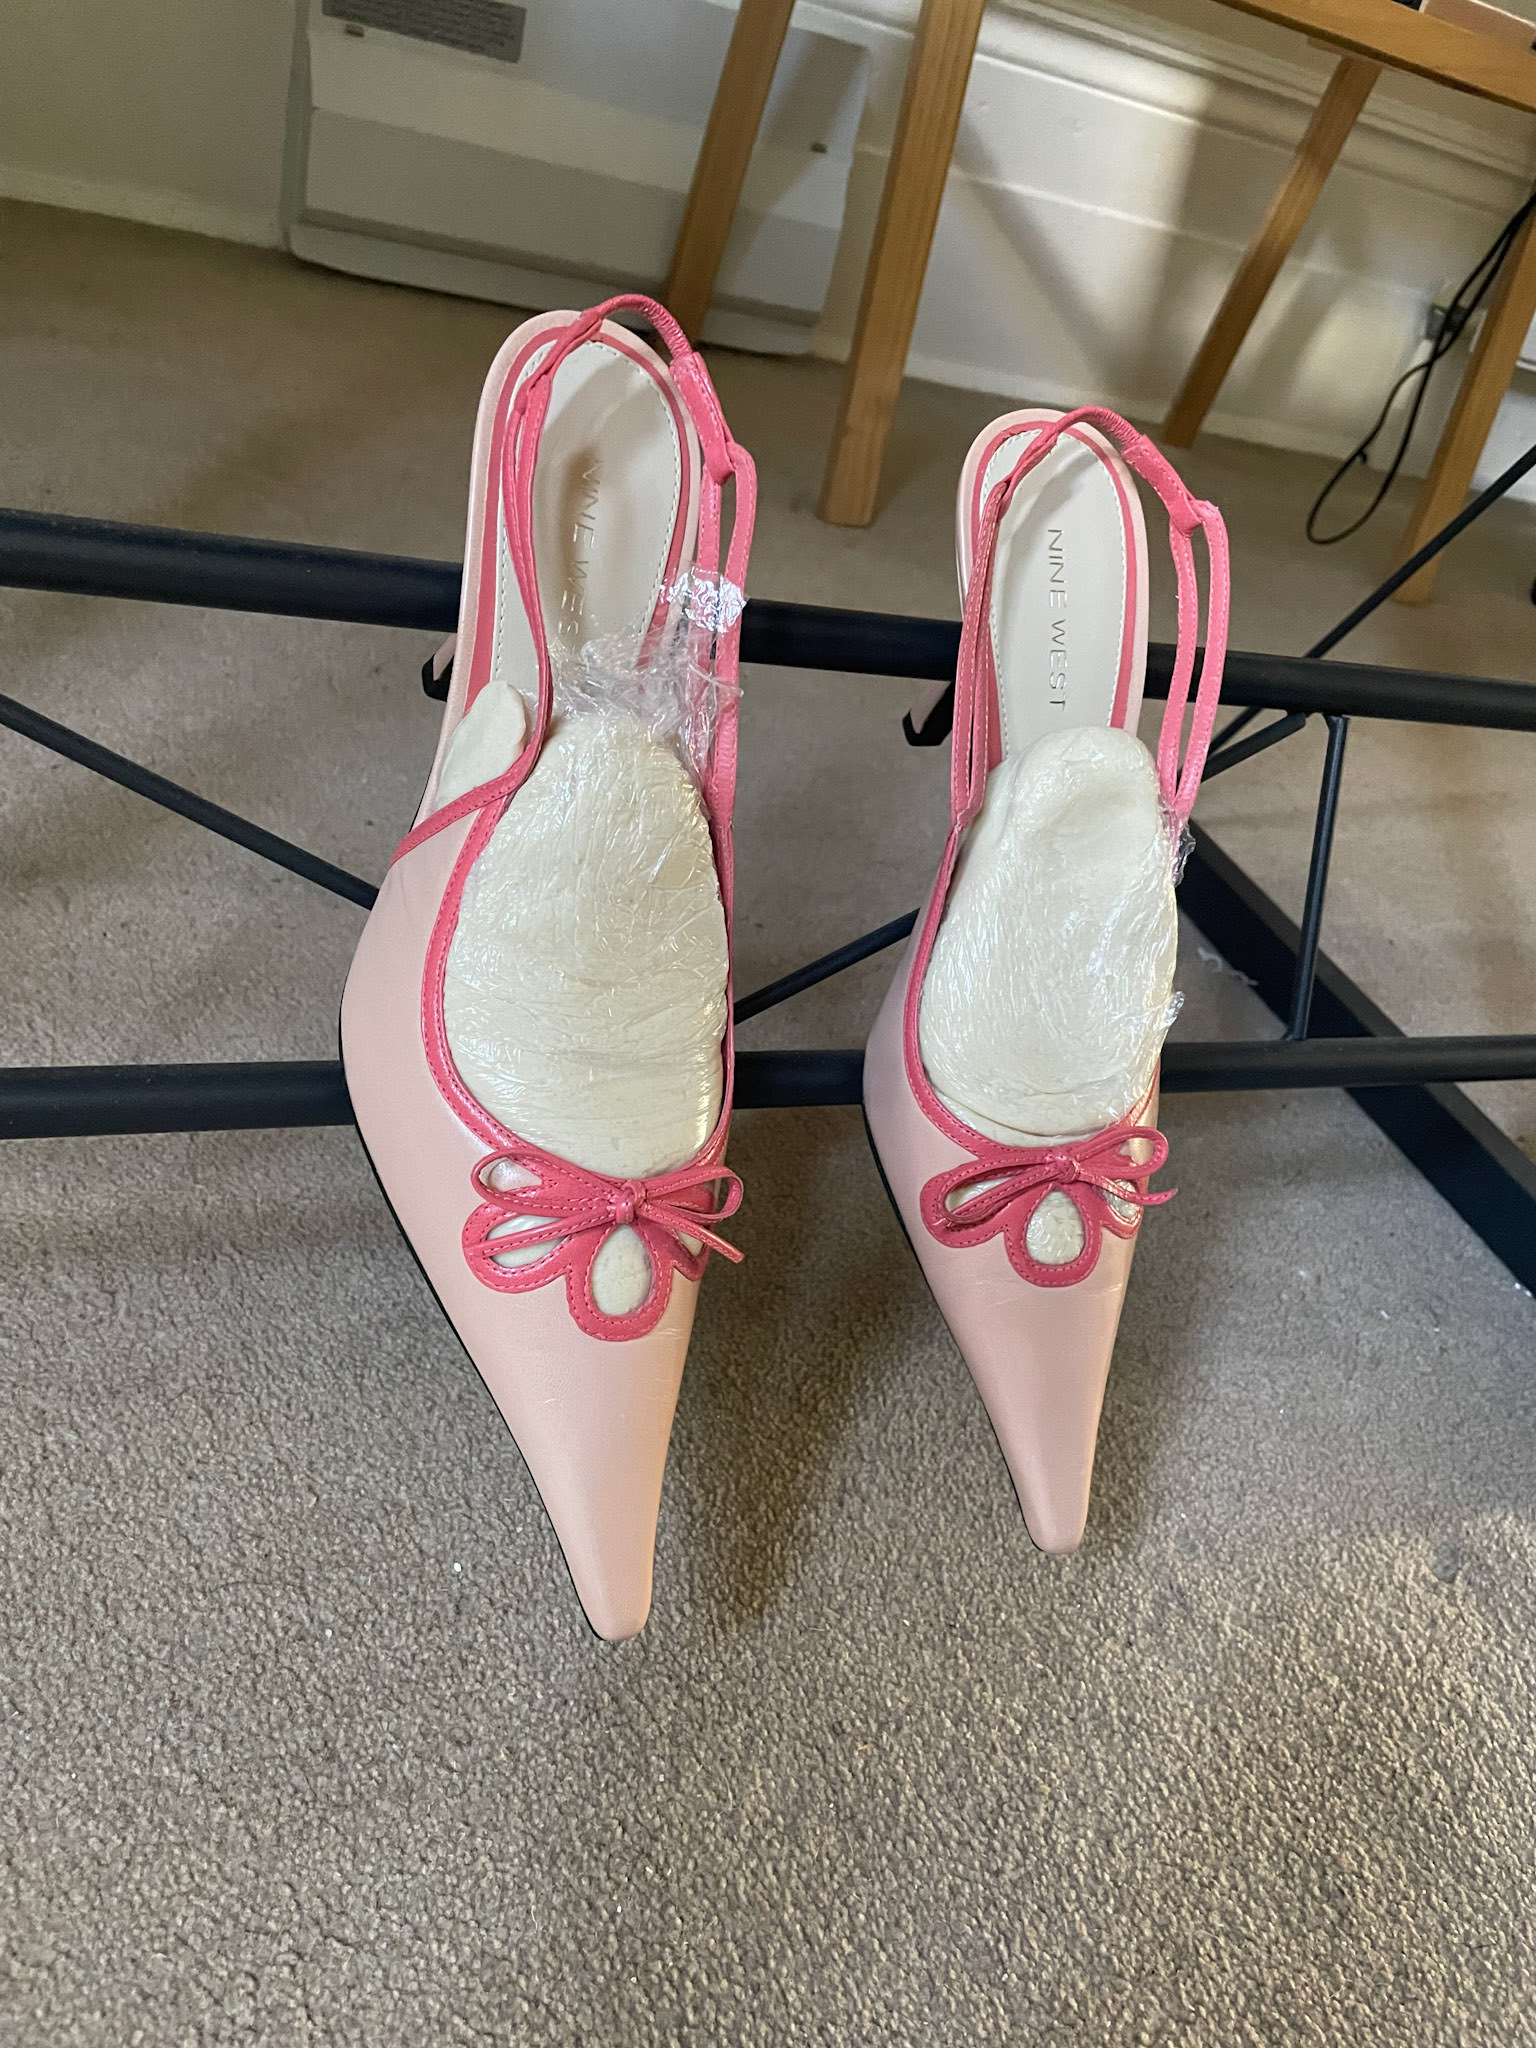
Shot of the salt dough forming shape in the prototype shoes. (before wrapping entirely in foil and baking).
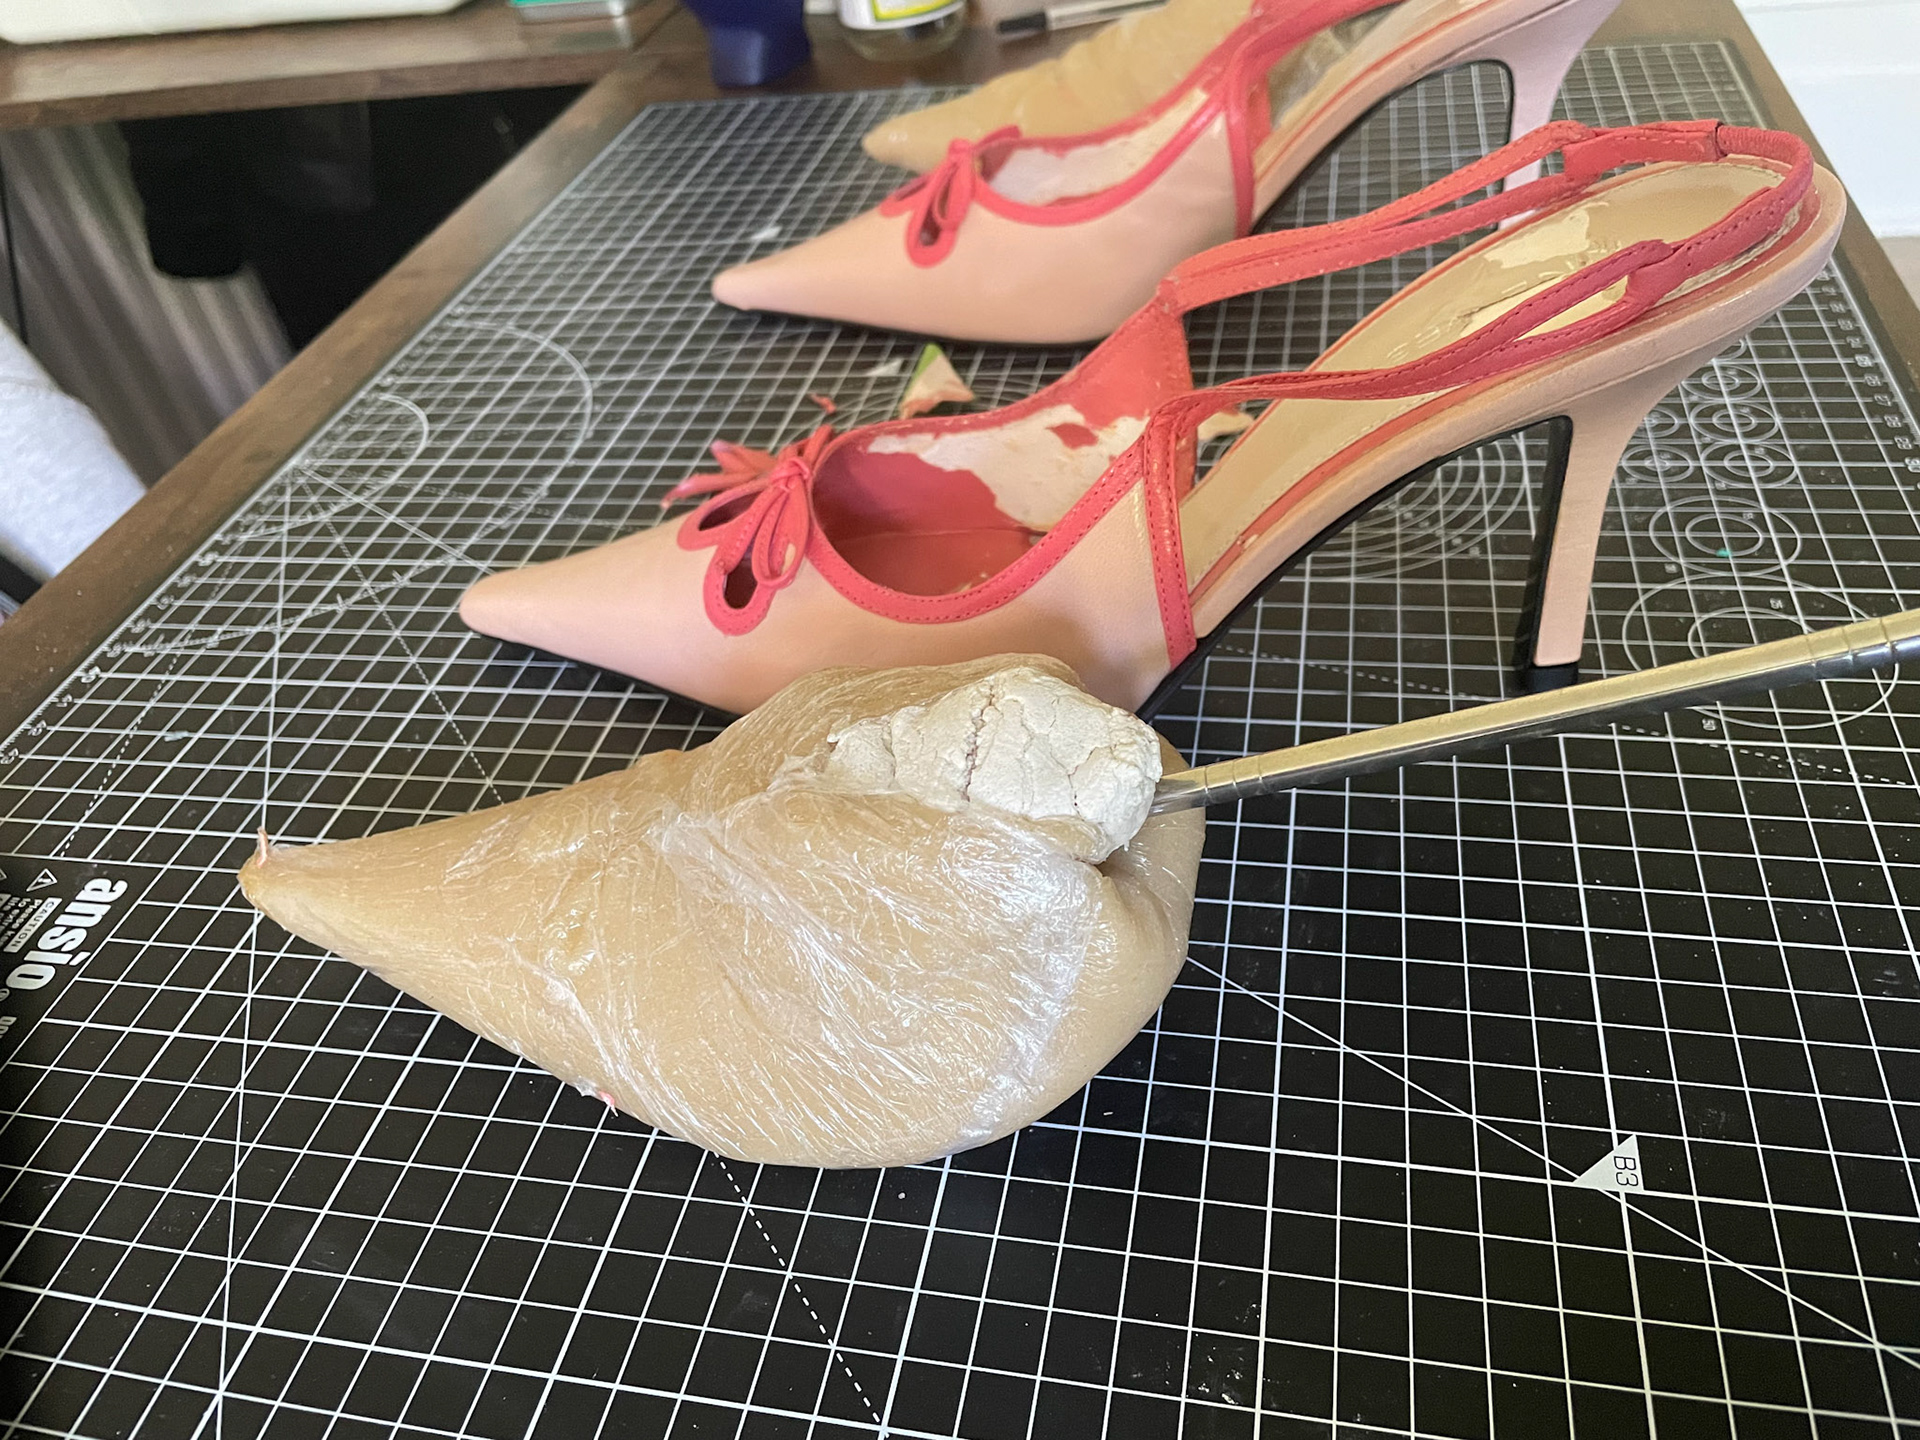
The accuracy and shape of the "last" moulds after 1st bake.
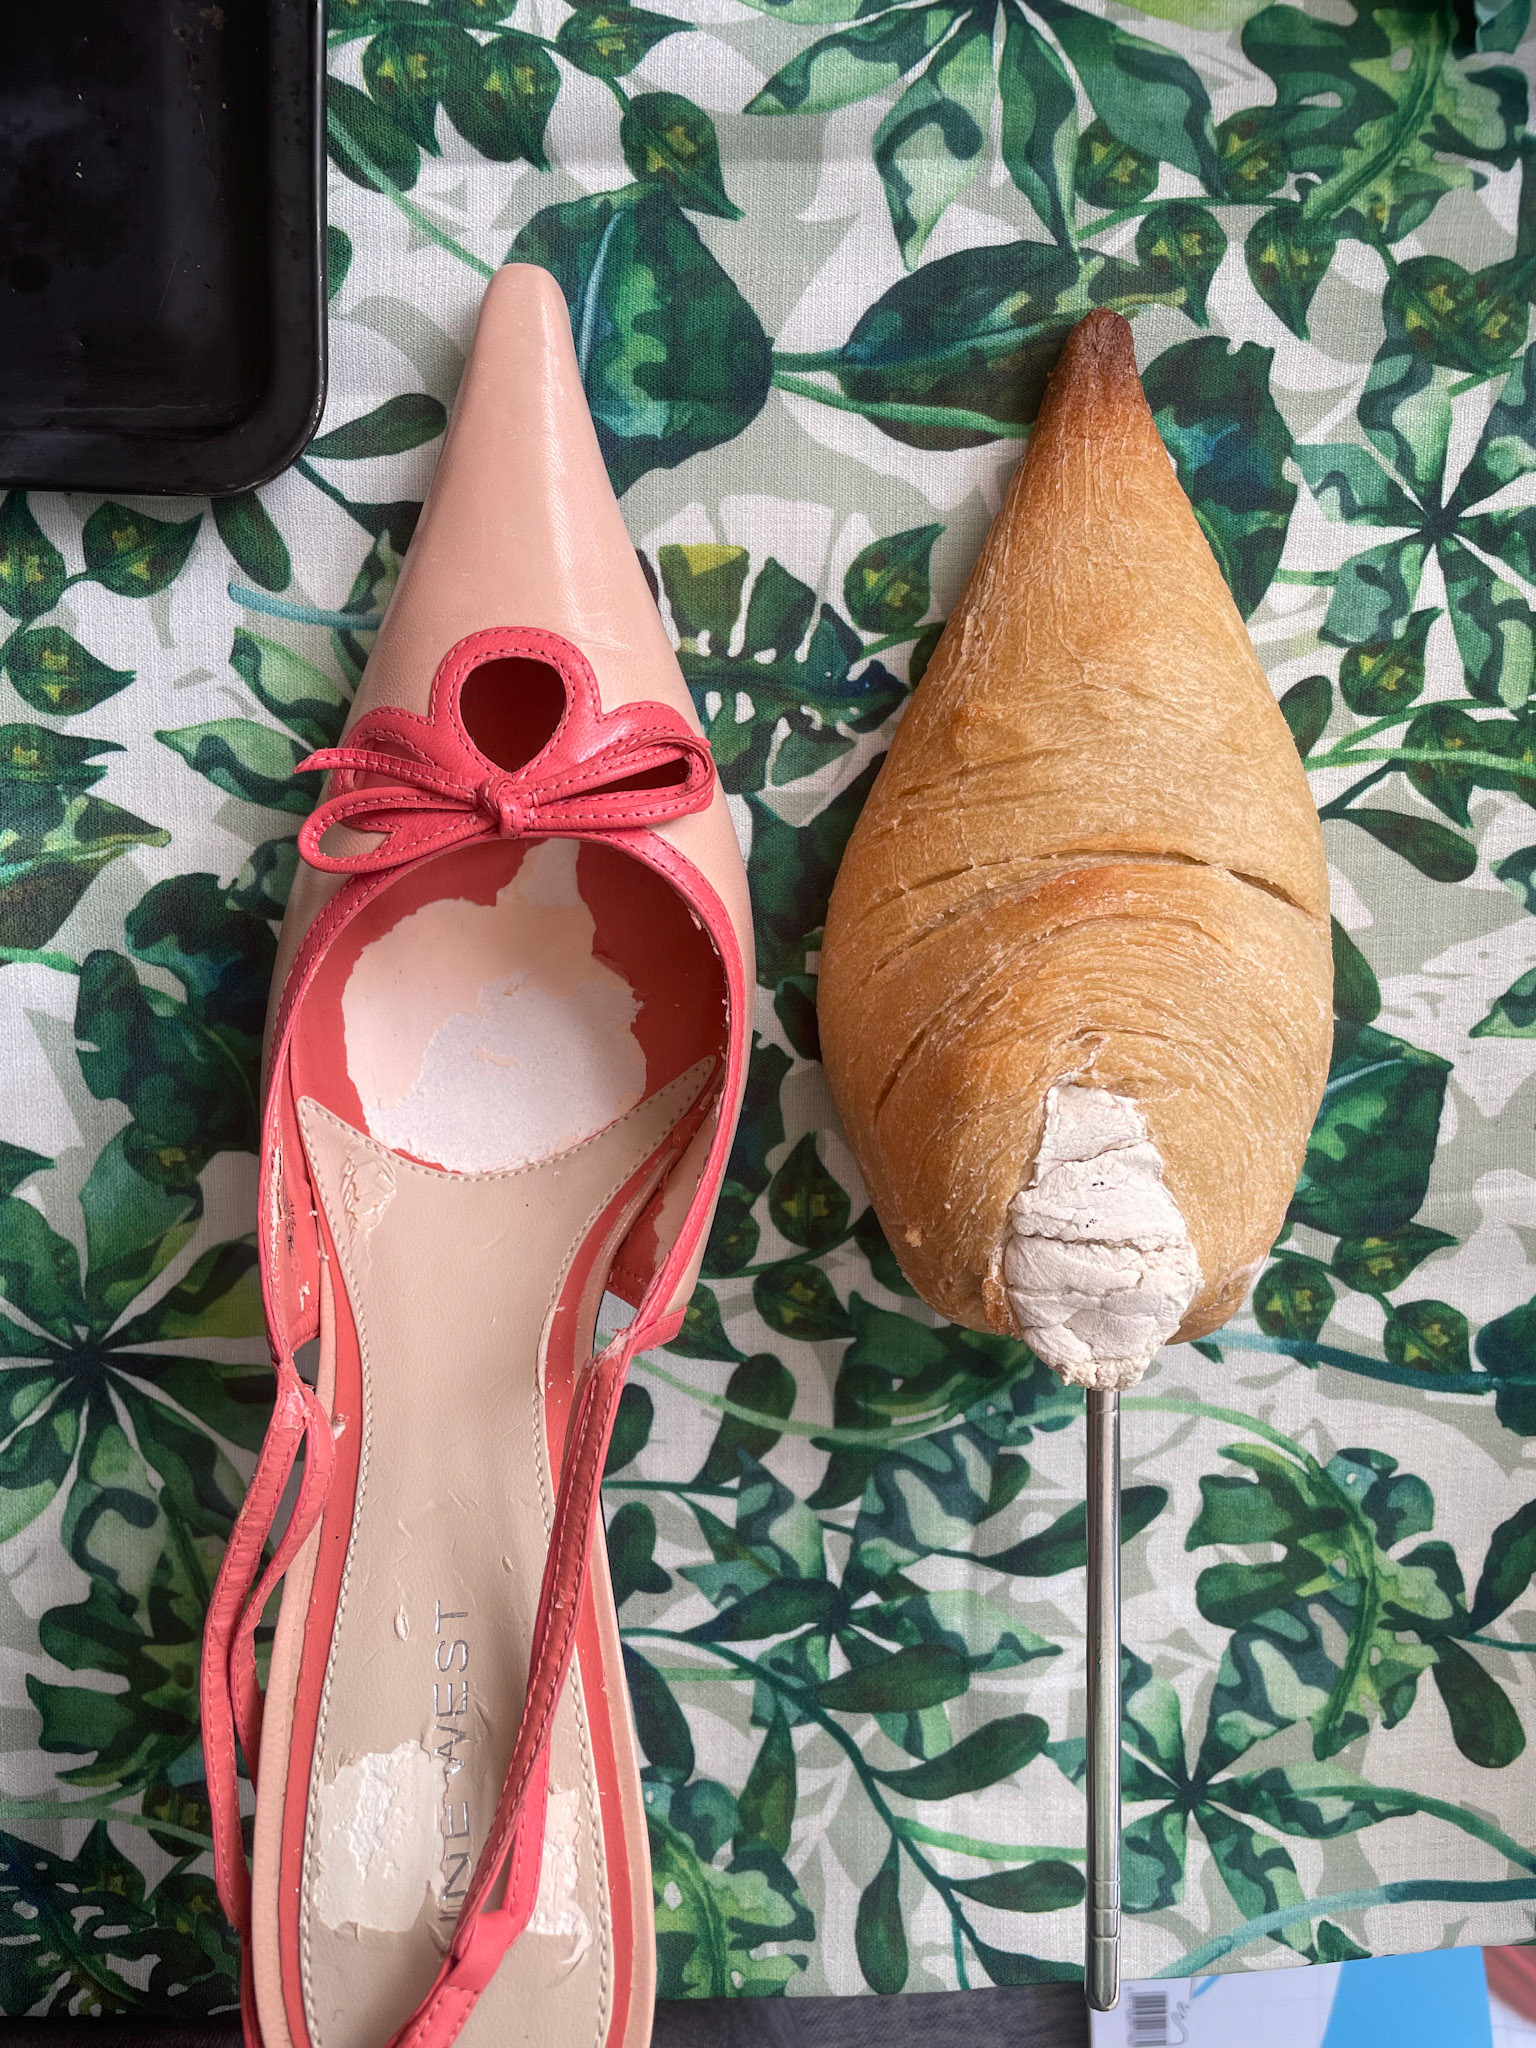
Comparing the swelling and mis-formation of the moulds after baking.
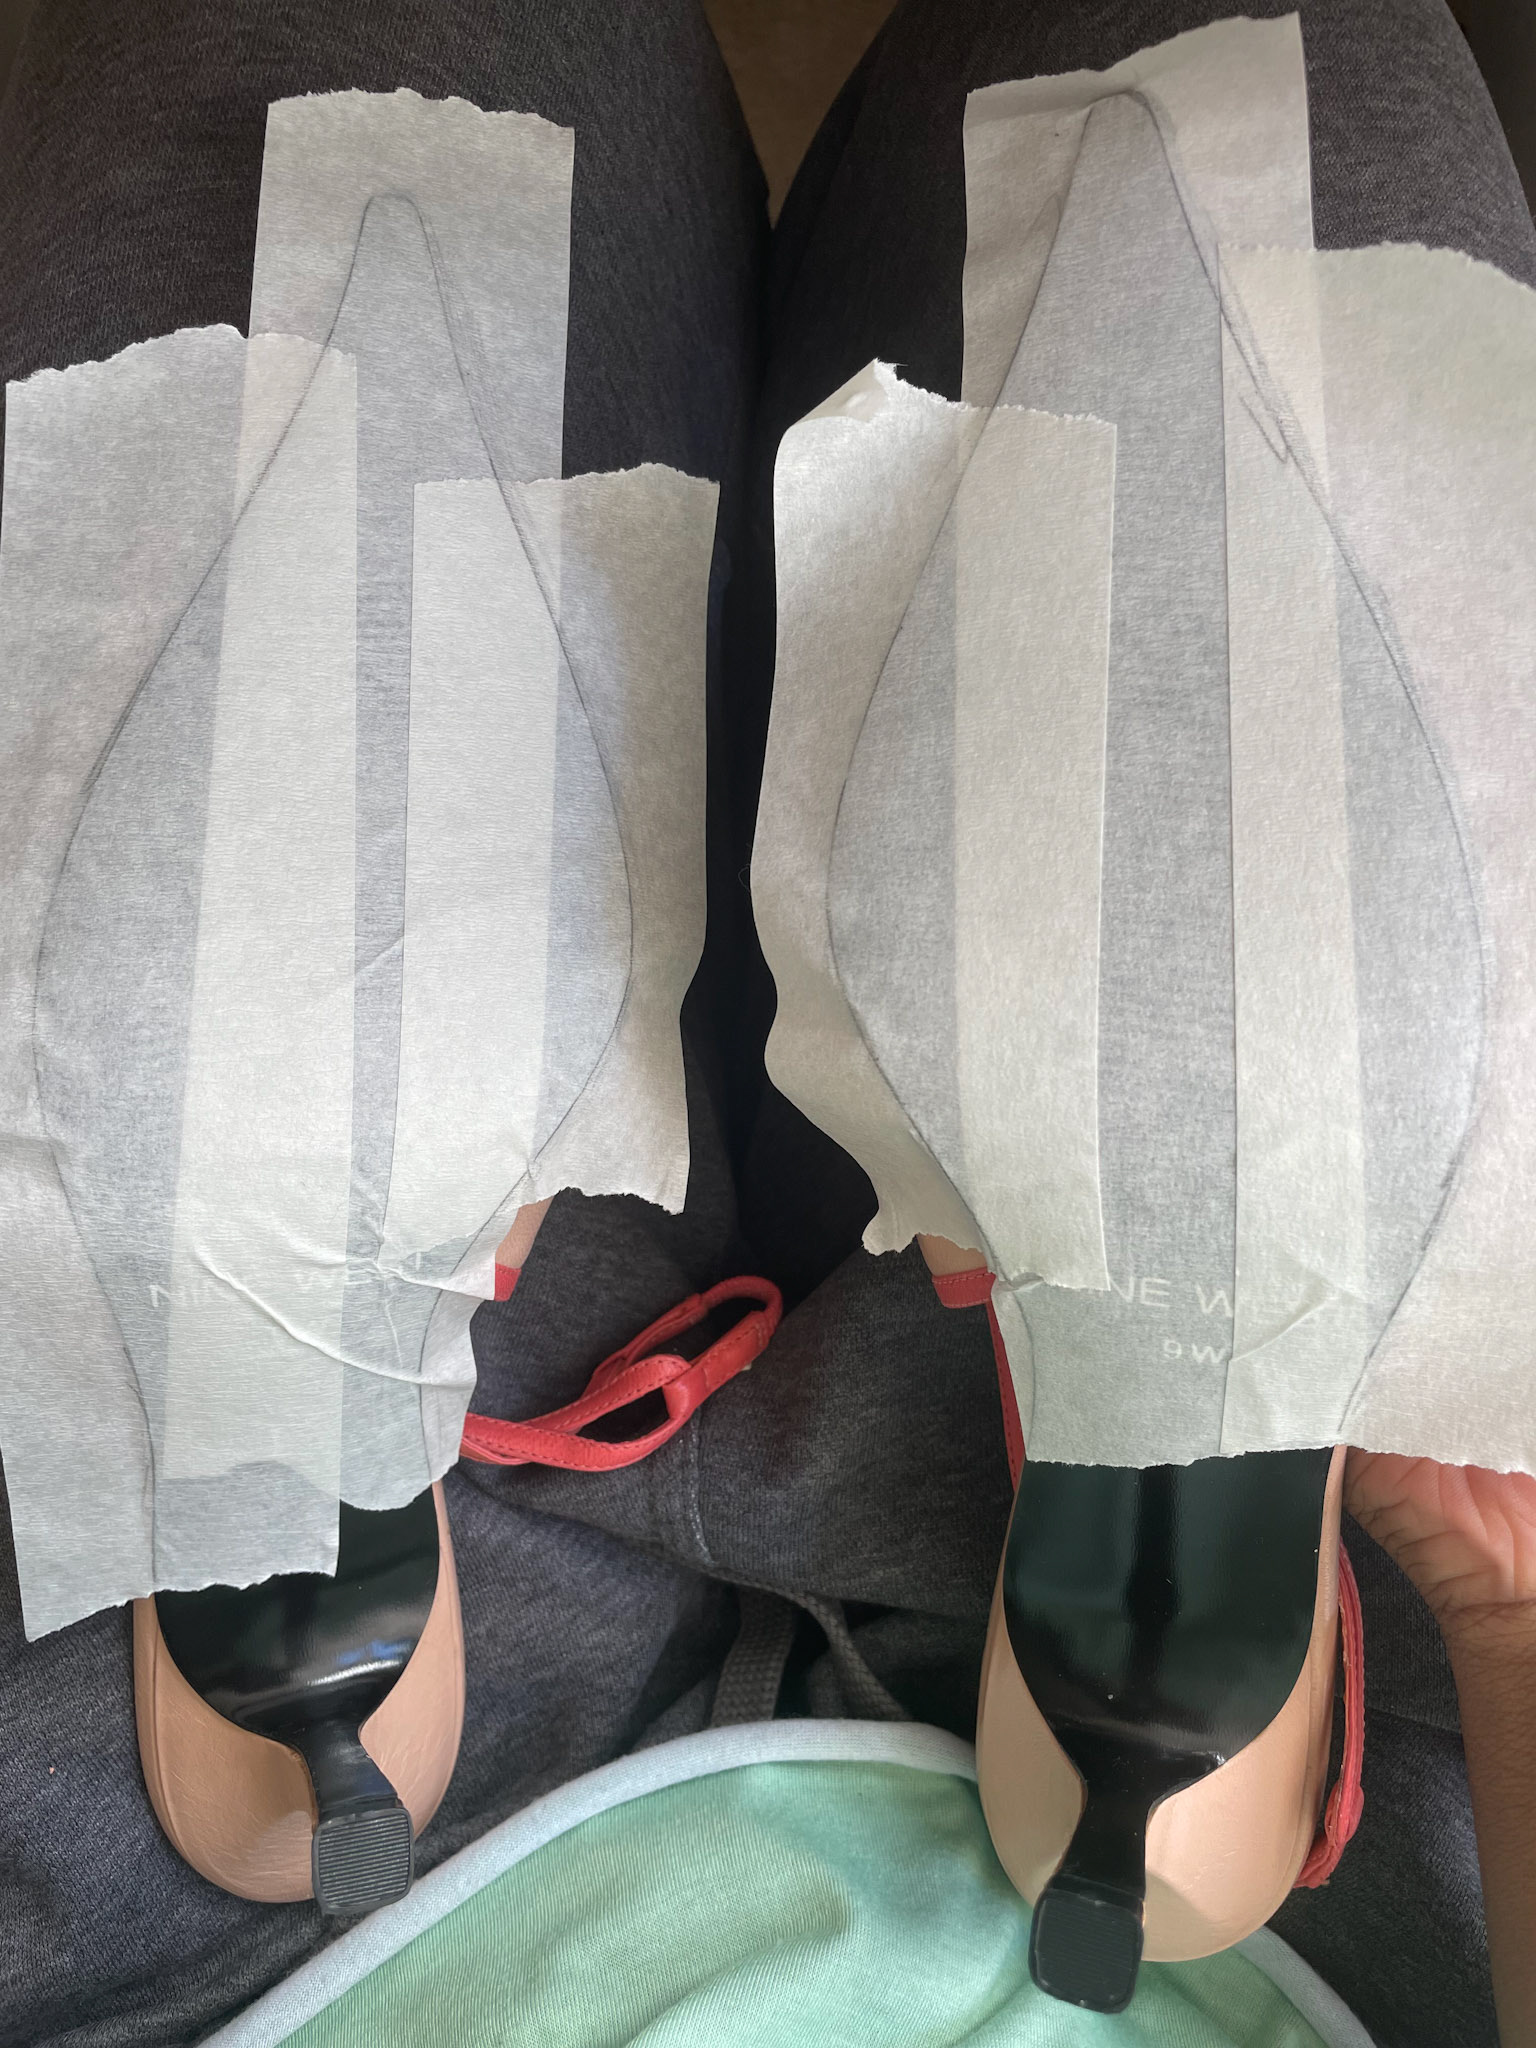
Creating patterns for the outsole of the prototype shoe.
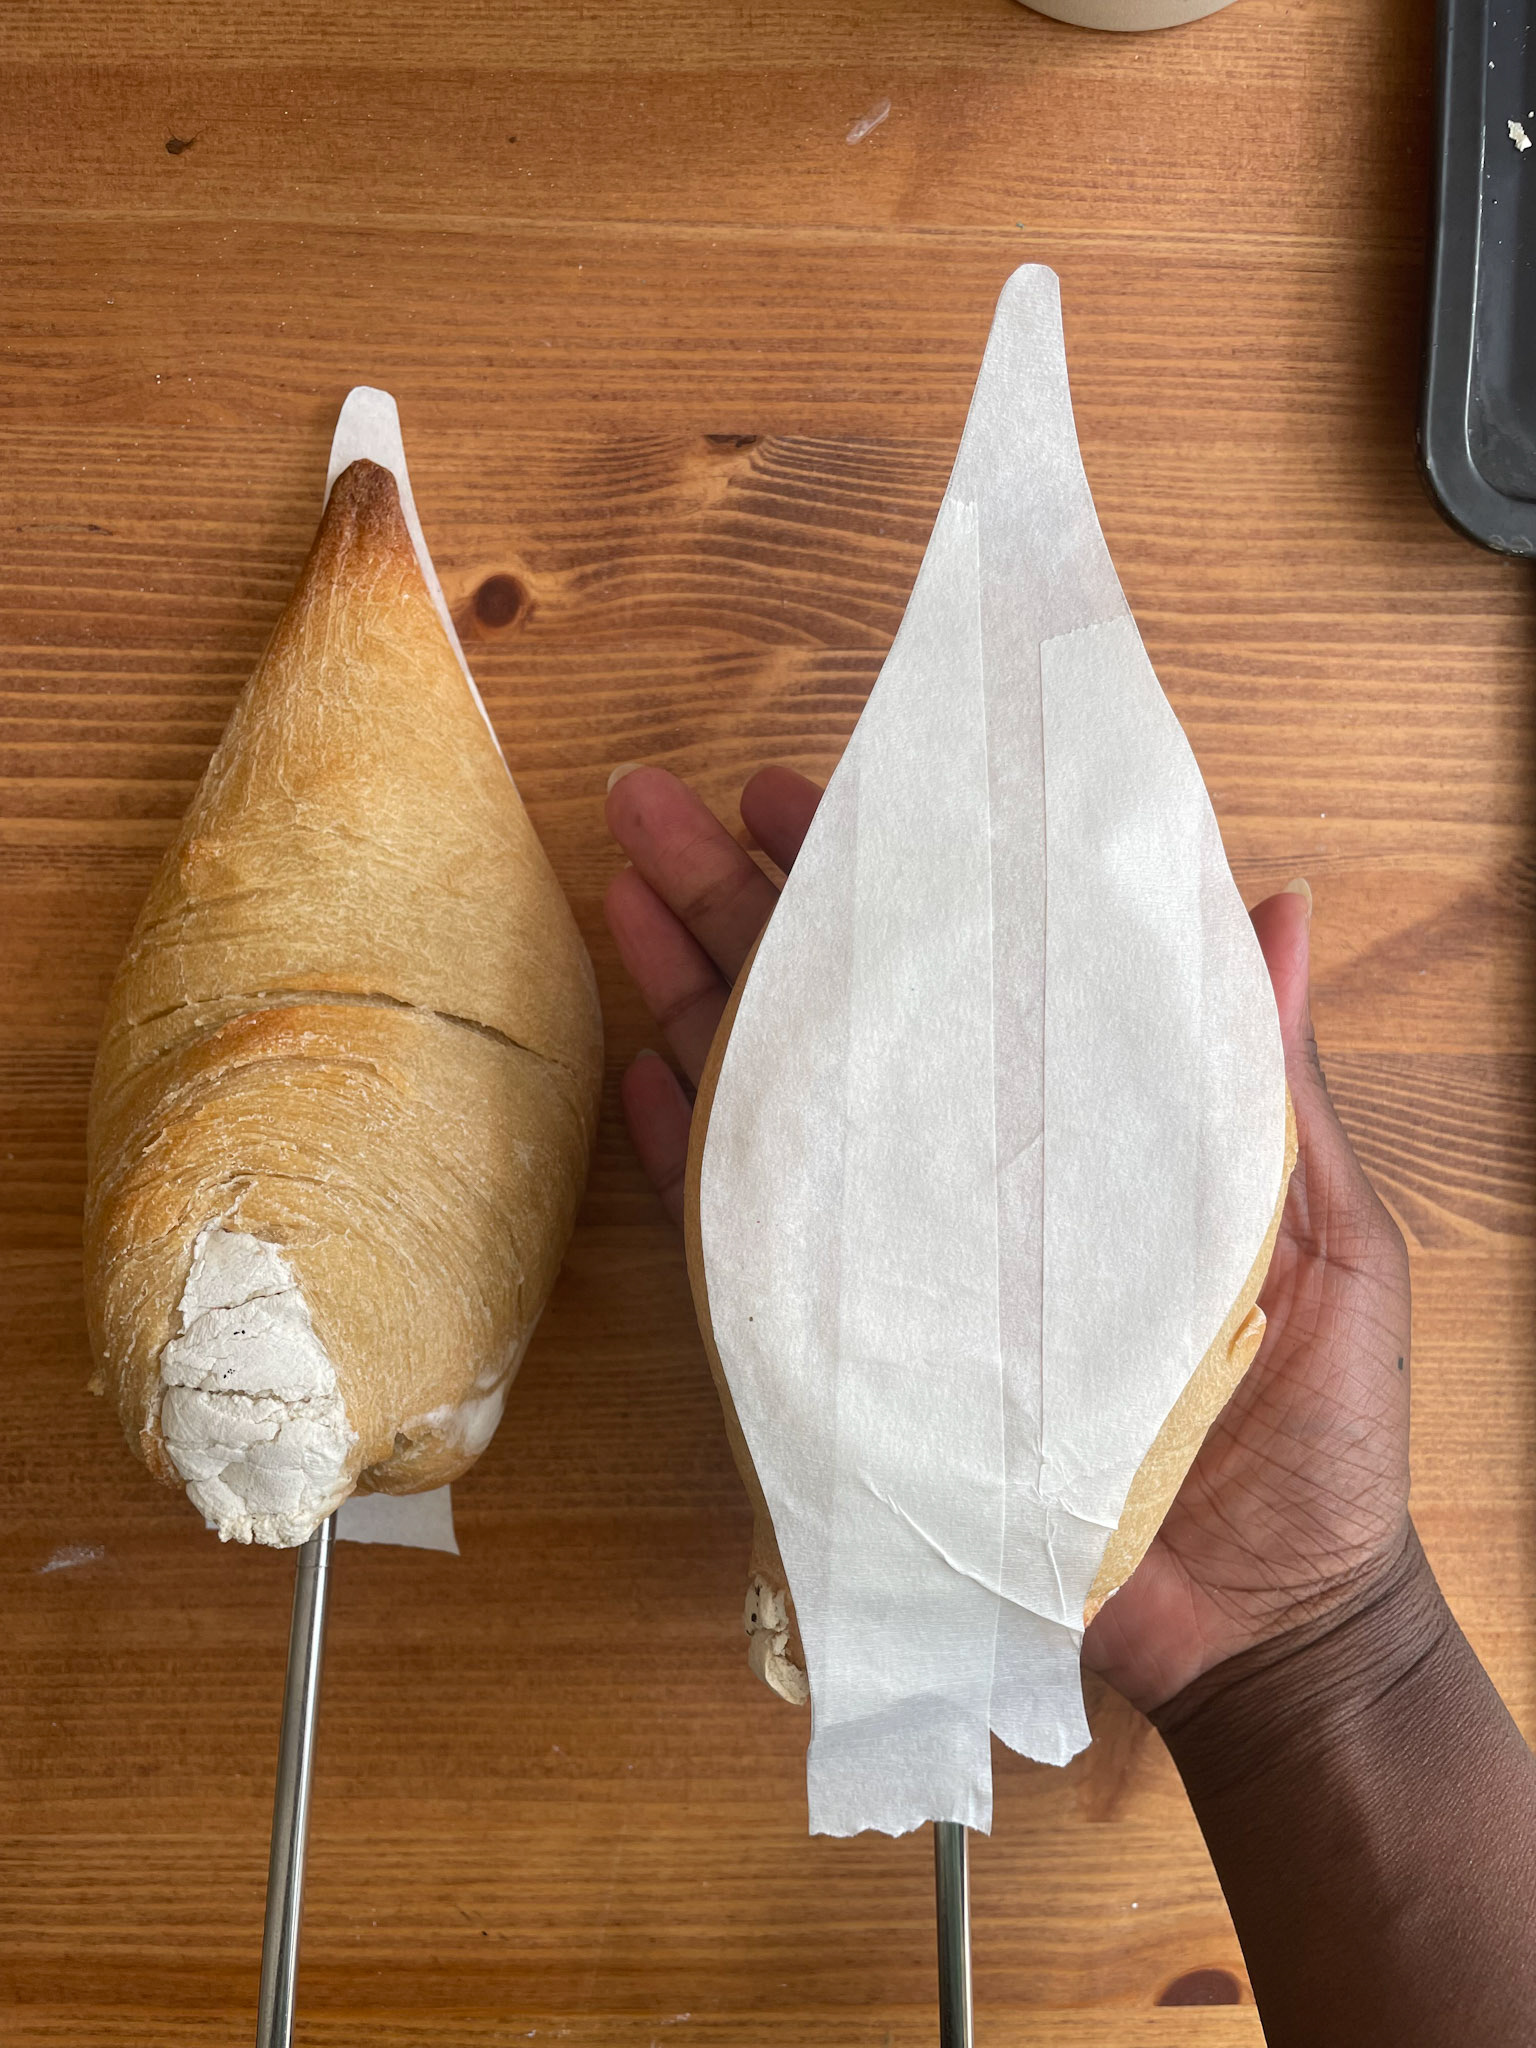
Using the outsole pattern to see the variance and necessary adjustments for the baked dough moulds.
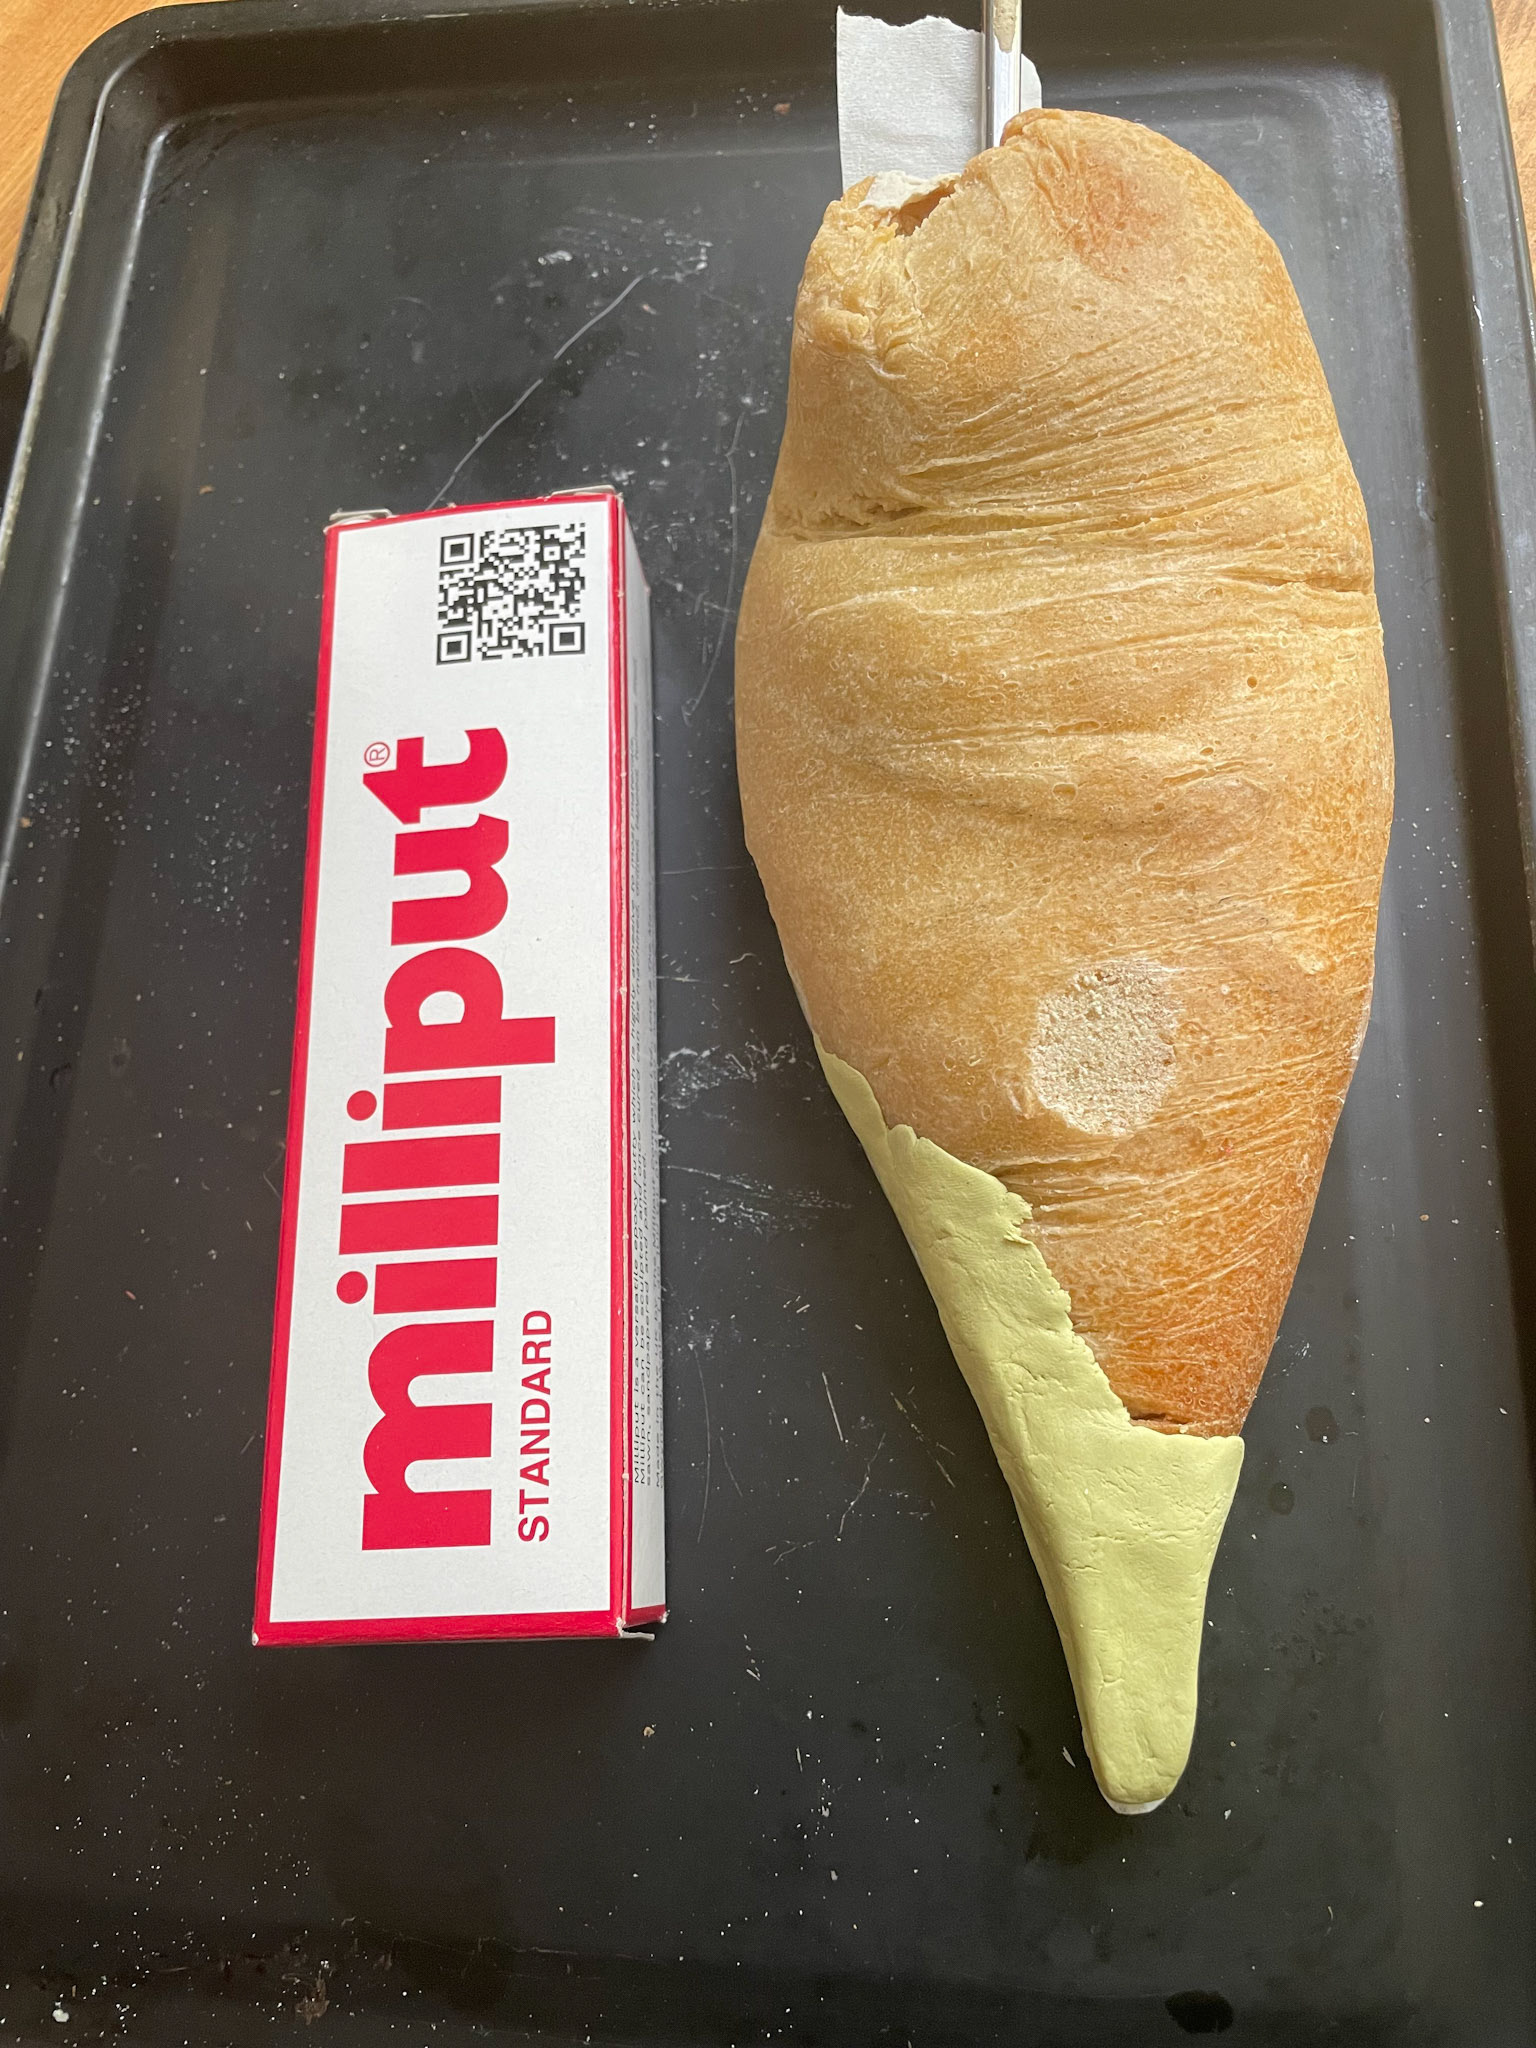
Adding milliput to elongate and roughly refine the toe of the moulds.
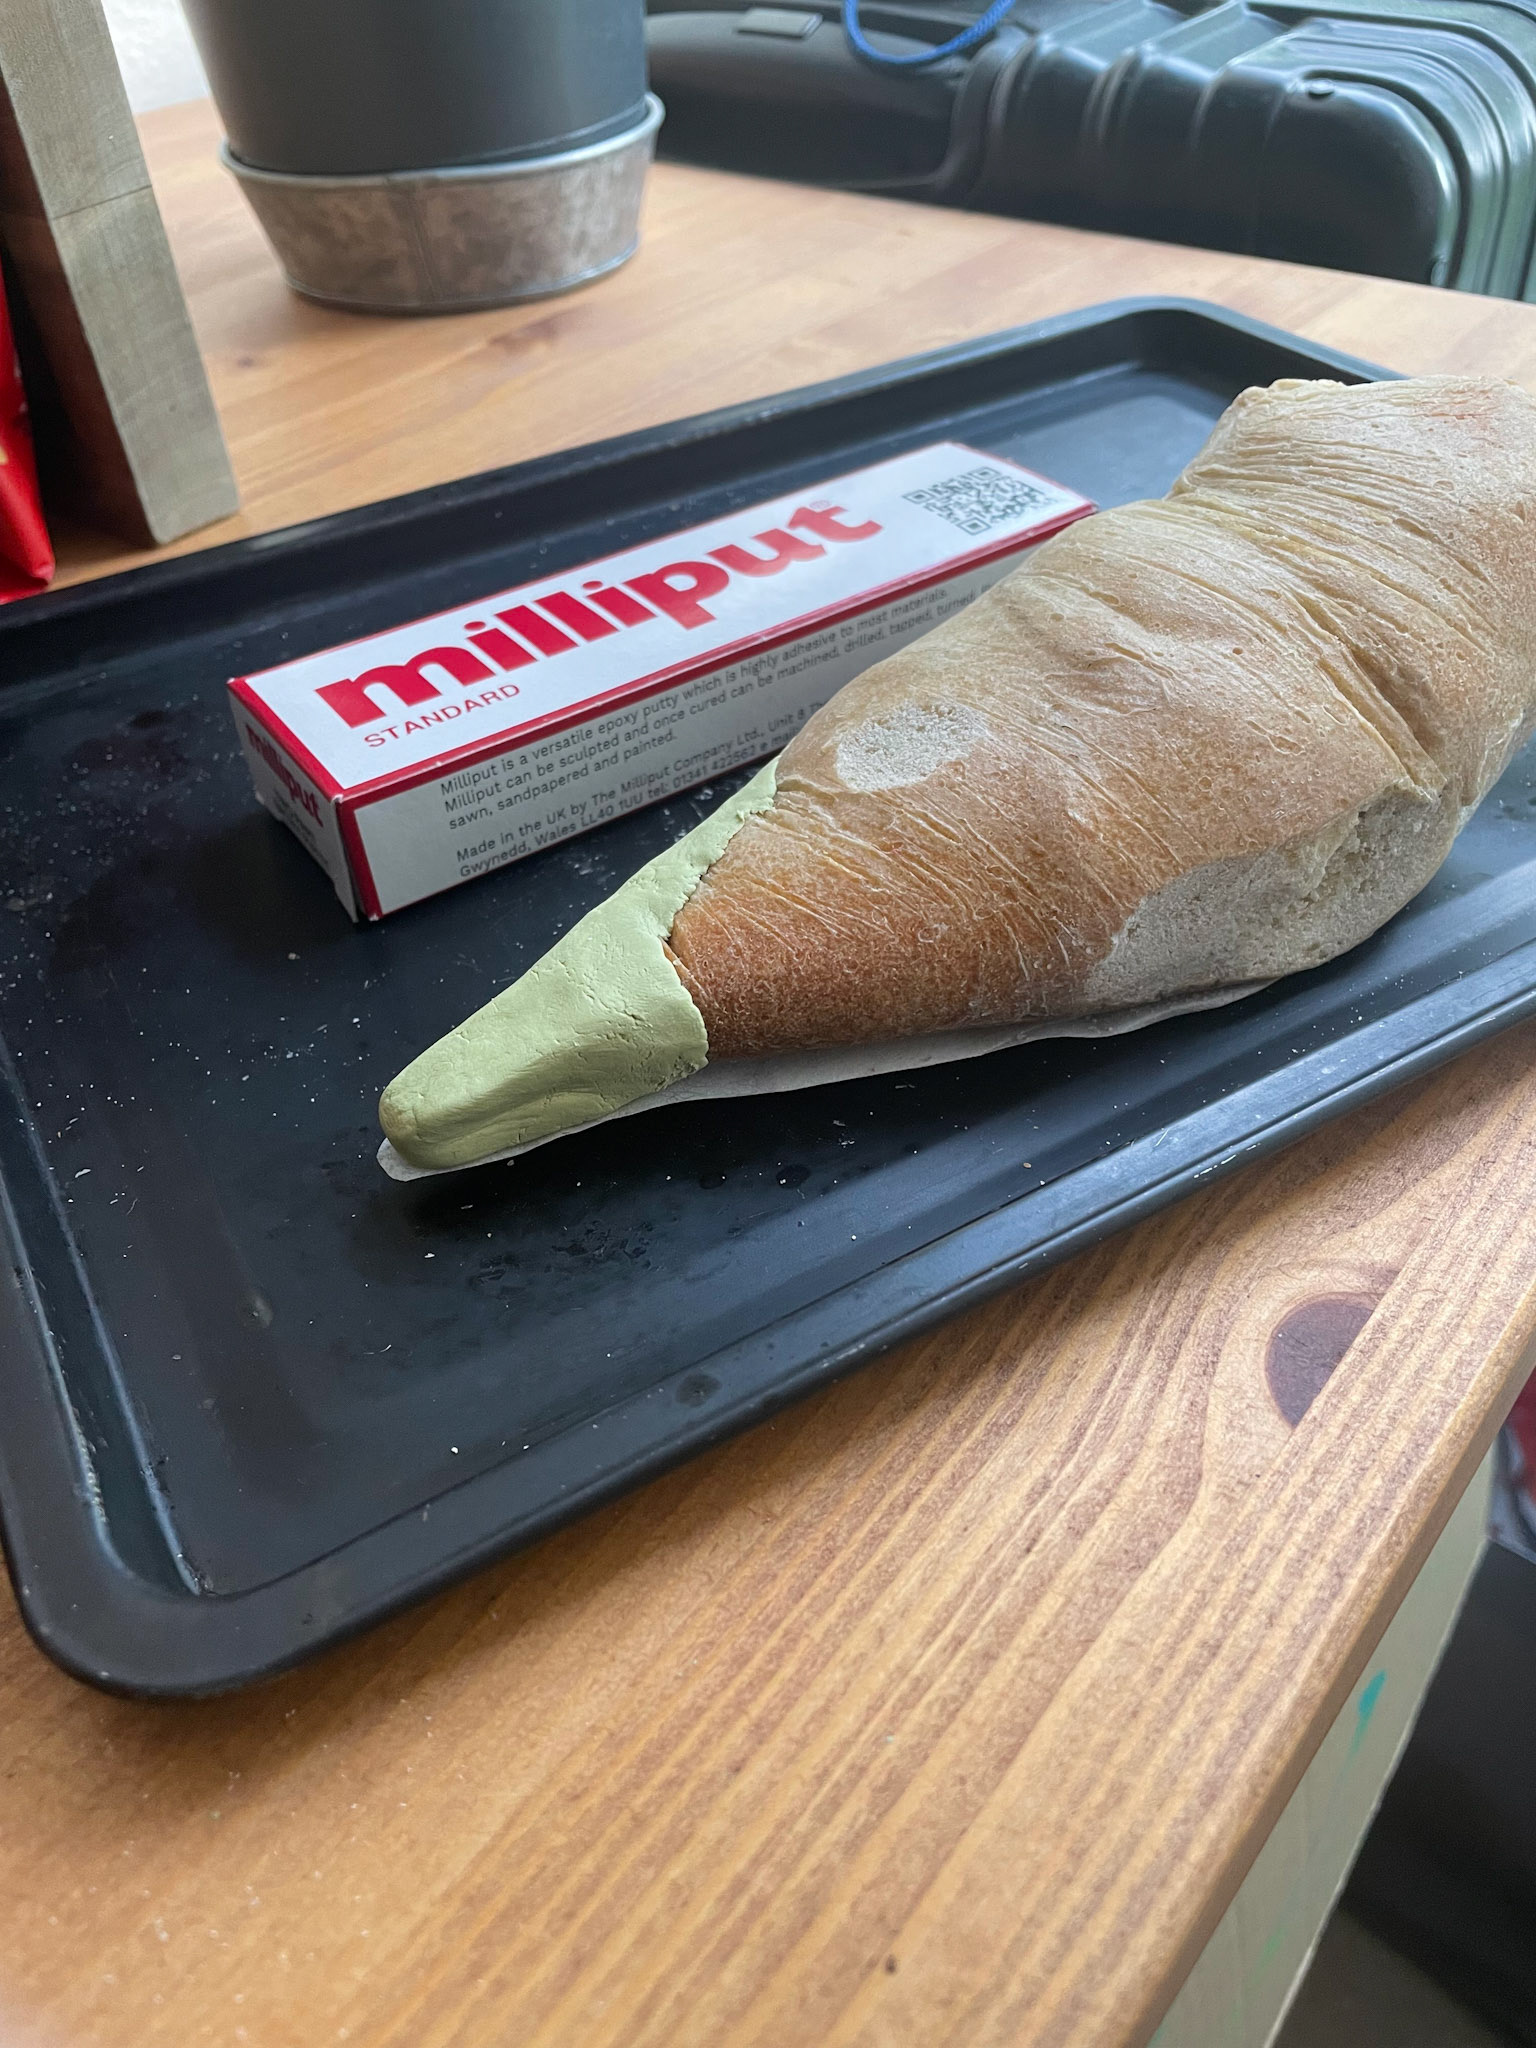
Shaving excess/bumps from the mould
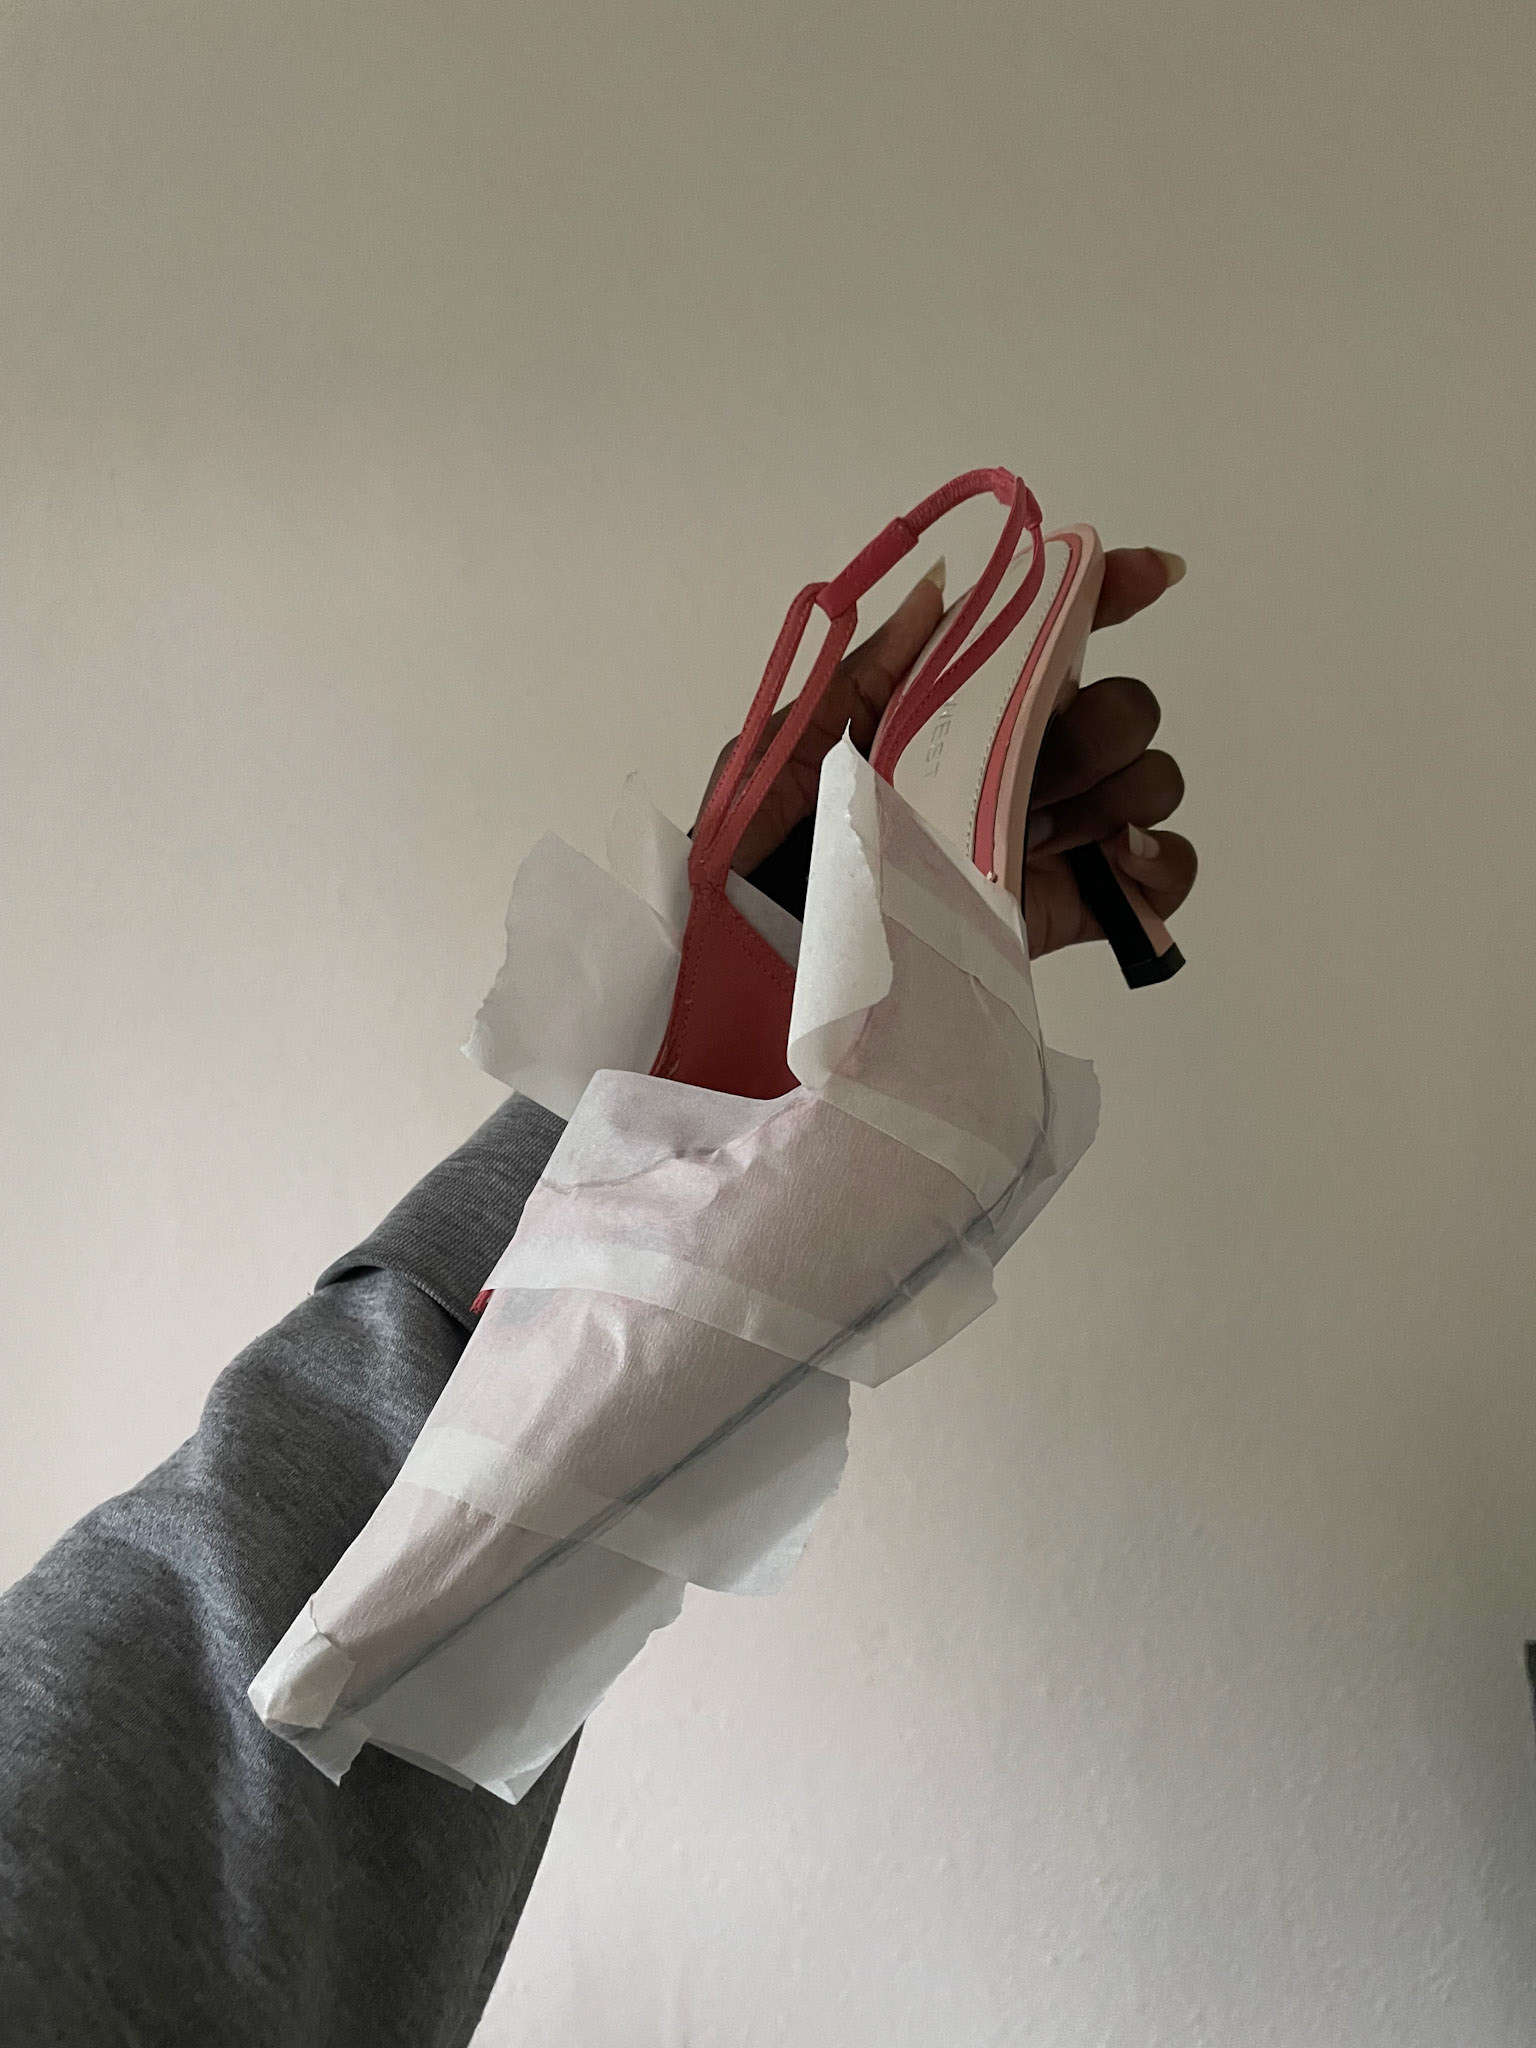
Taping and tracing 3D forme for 2D pattern
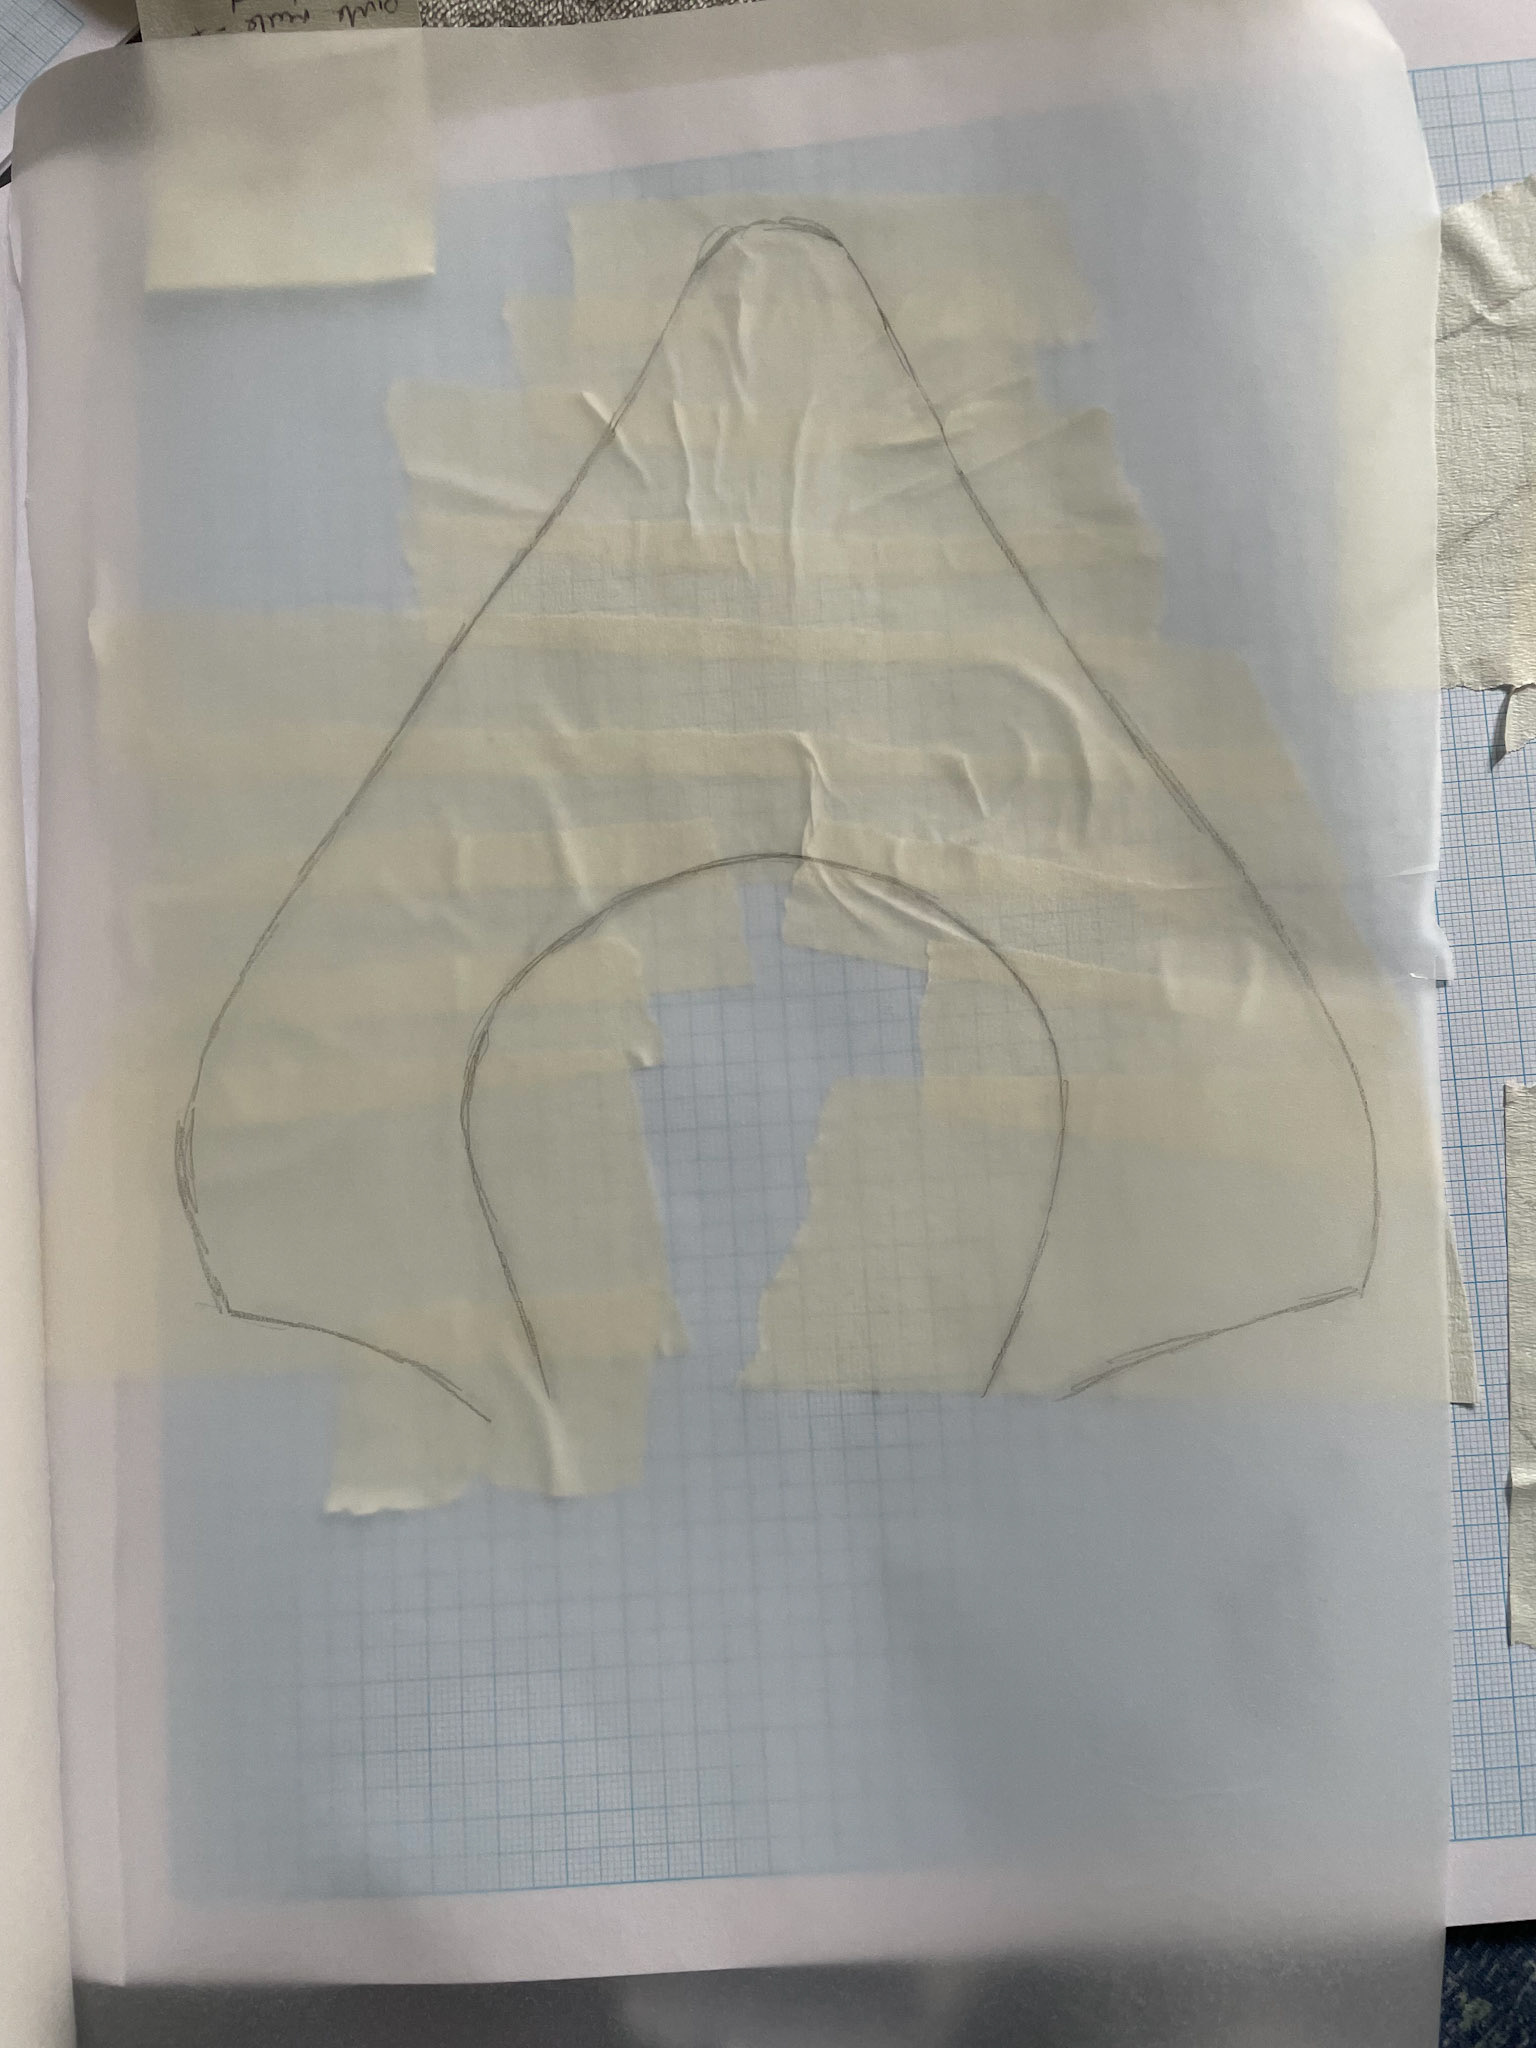
Pattern for the upper (excluding lasting allowance)
R E C Y C L I N G: D I S A S S E M B L Y + A D J U S T M E N T S
I took a calculated risk of placing the 2 project heels in the oven, just long enough to soften the adhesive and peel apart the components.
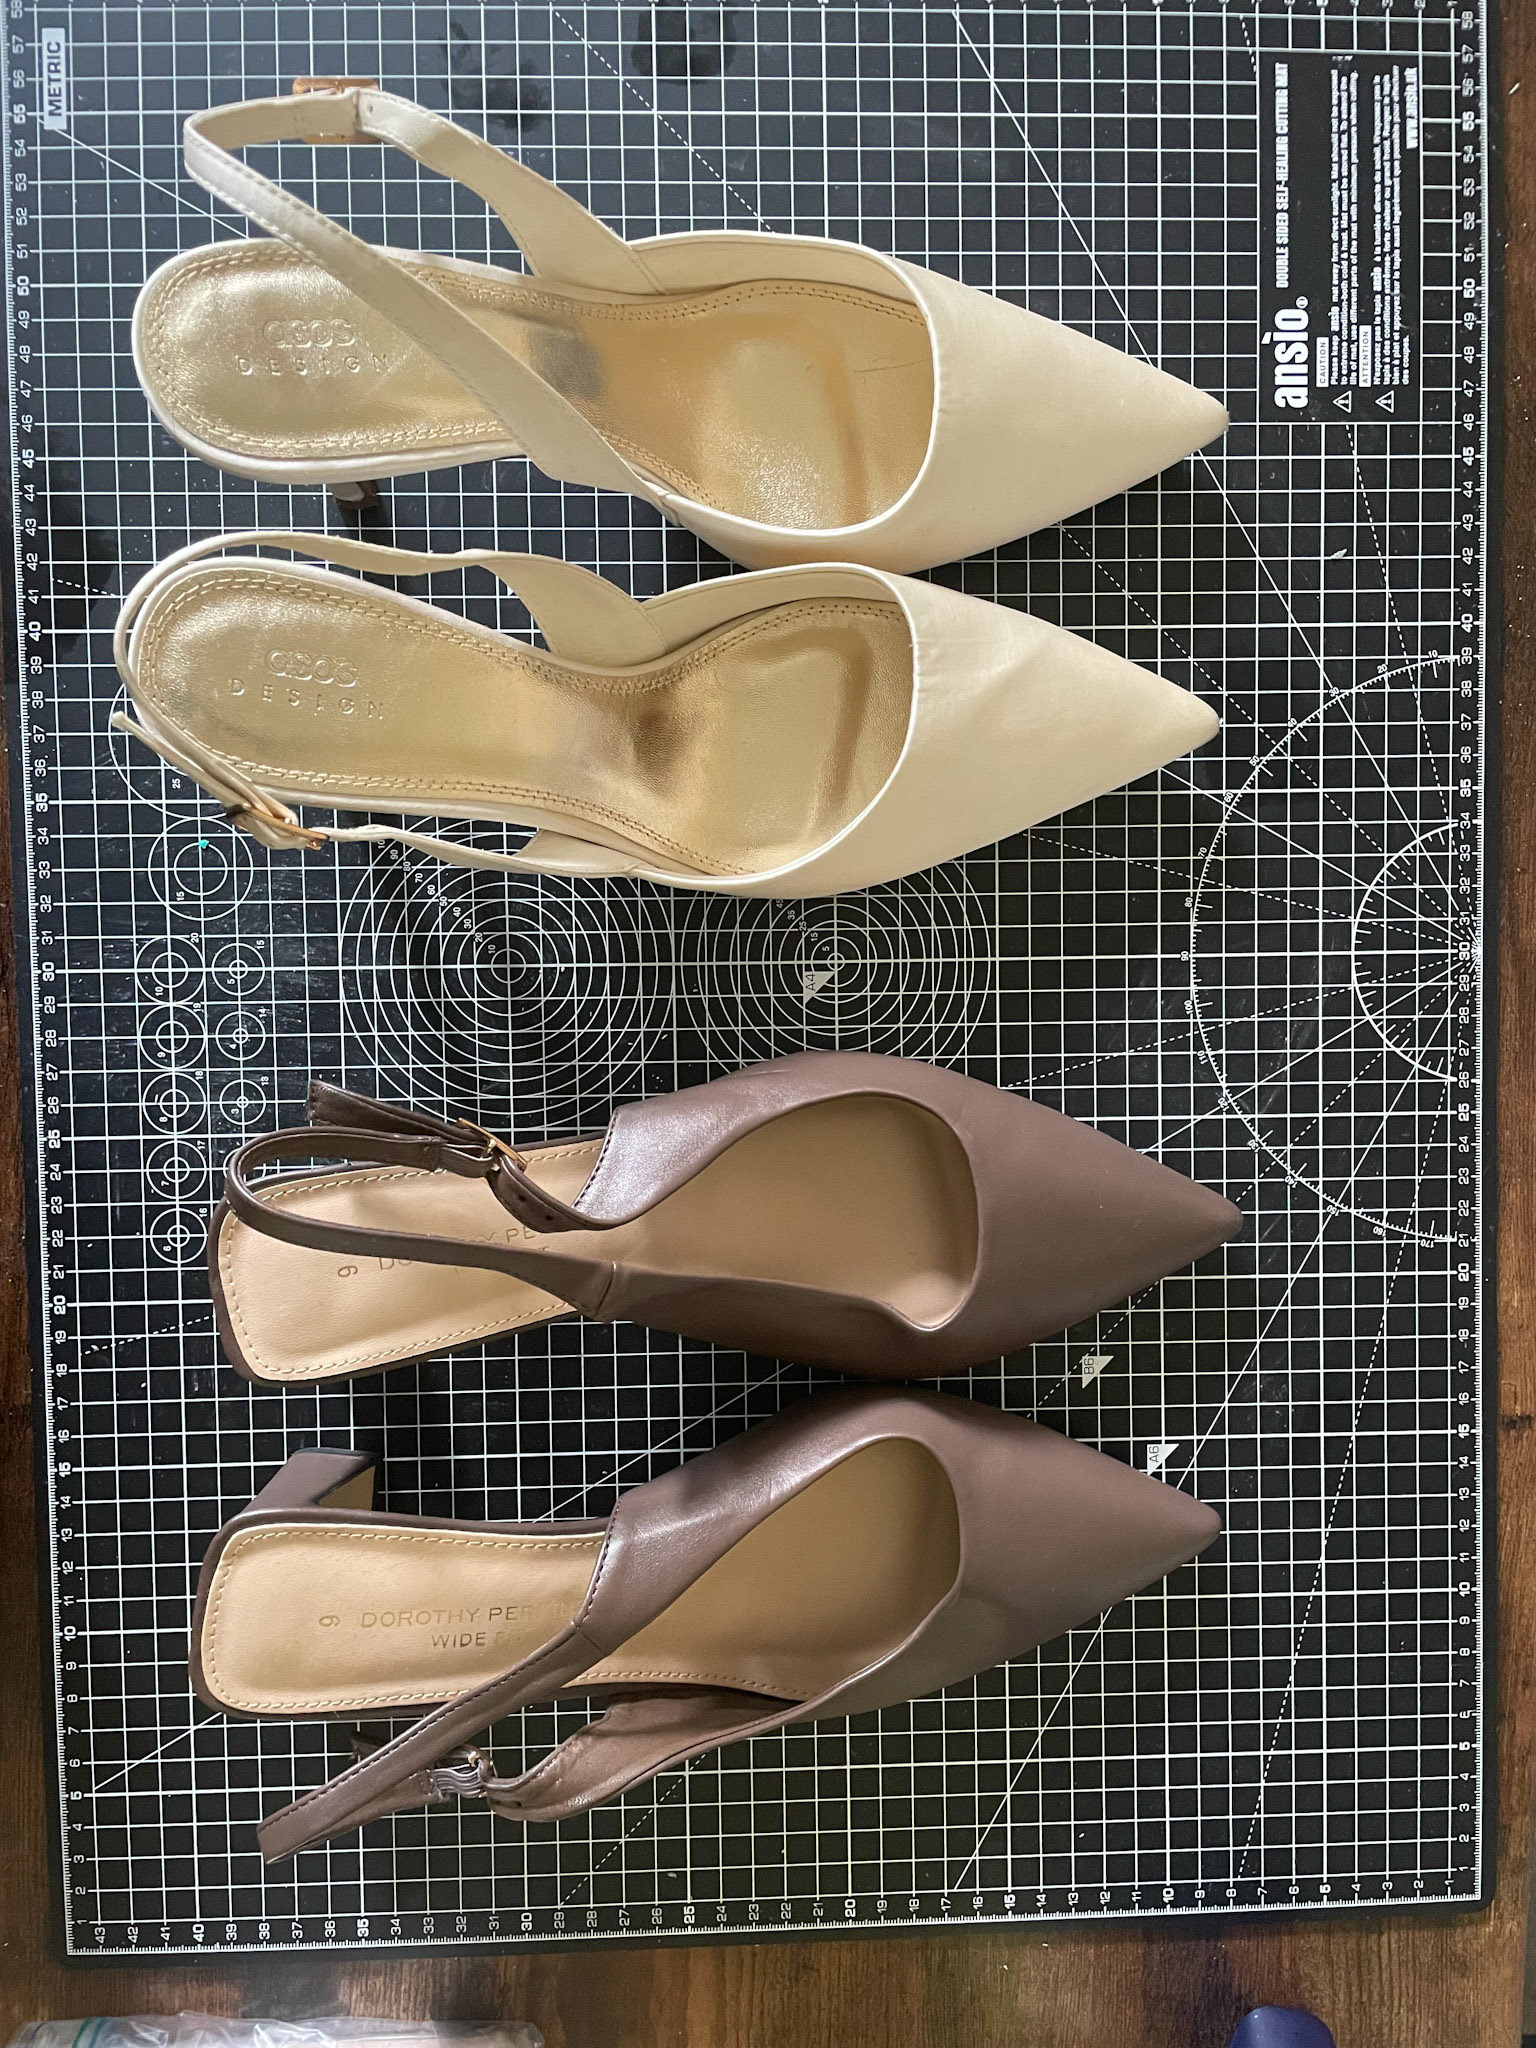
The two pairs of heels, pre-disassembly
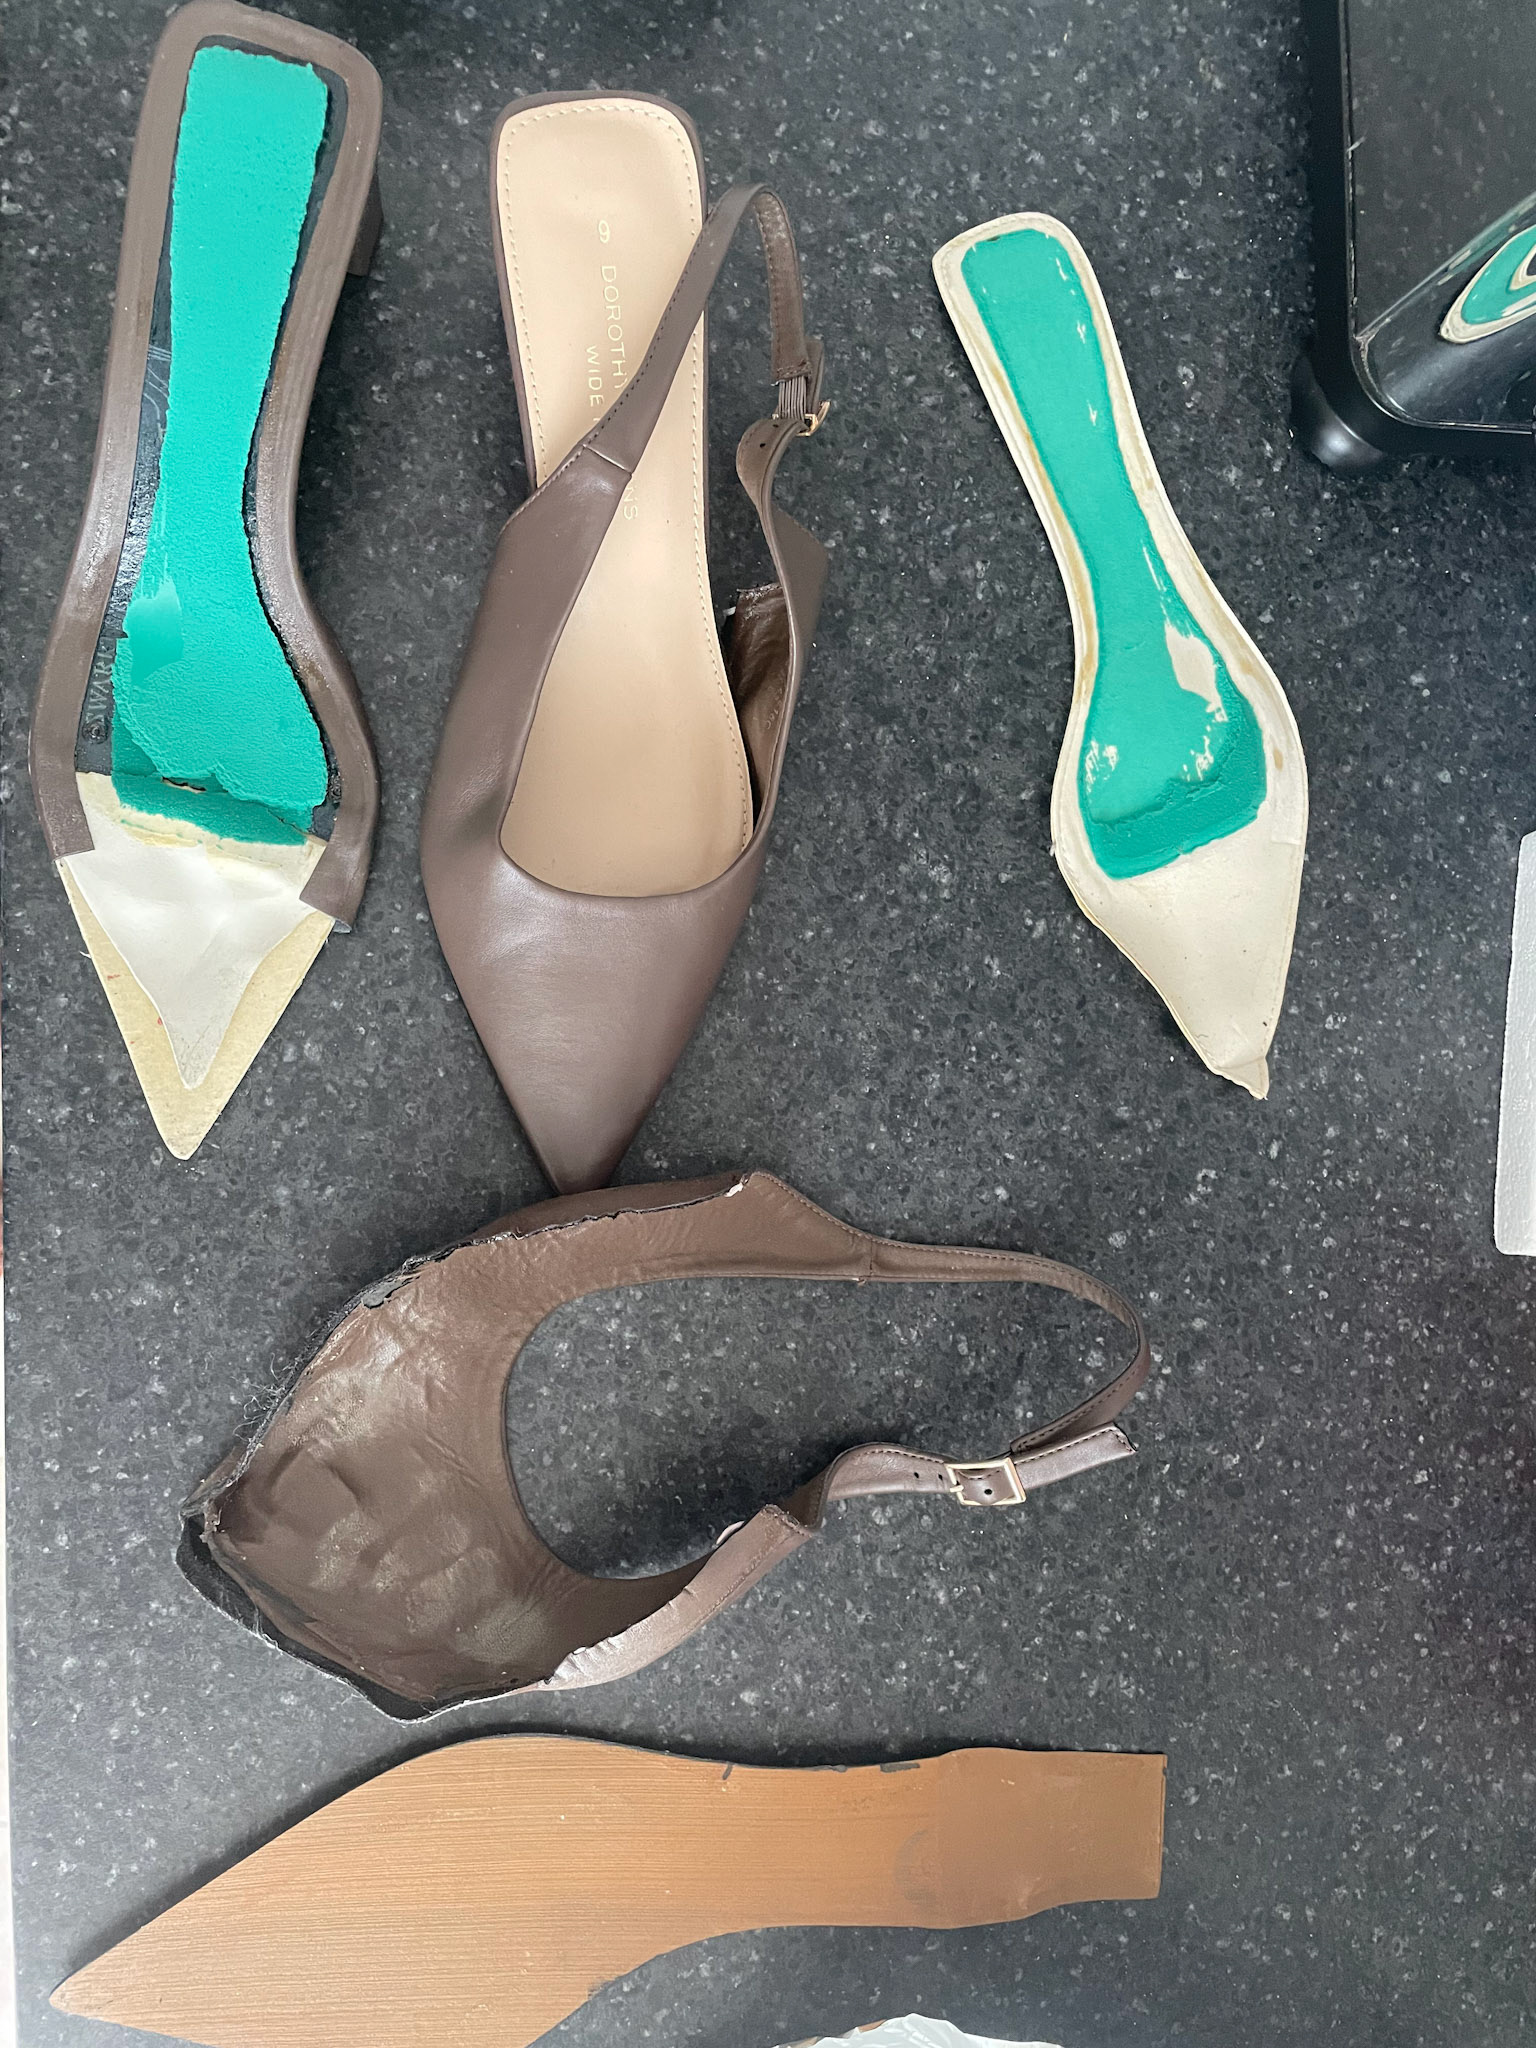
Shoe 1: disassembled.
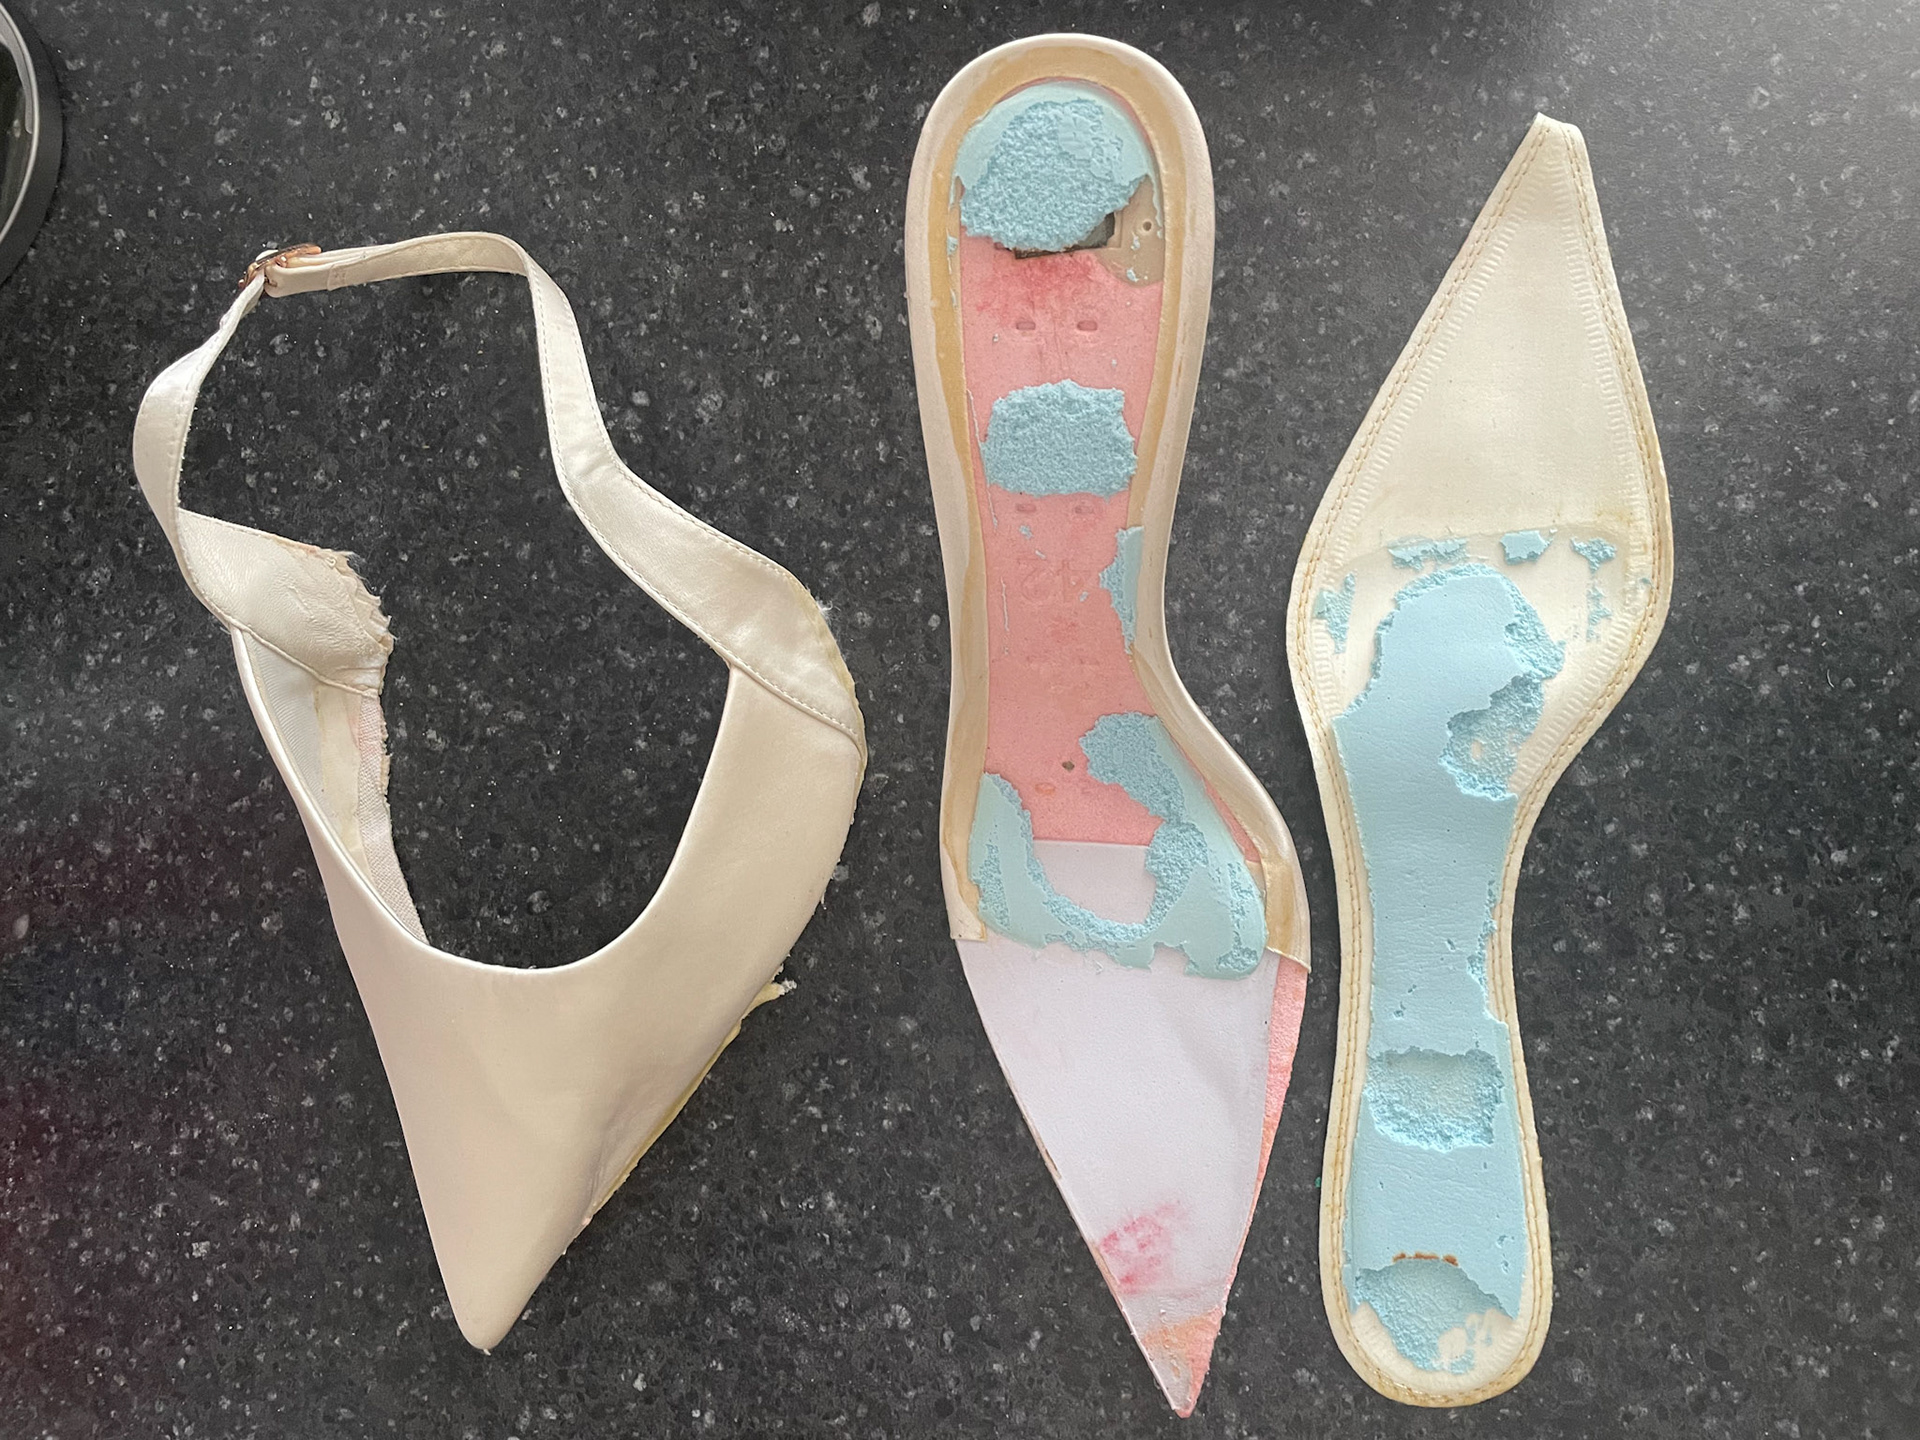
Shoe 2: disassembled.
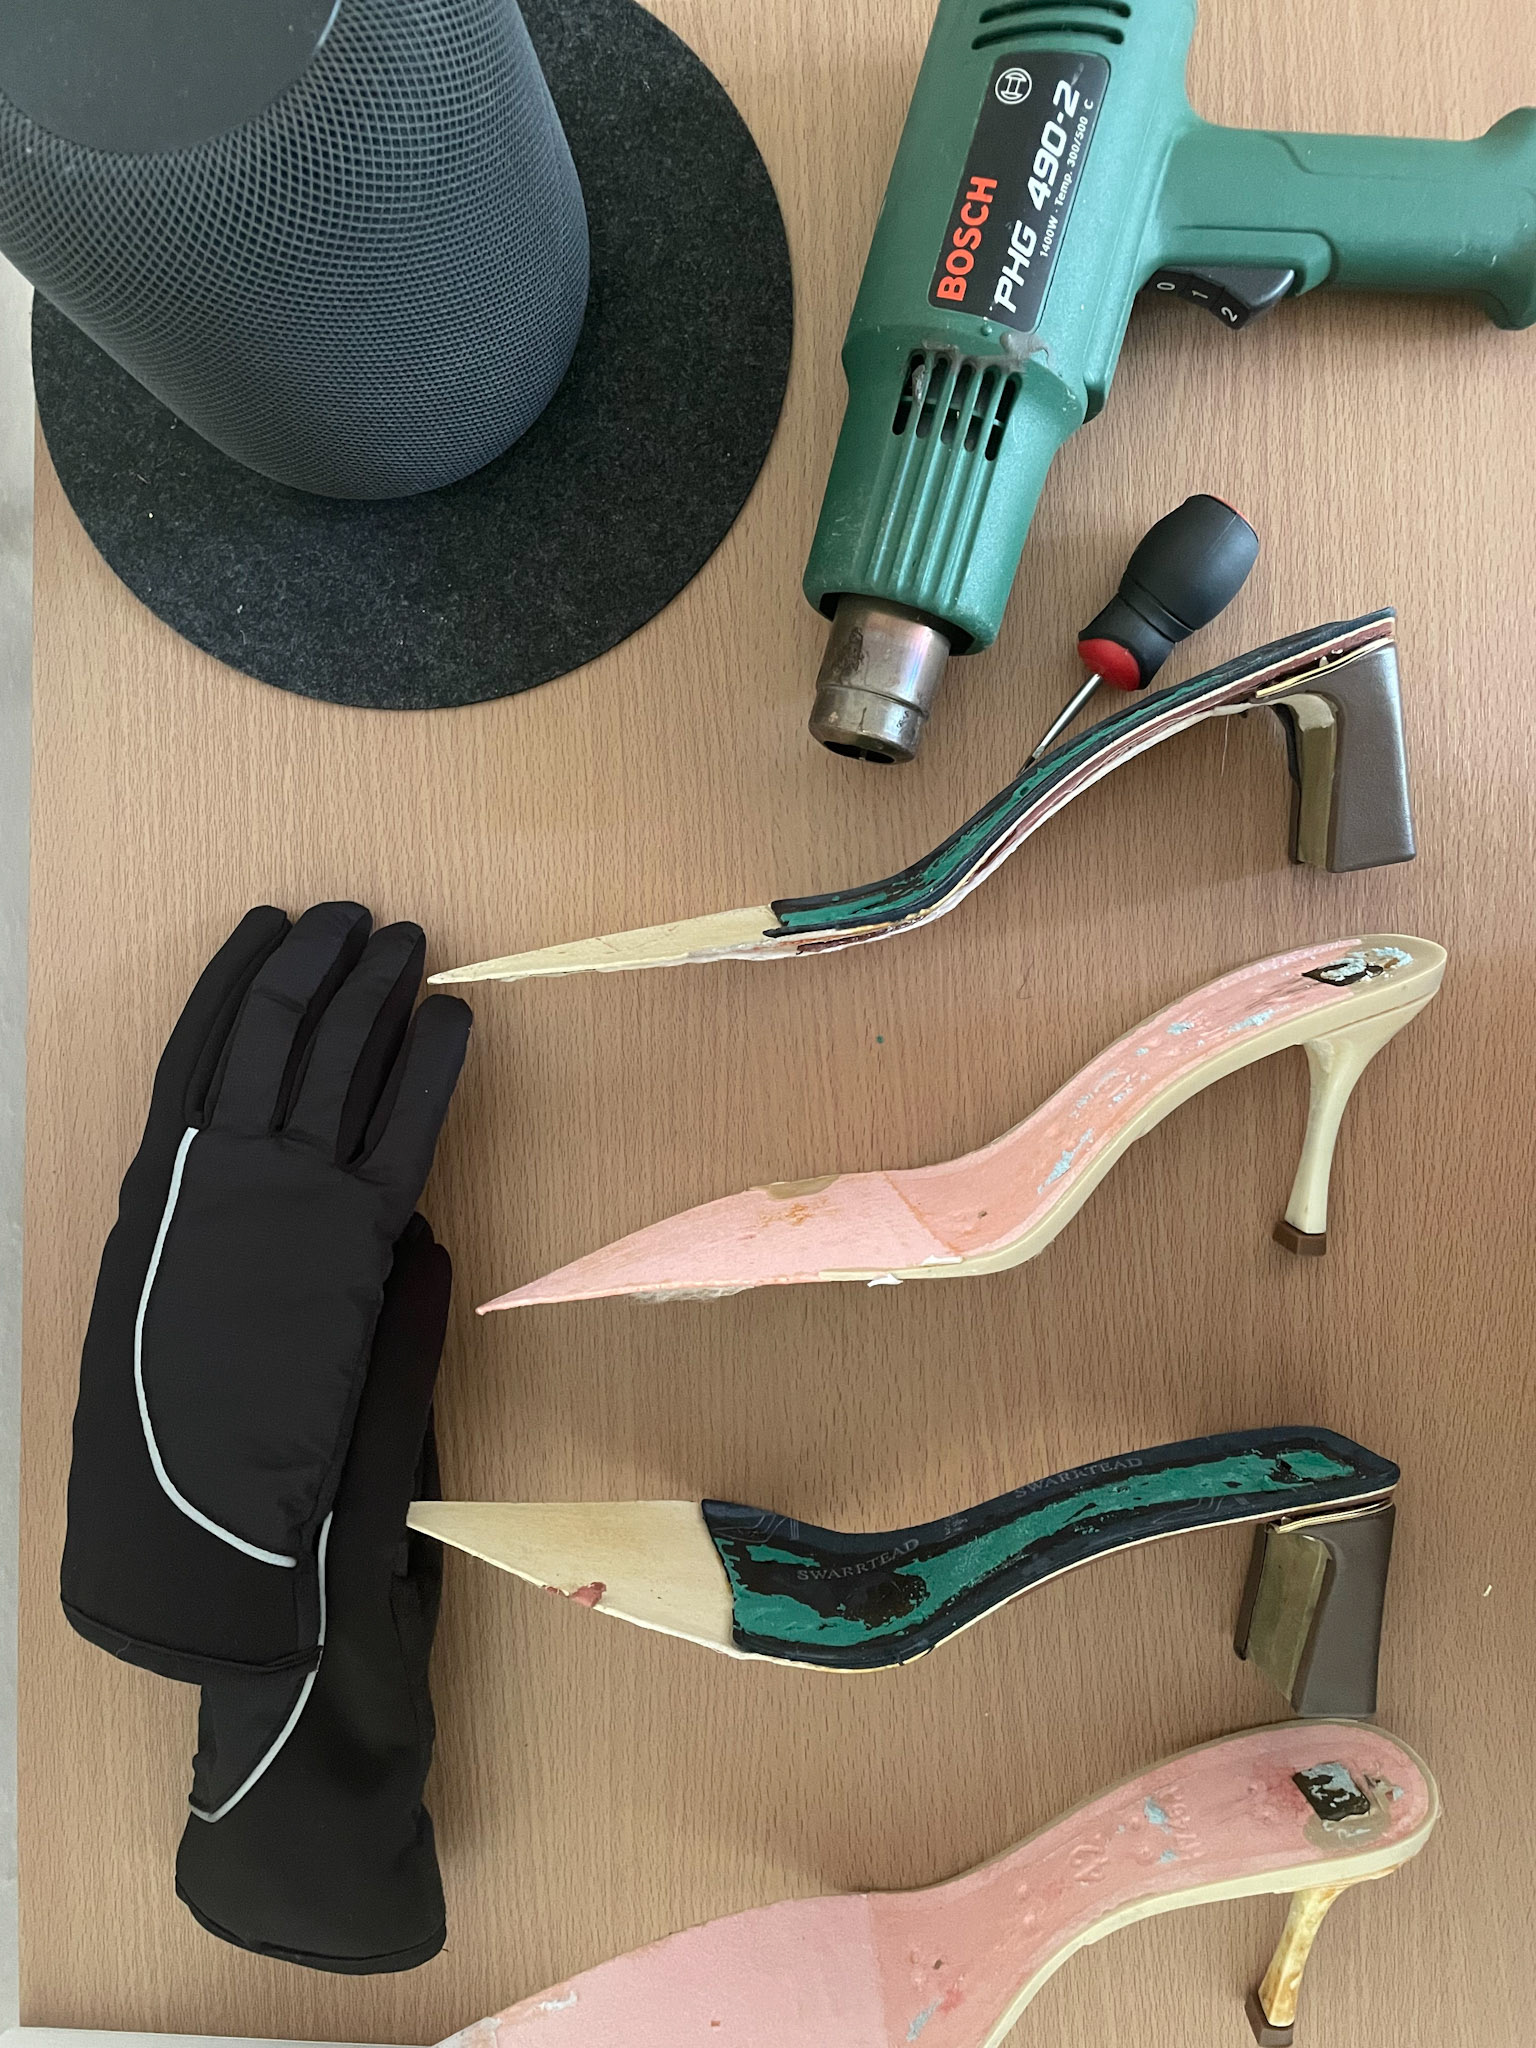
Insoles of both shoes still attached to heels. (before using heat gun)
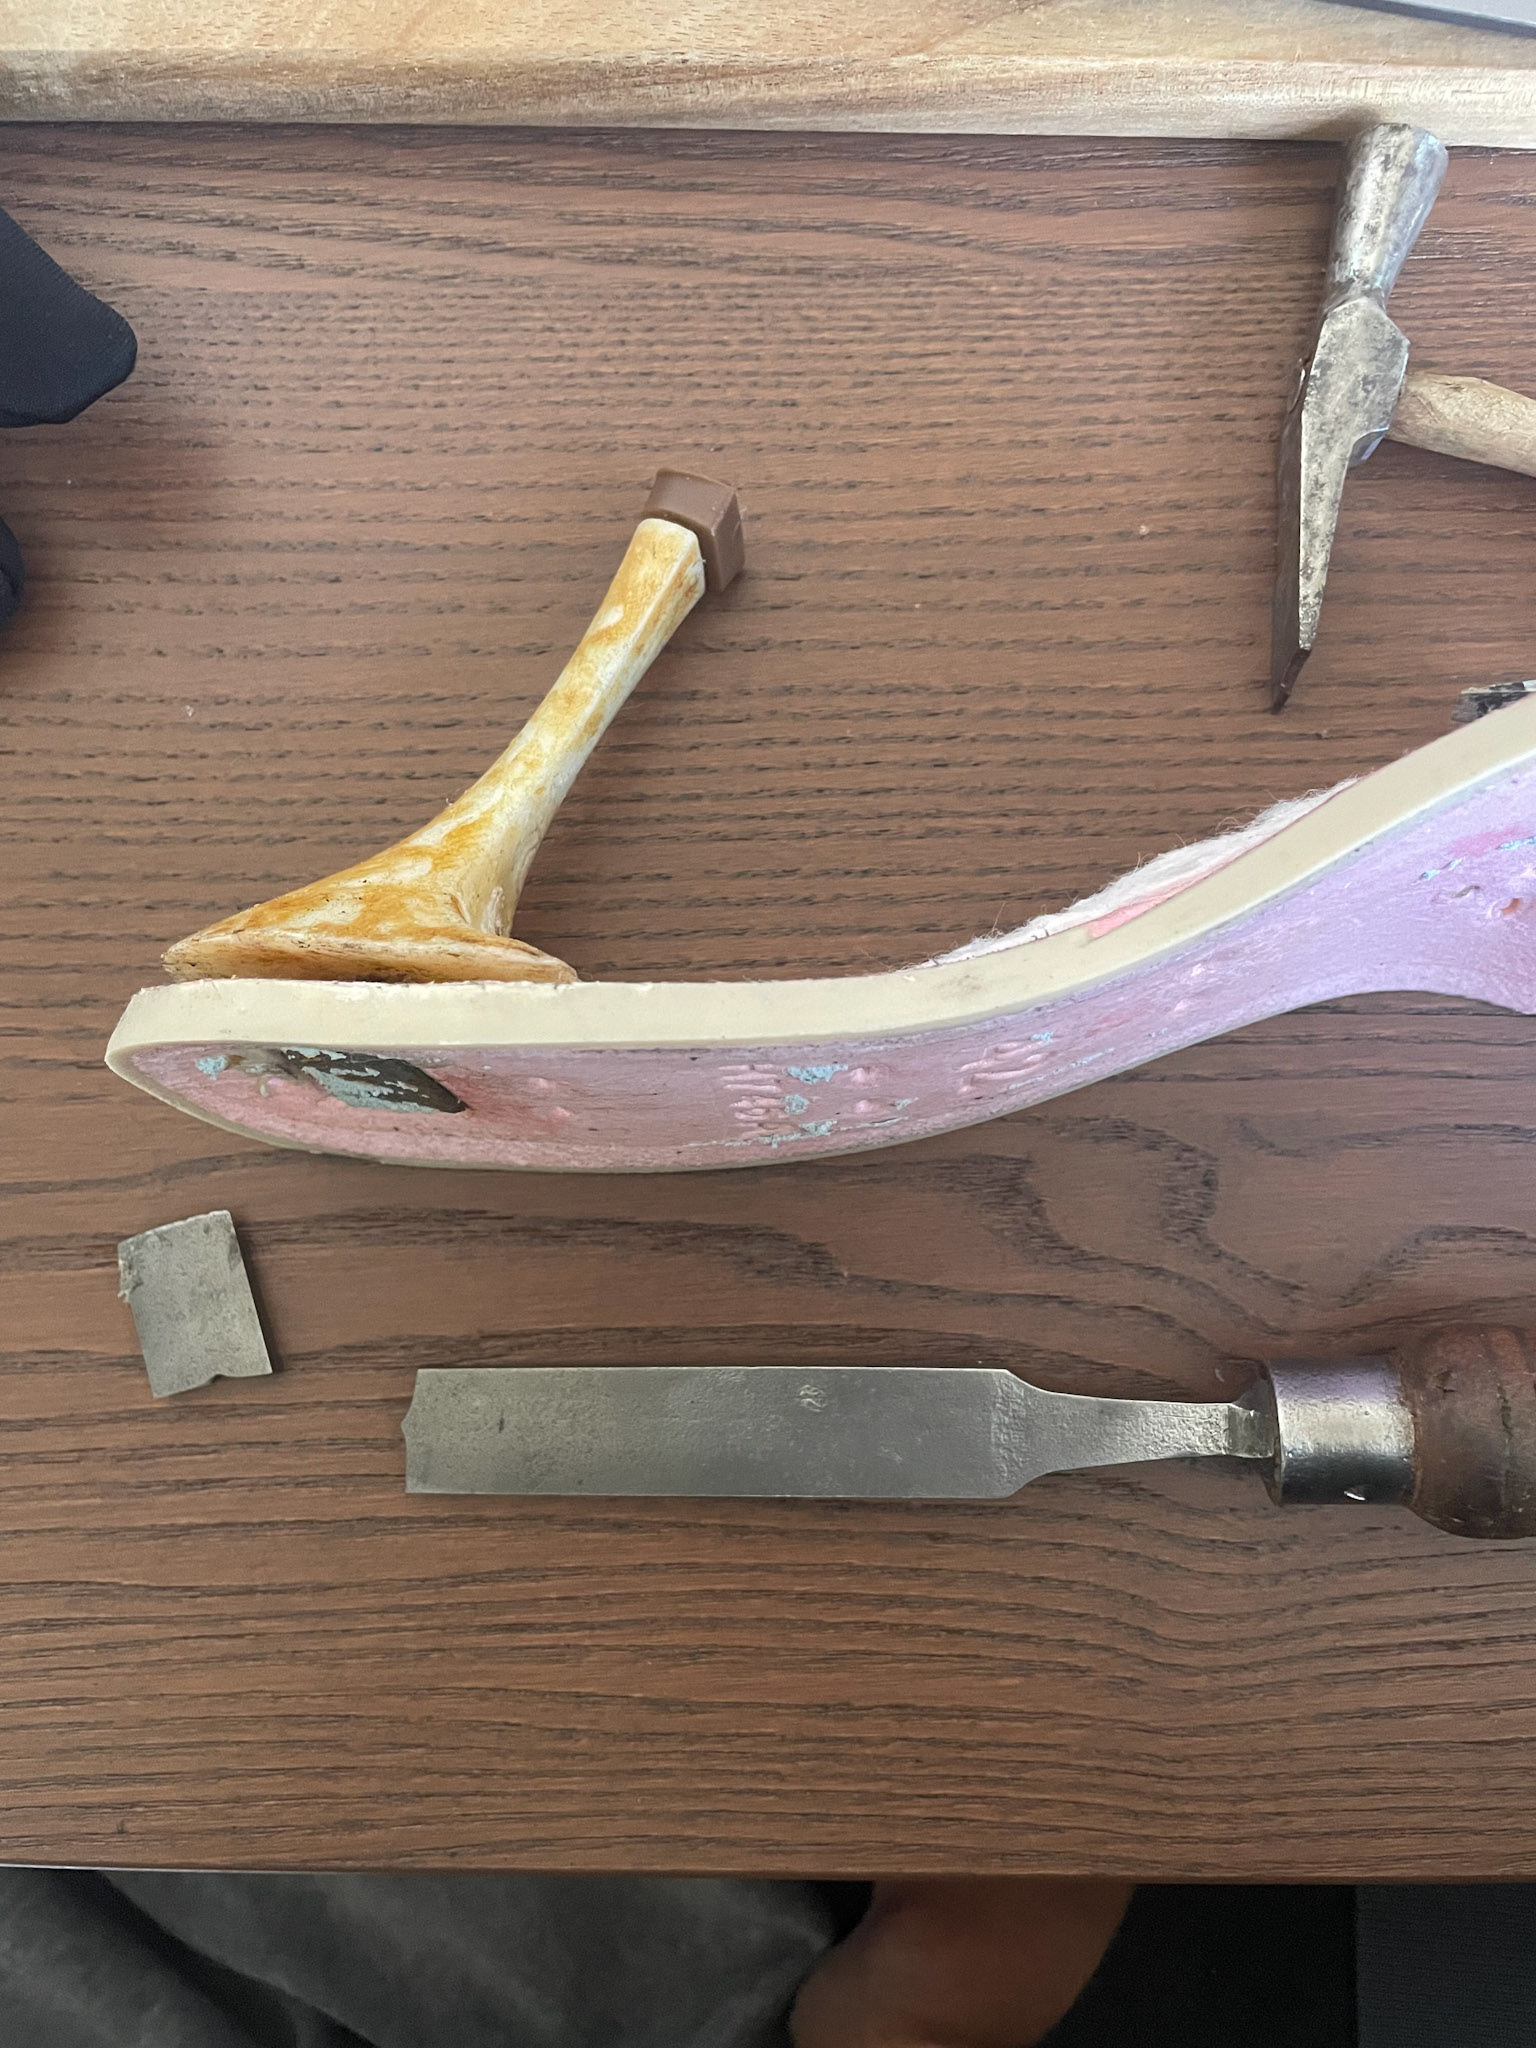
Shoe 2: the staple to heel attachment proved too strong against many tools I turned to, as well as the heat gun.
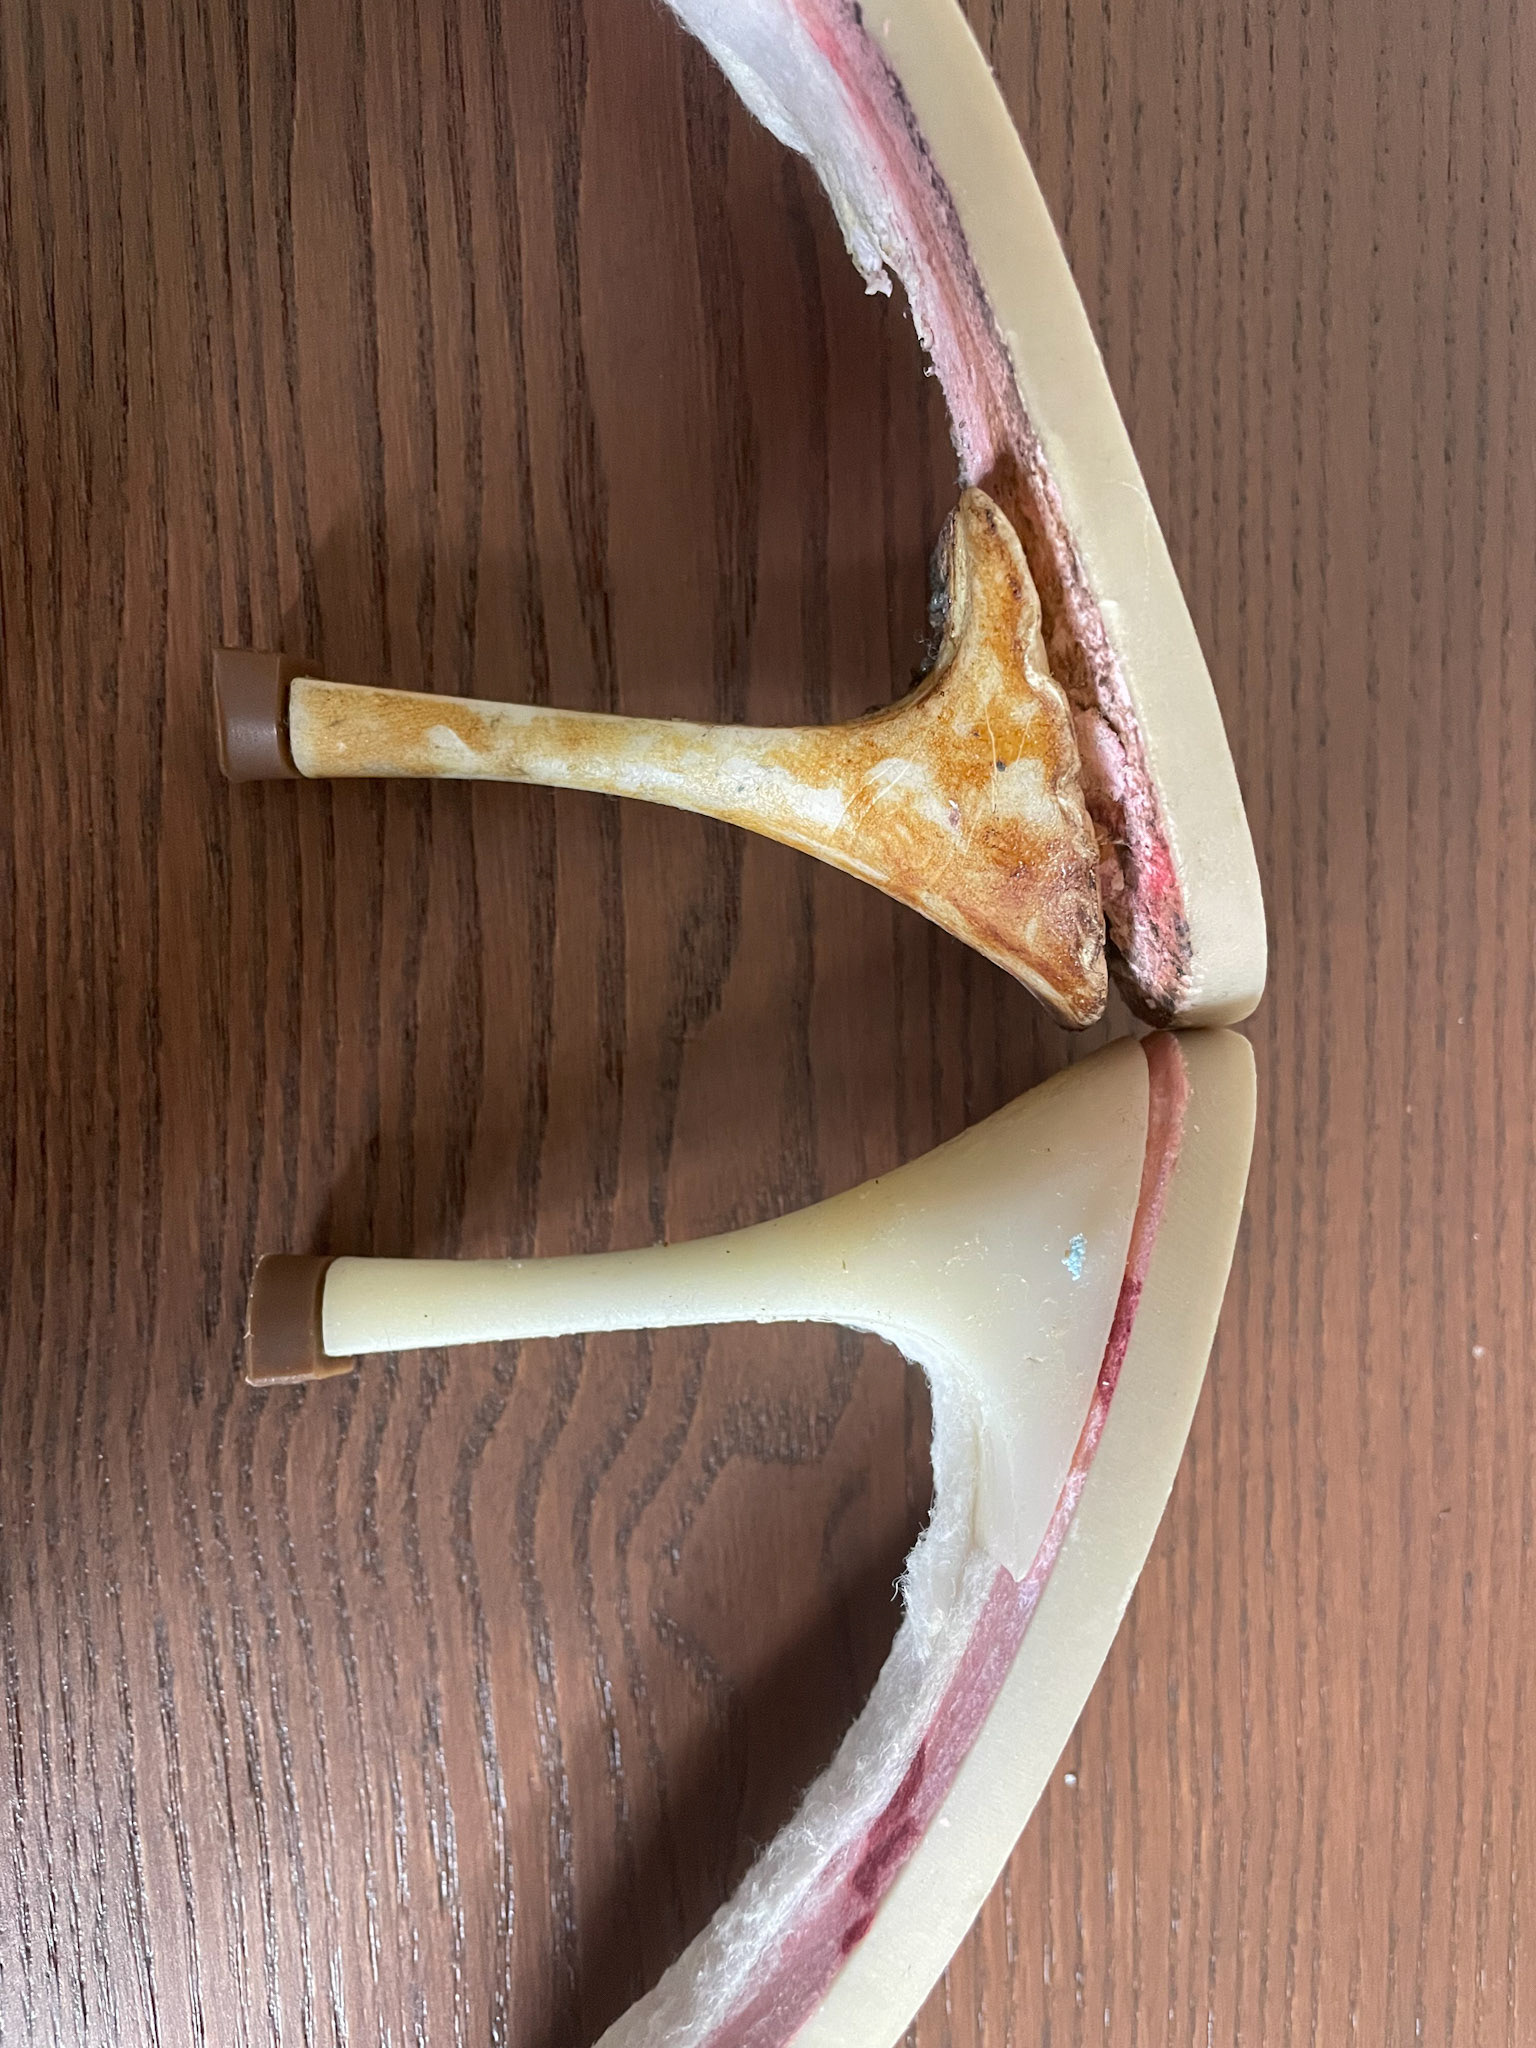
Shoe 2: after almost melting through a heel, I ended up settling with defeat, and only managed to pry the heel apart from the insole enough to allow space to hopefully tuck in the material.
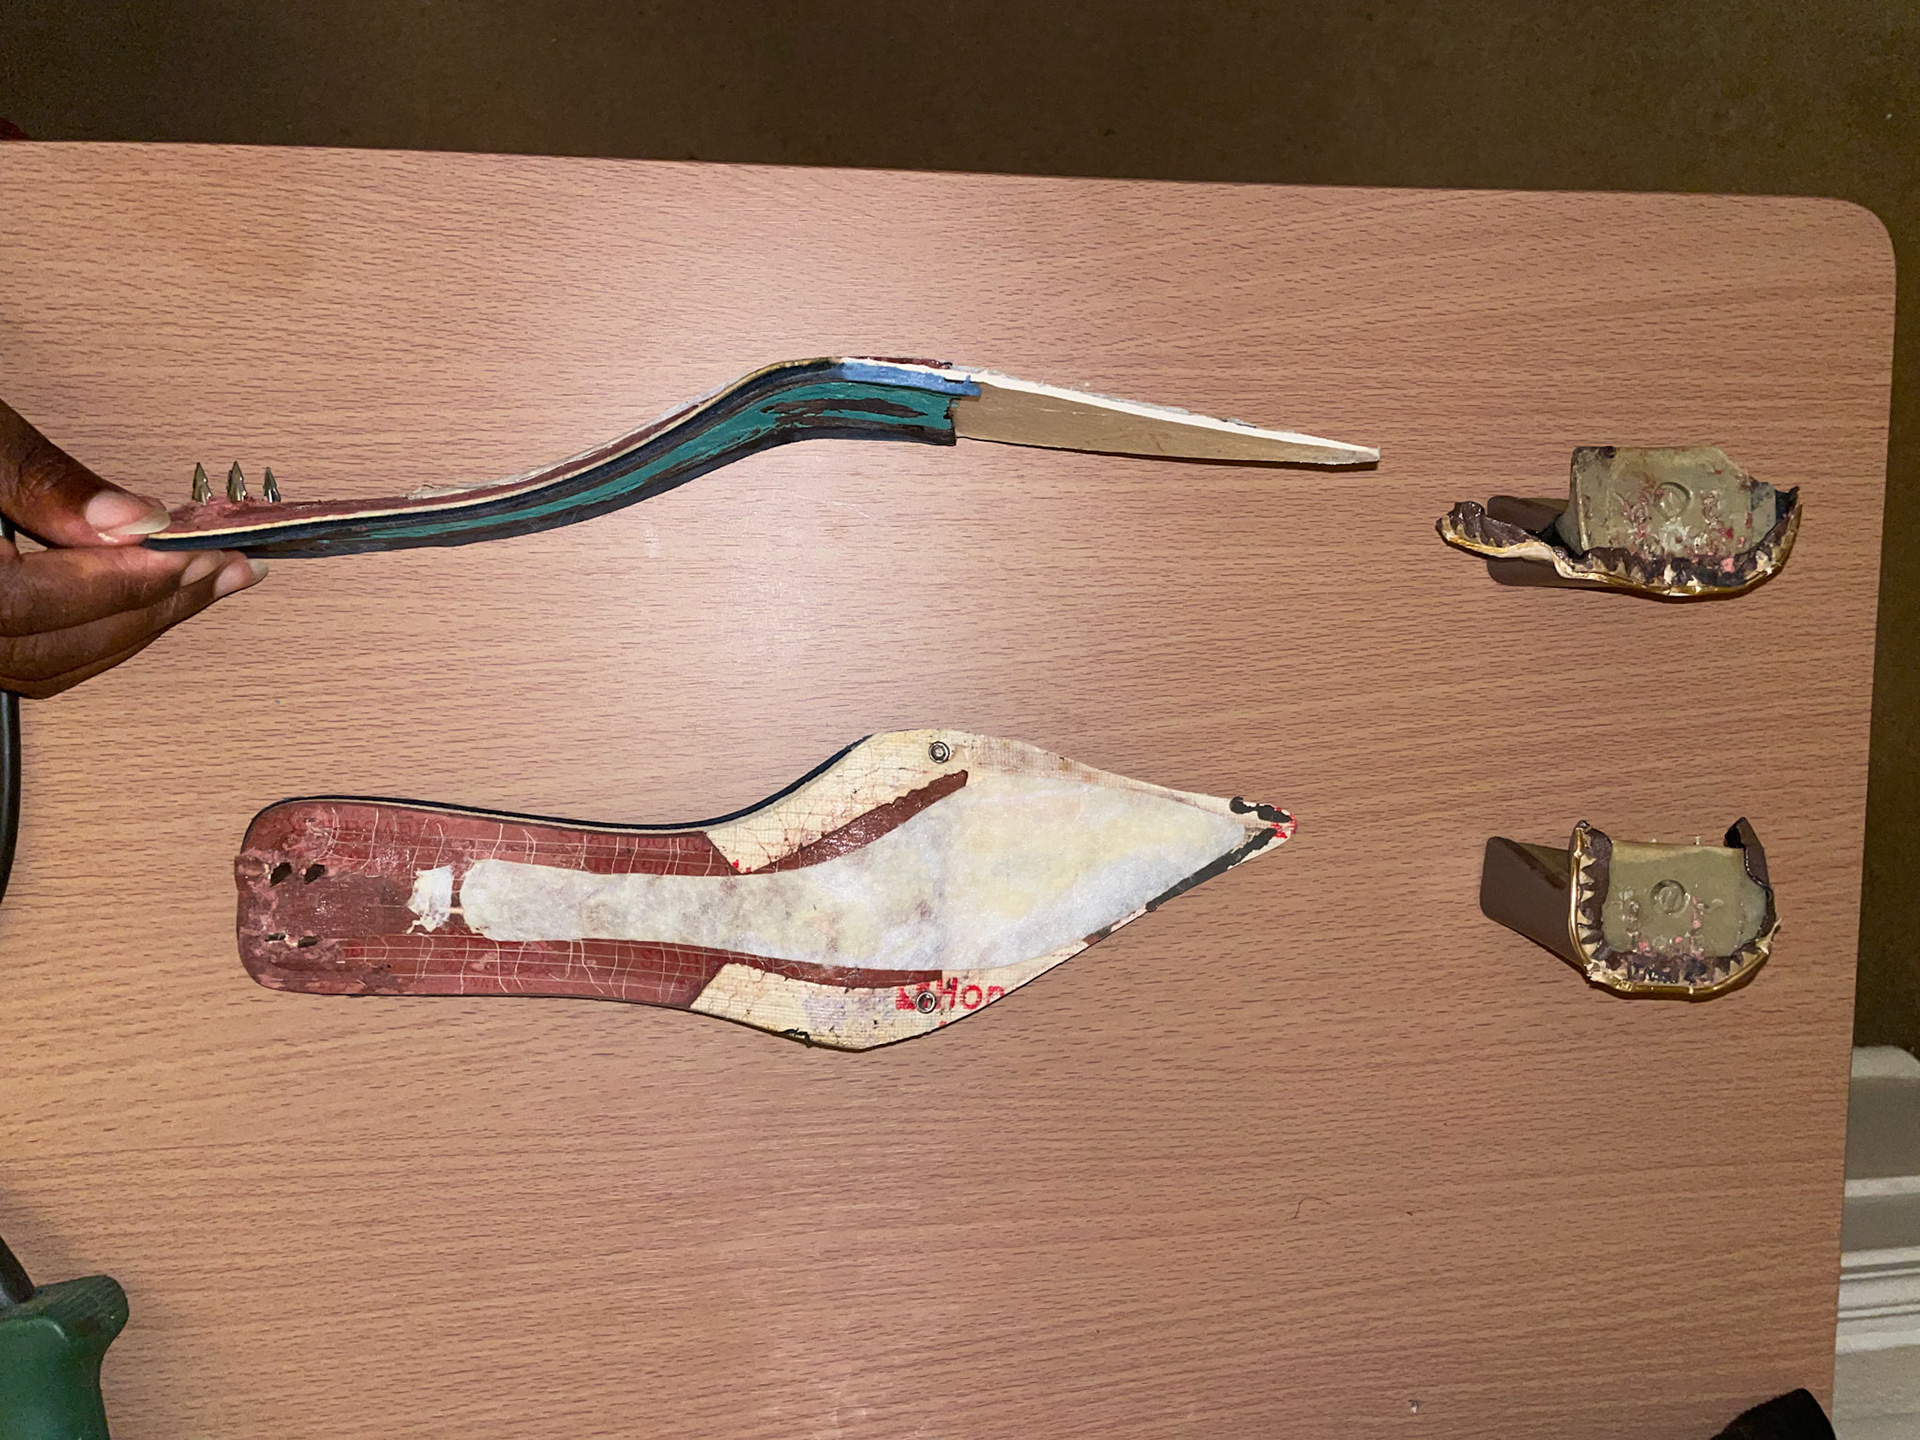
Shoe 1: required little fighting to separate from the heel. (But the heel didn't appear to be a solid mould which likely helped.)
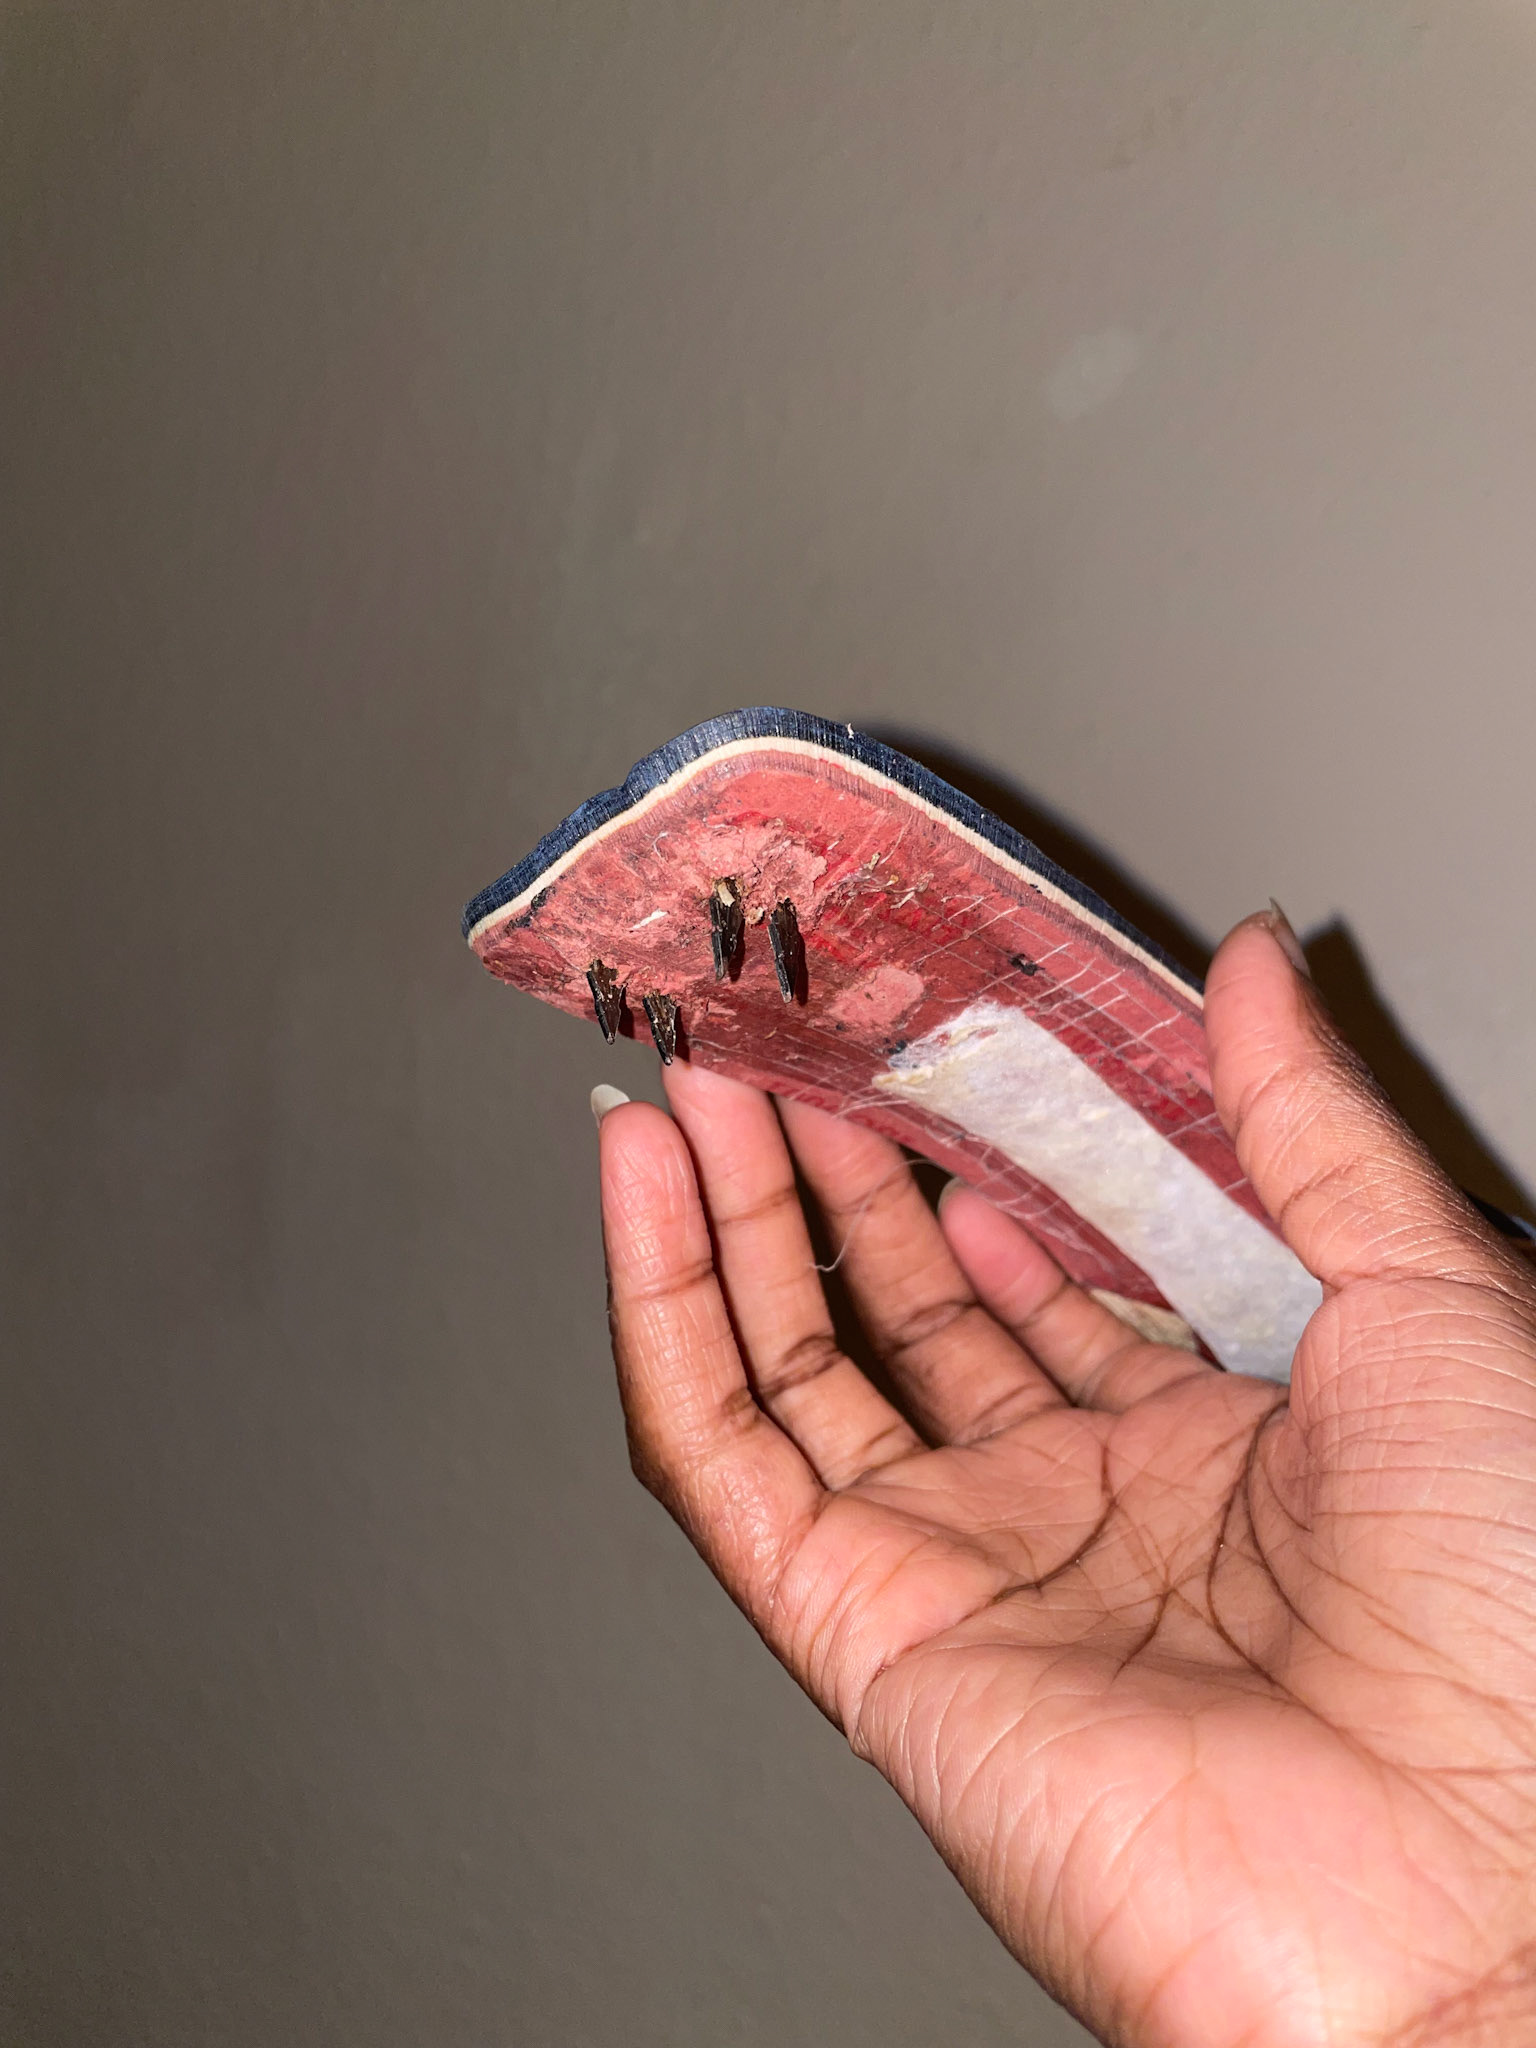
Shoe 1: close up of the type of staple used
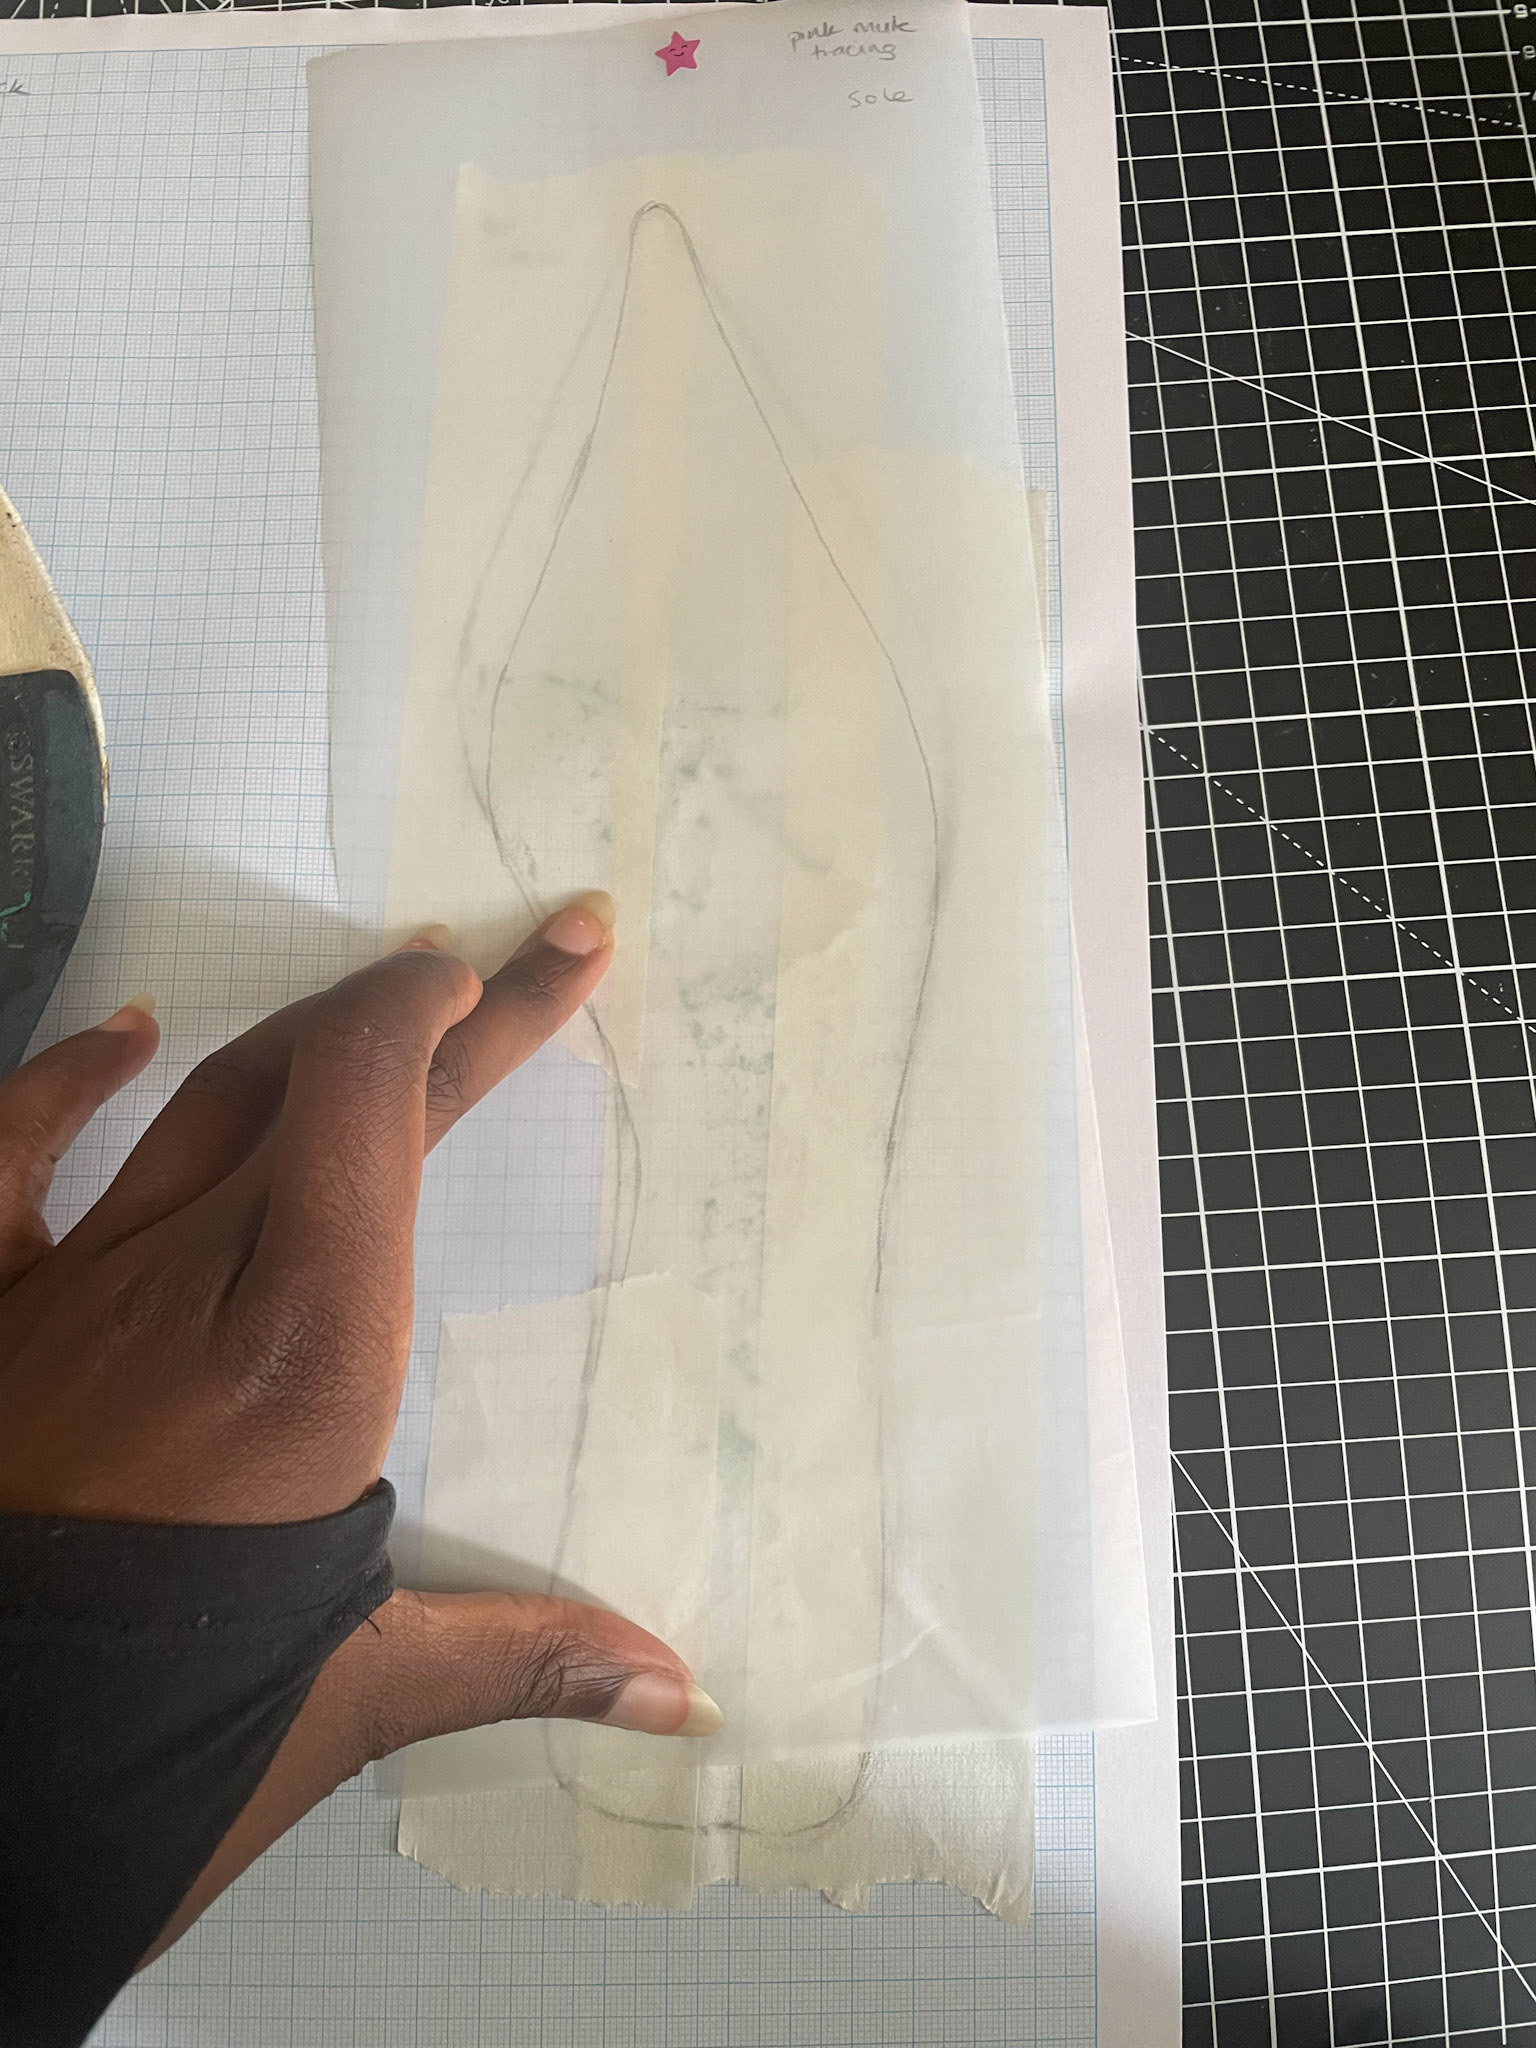
Comparing the insole patterns of the 2 recycle shoes vs. the prototype shoe.
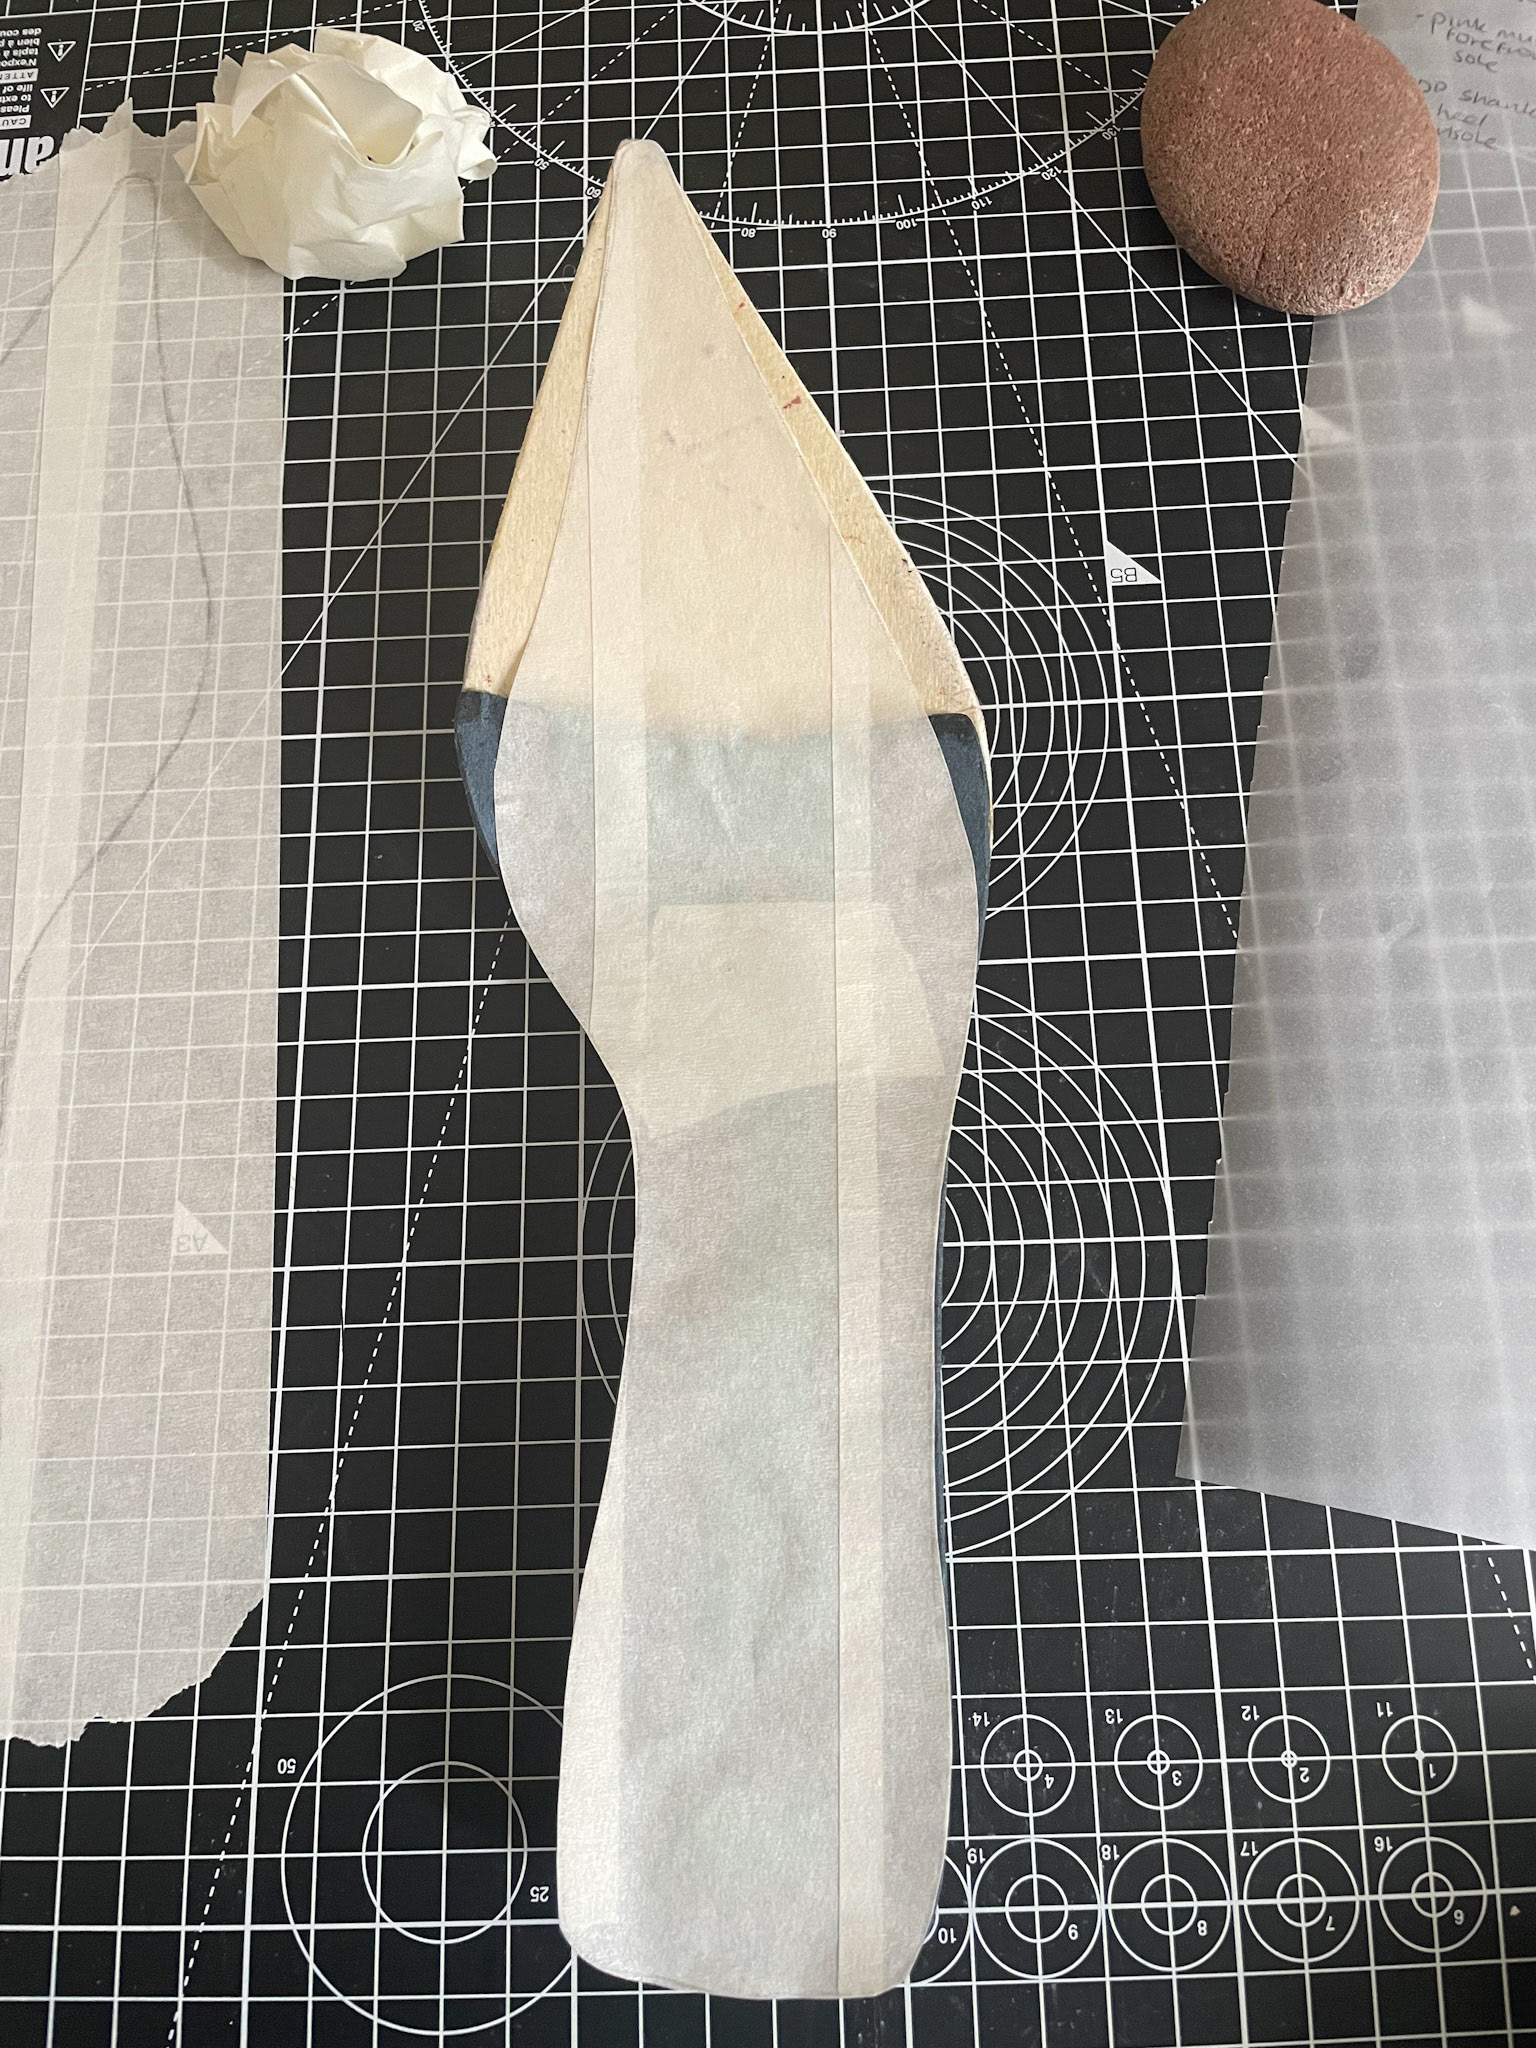
Using a guide made from tape, to trim the insole boards to match that of the prototype's dimension
U P C Y C L I N G + D E S I G N I N G: P R O J E C T "Blue Puffer Jacket"
(Original shoe no."2"):
Equally as inspired by up-cycling and resourcefulness as I am new materials, I drafted a design based on an old blue puffer jacket that I seldom wore.
Being my first ever shoe, I decided not to splurge / waste my rudimental efforts on too many new materials
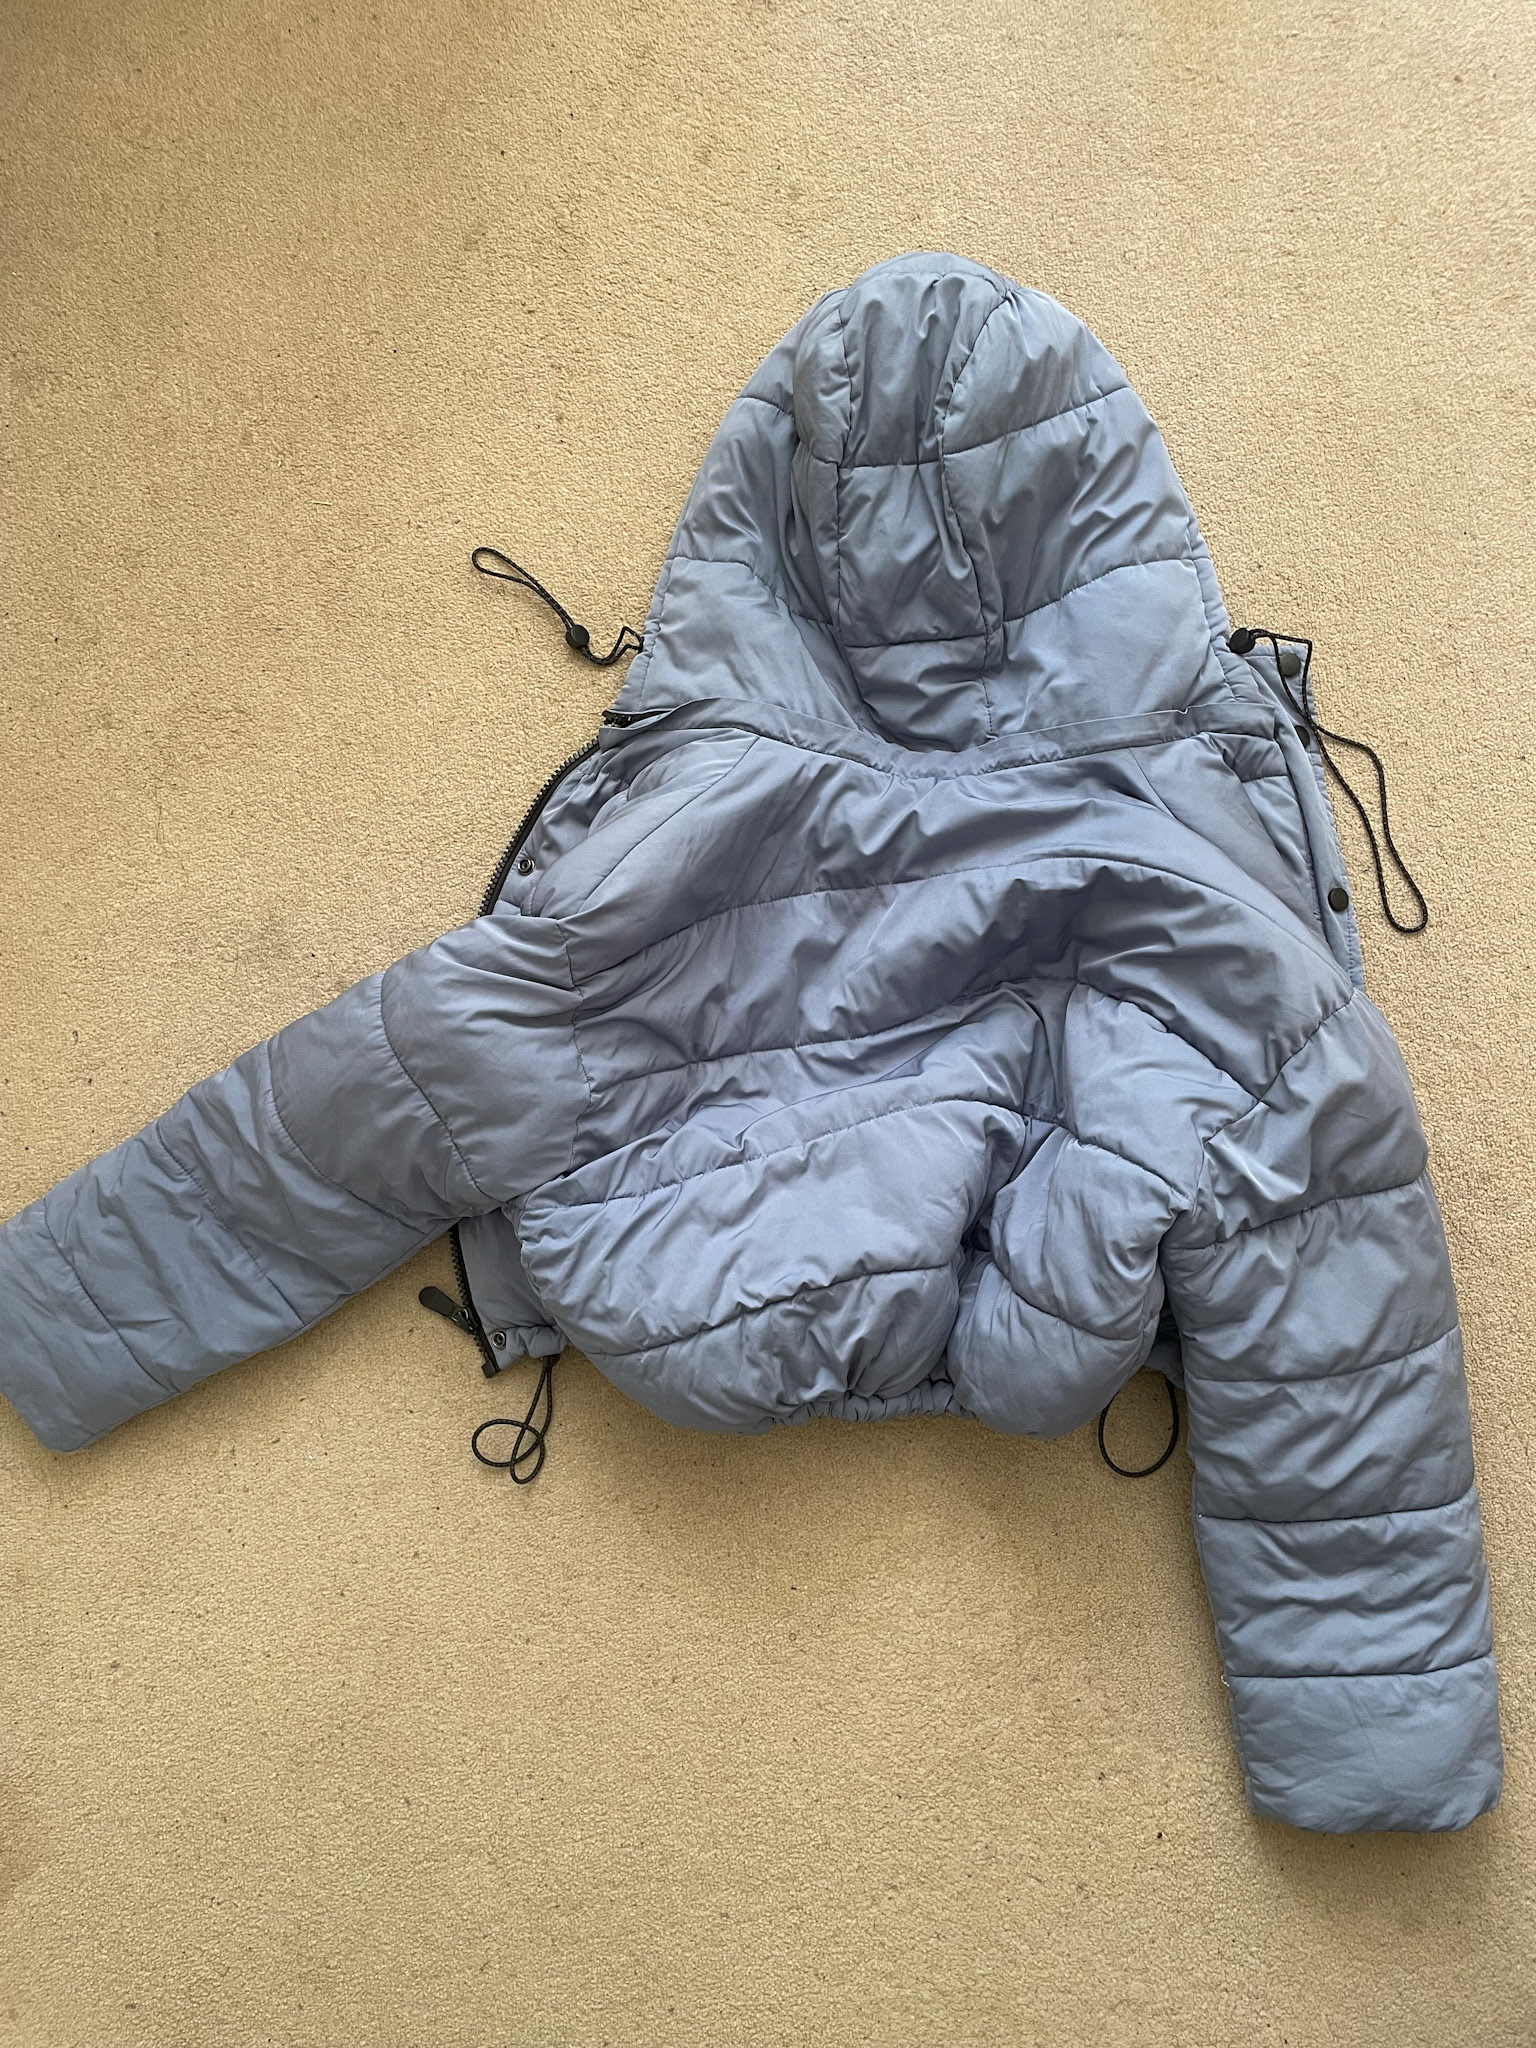
Before separating for components
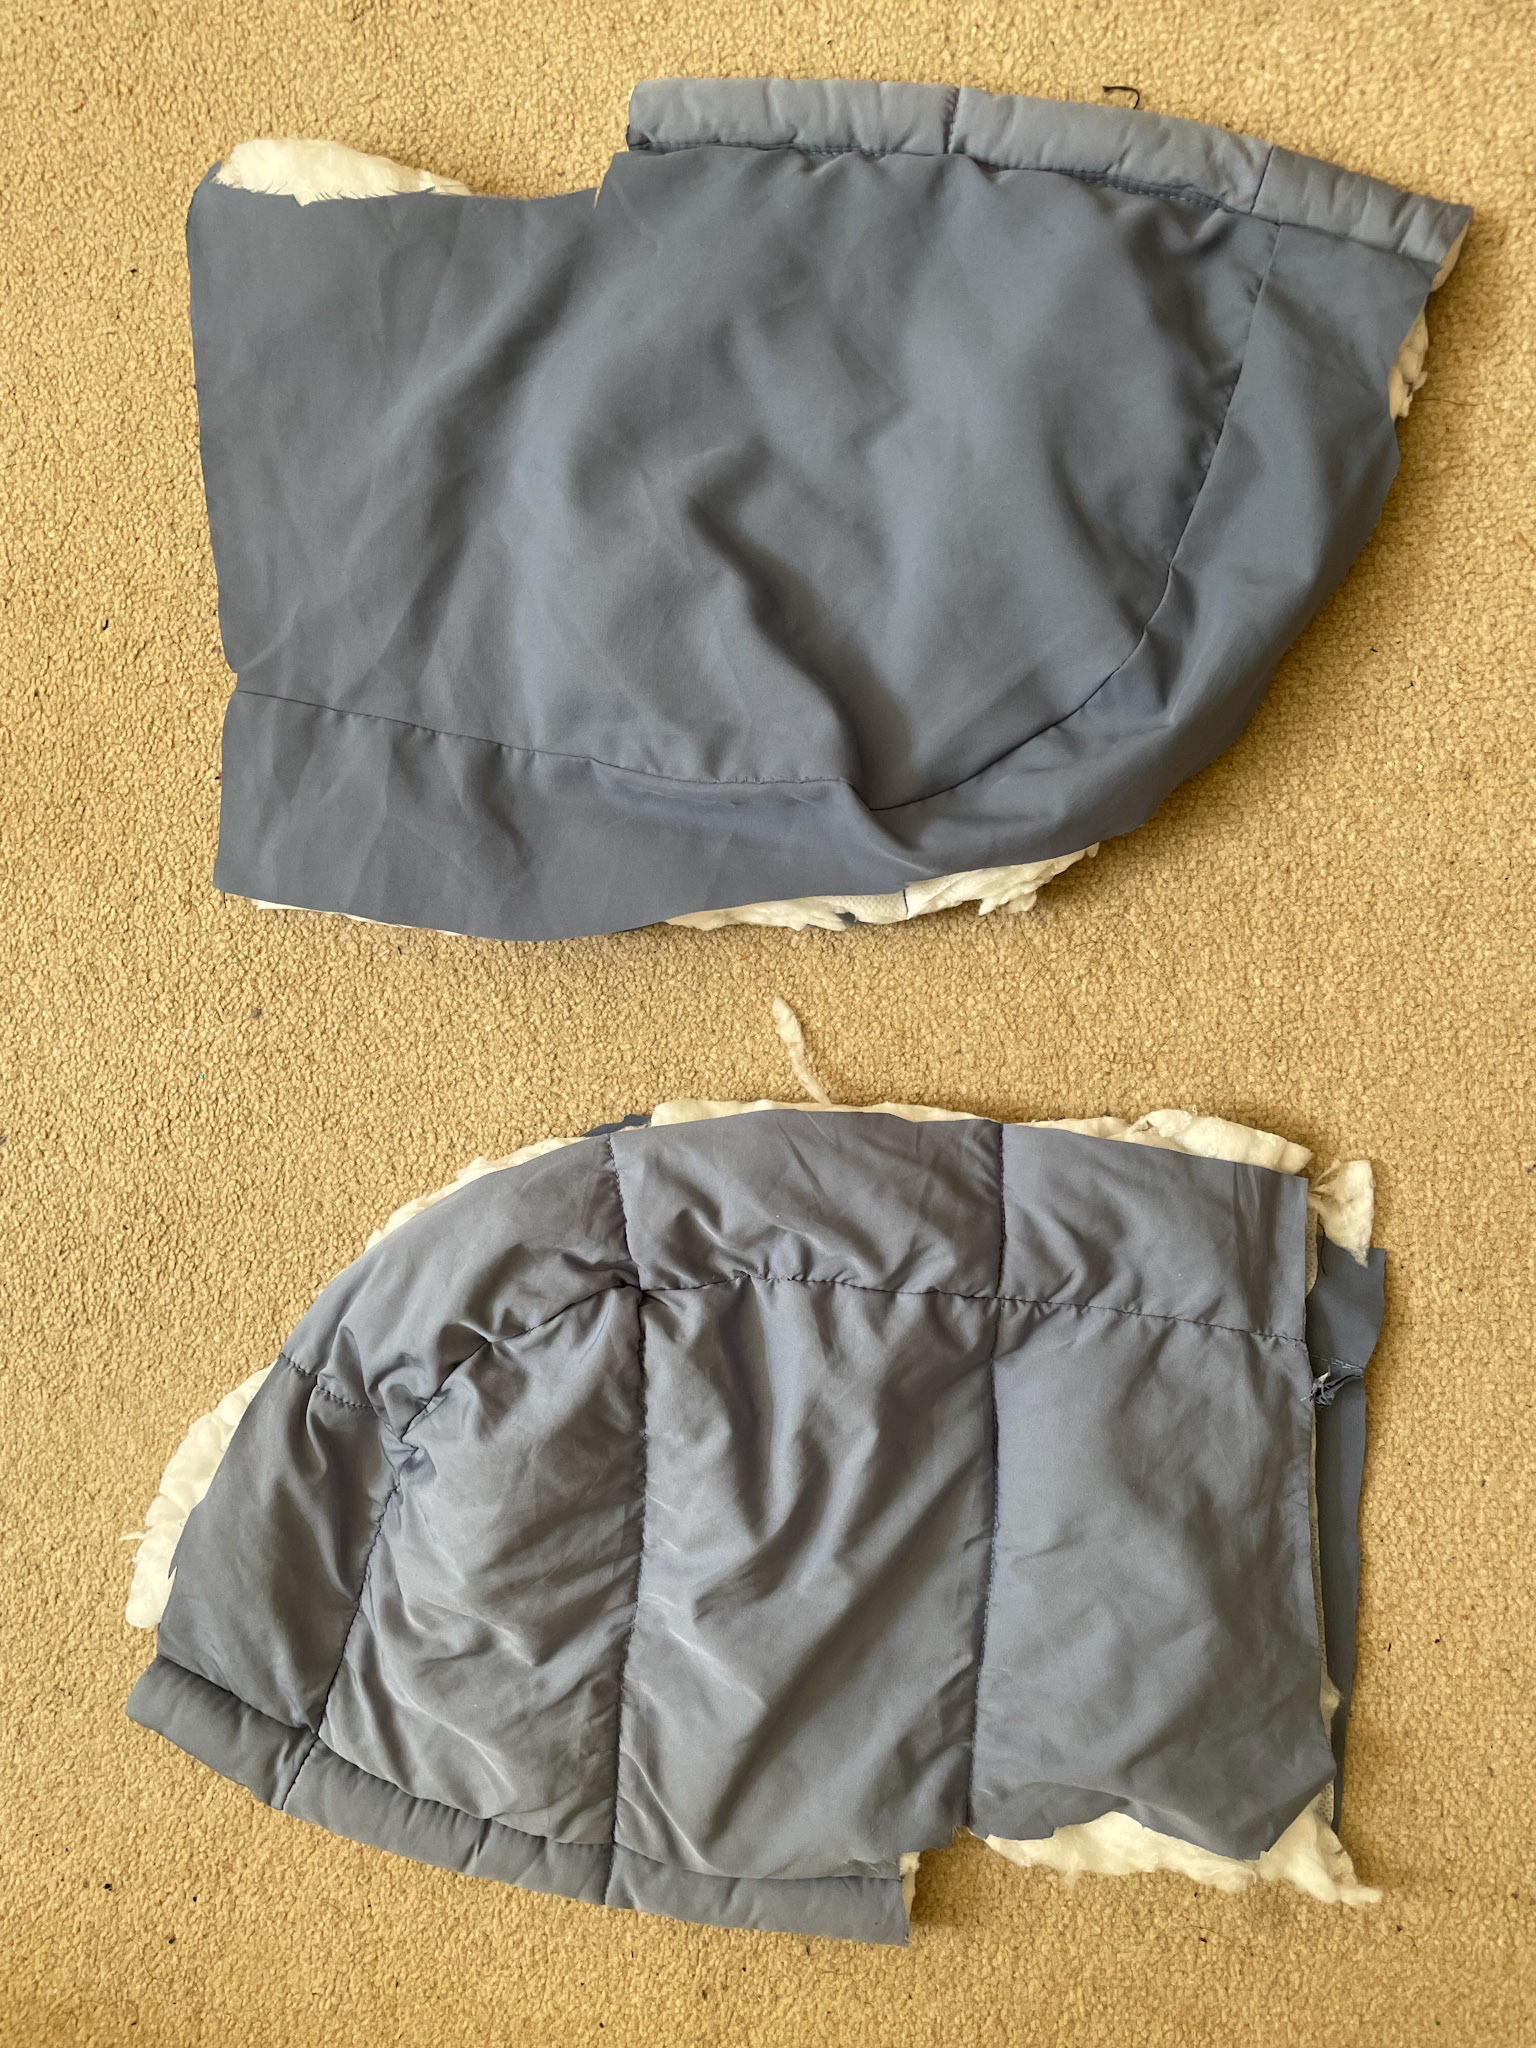
Hood split in half (using for uppers)
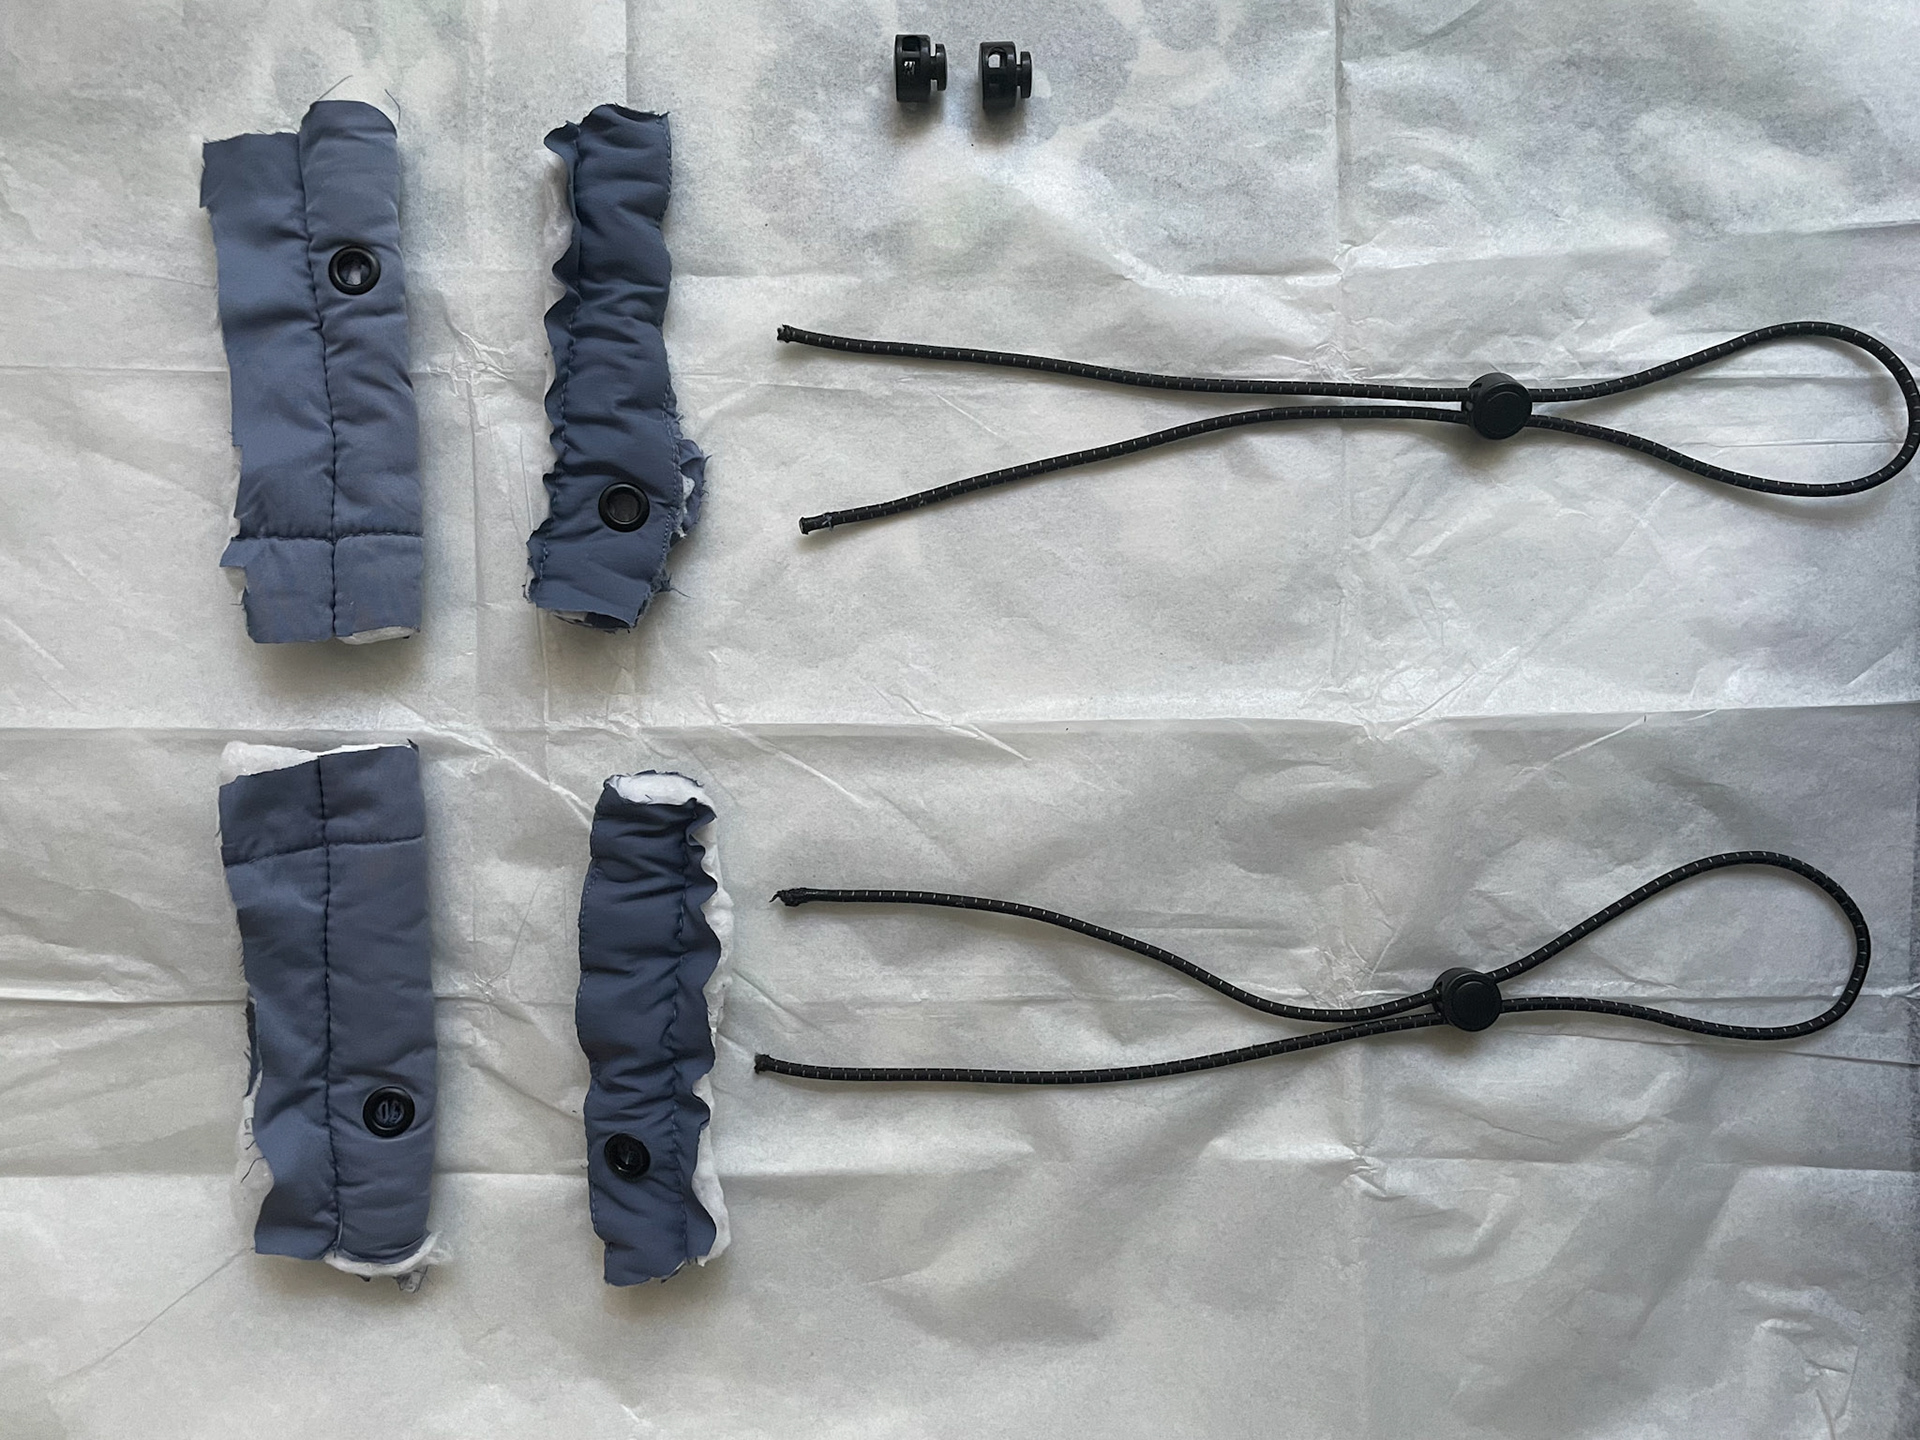
Elastic toggles & eyelet trimmings from waistline (to use for heel strap fastening)
M A K I N G : In-sock, insole and heel cover
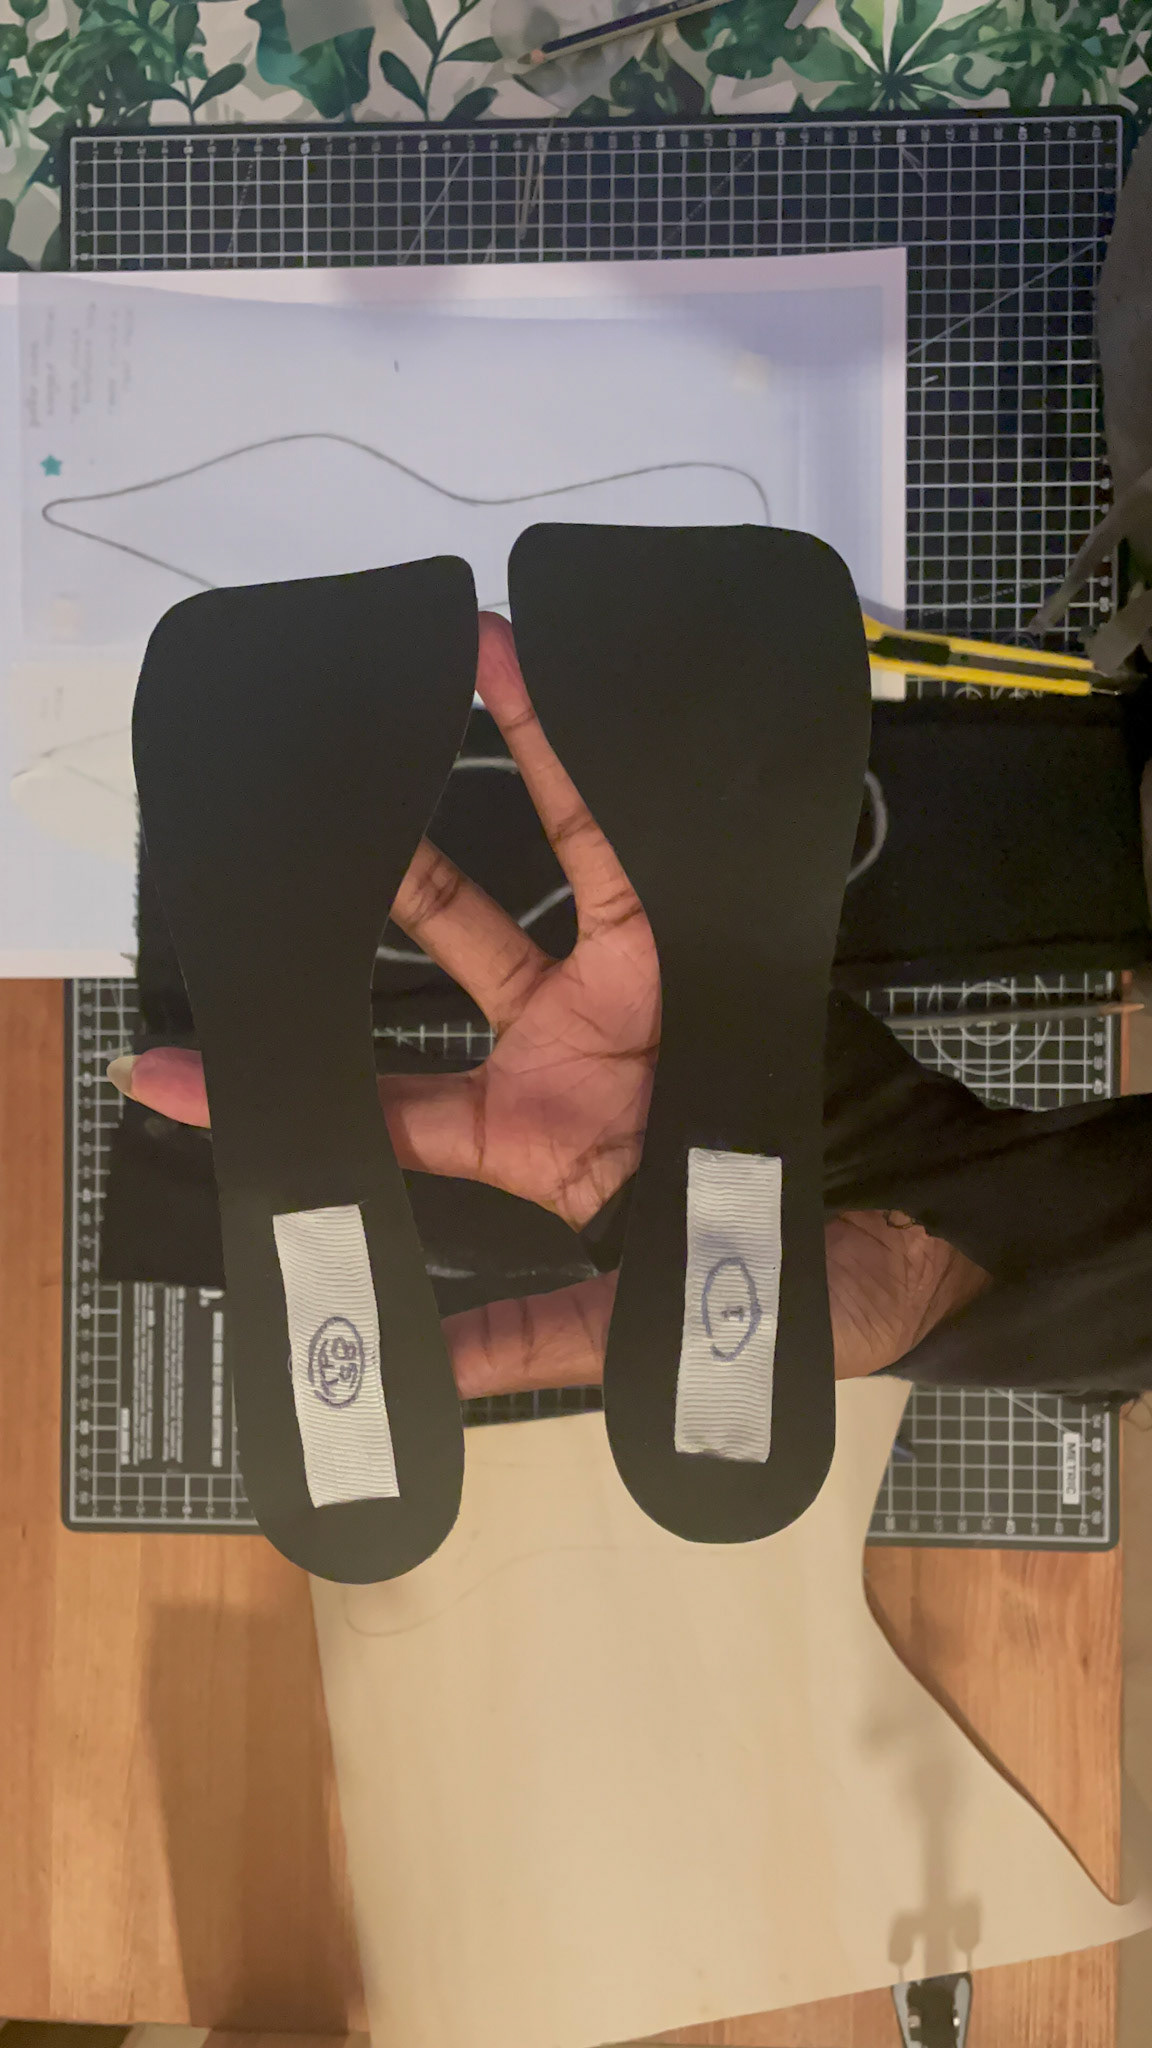
Hand-embroidered white ribbon "labels" on 2mm black leather for insocks
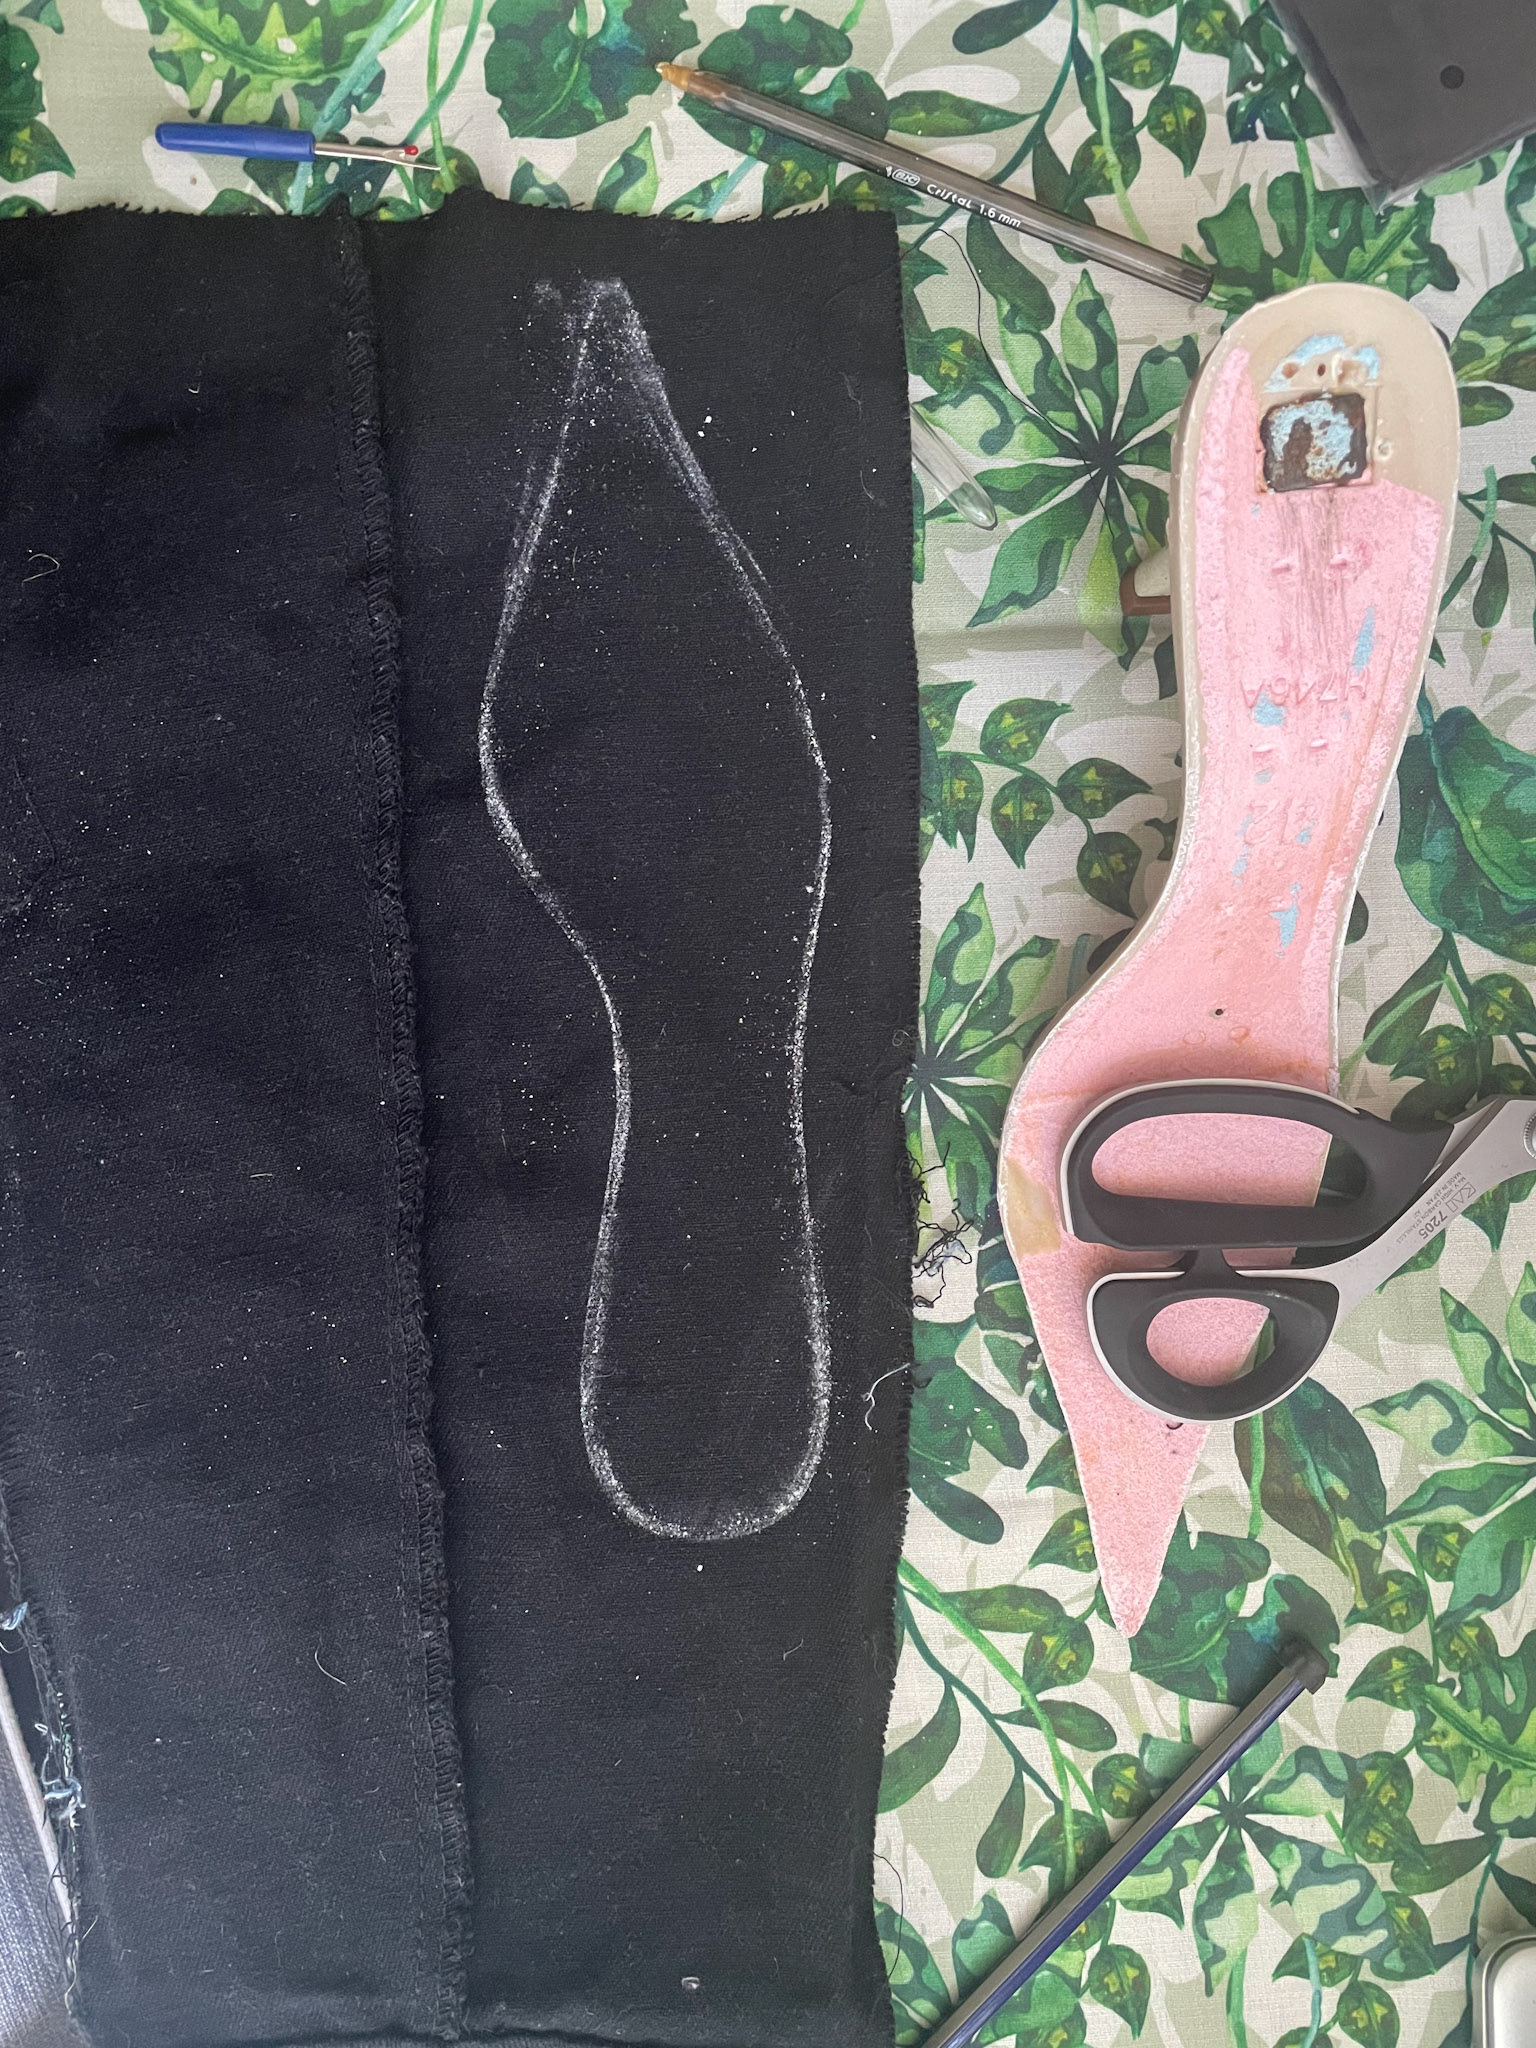
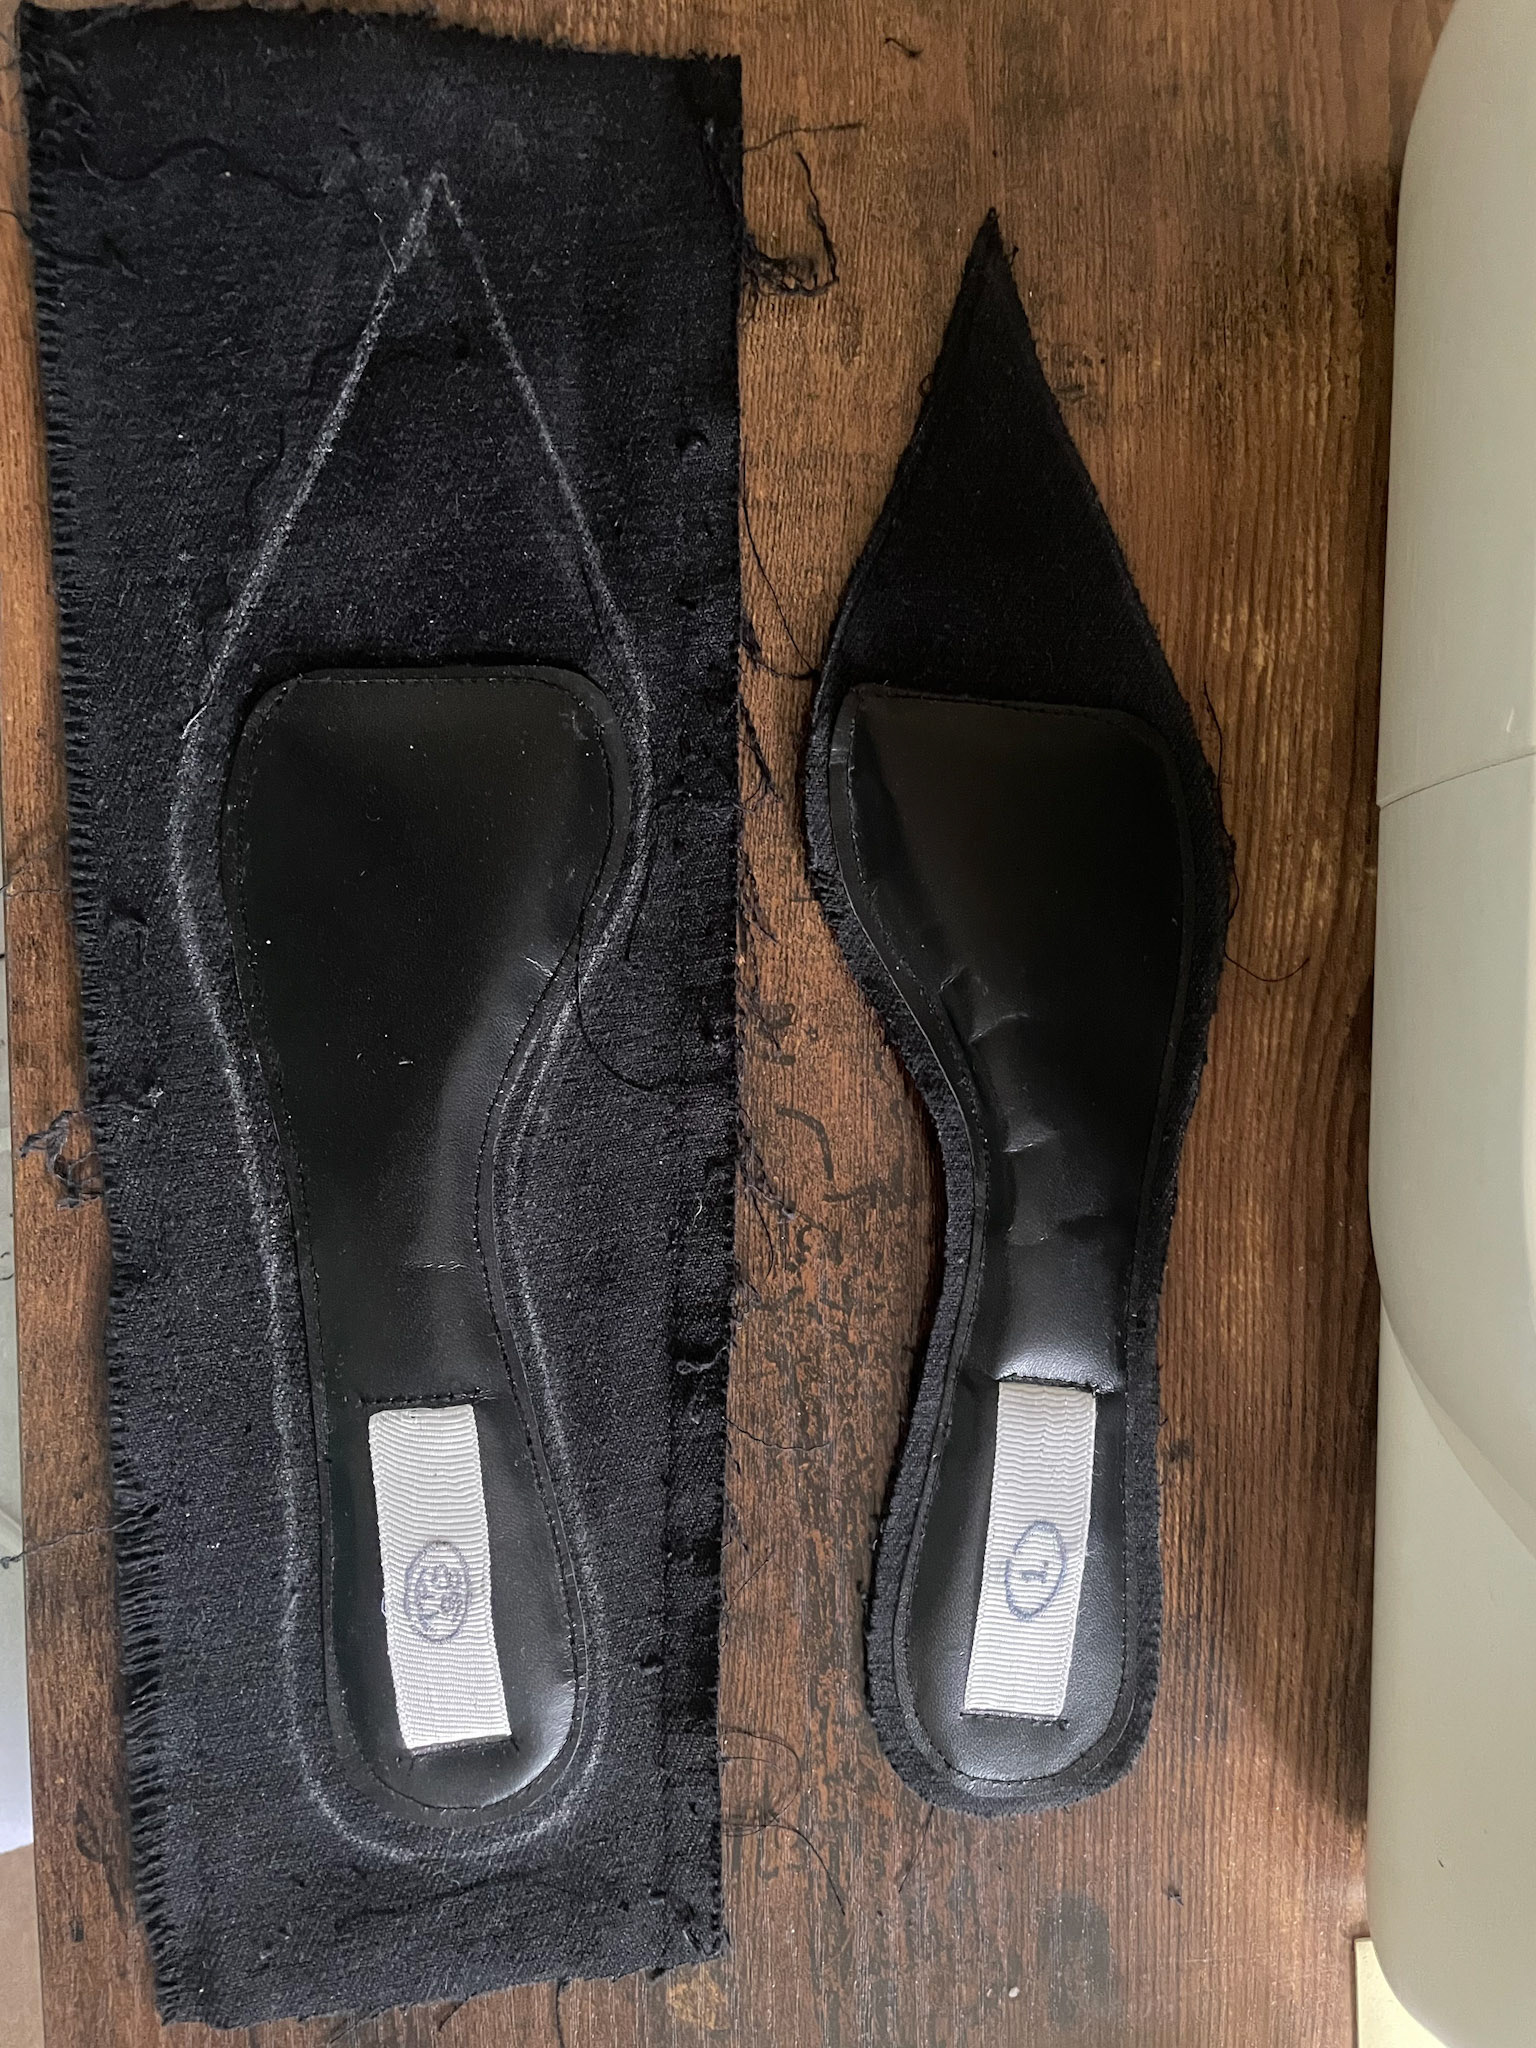
Using black denim offcuts for insole cover material
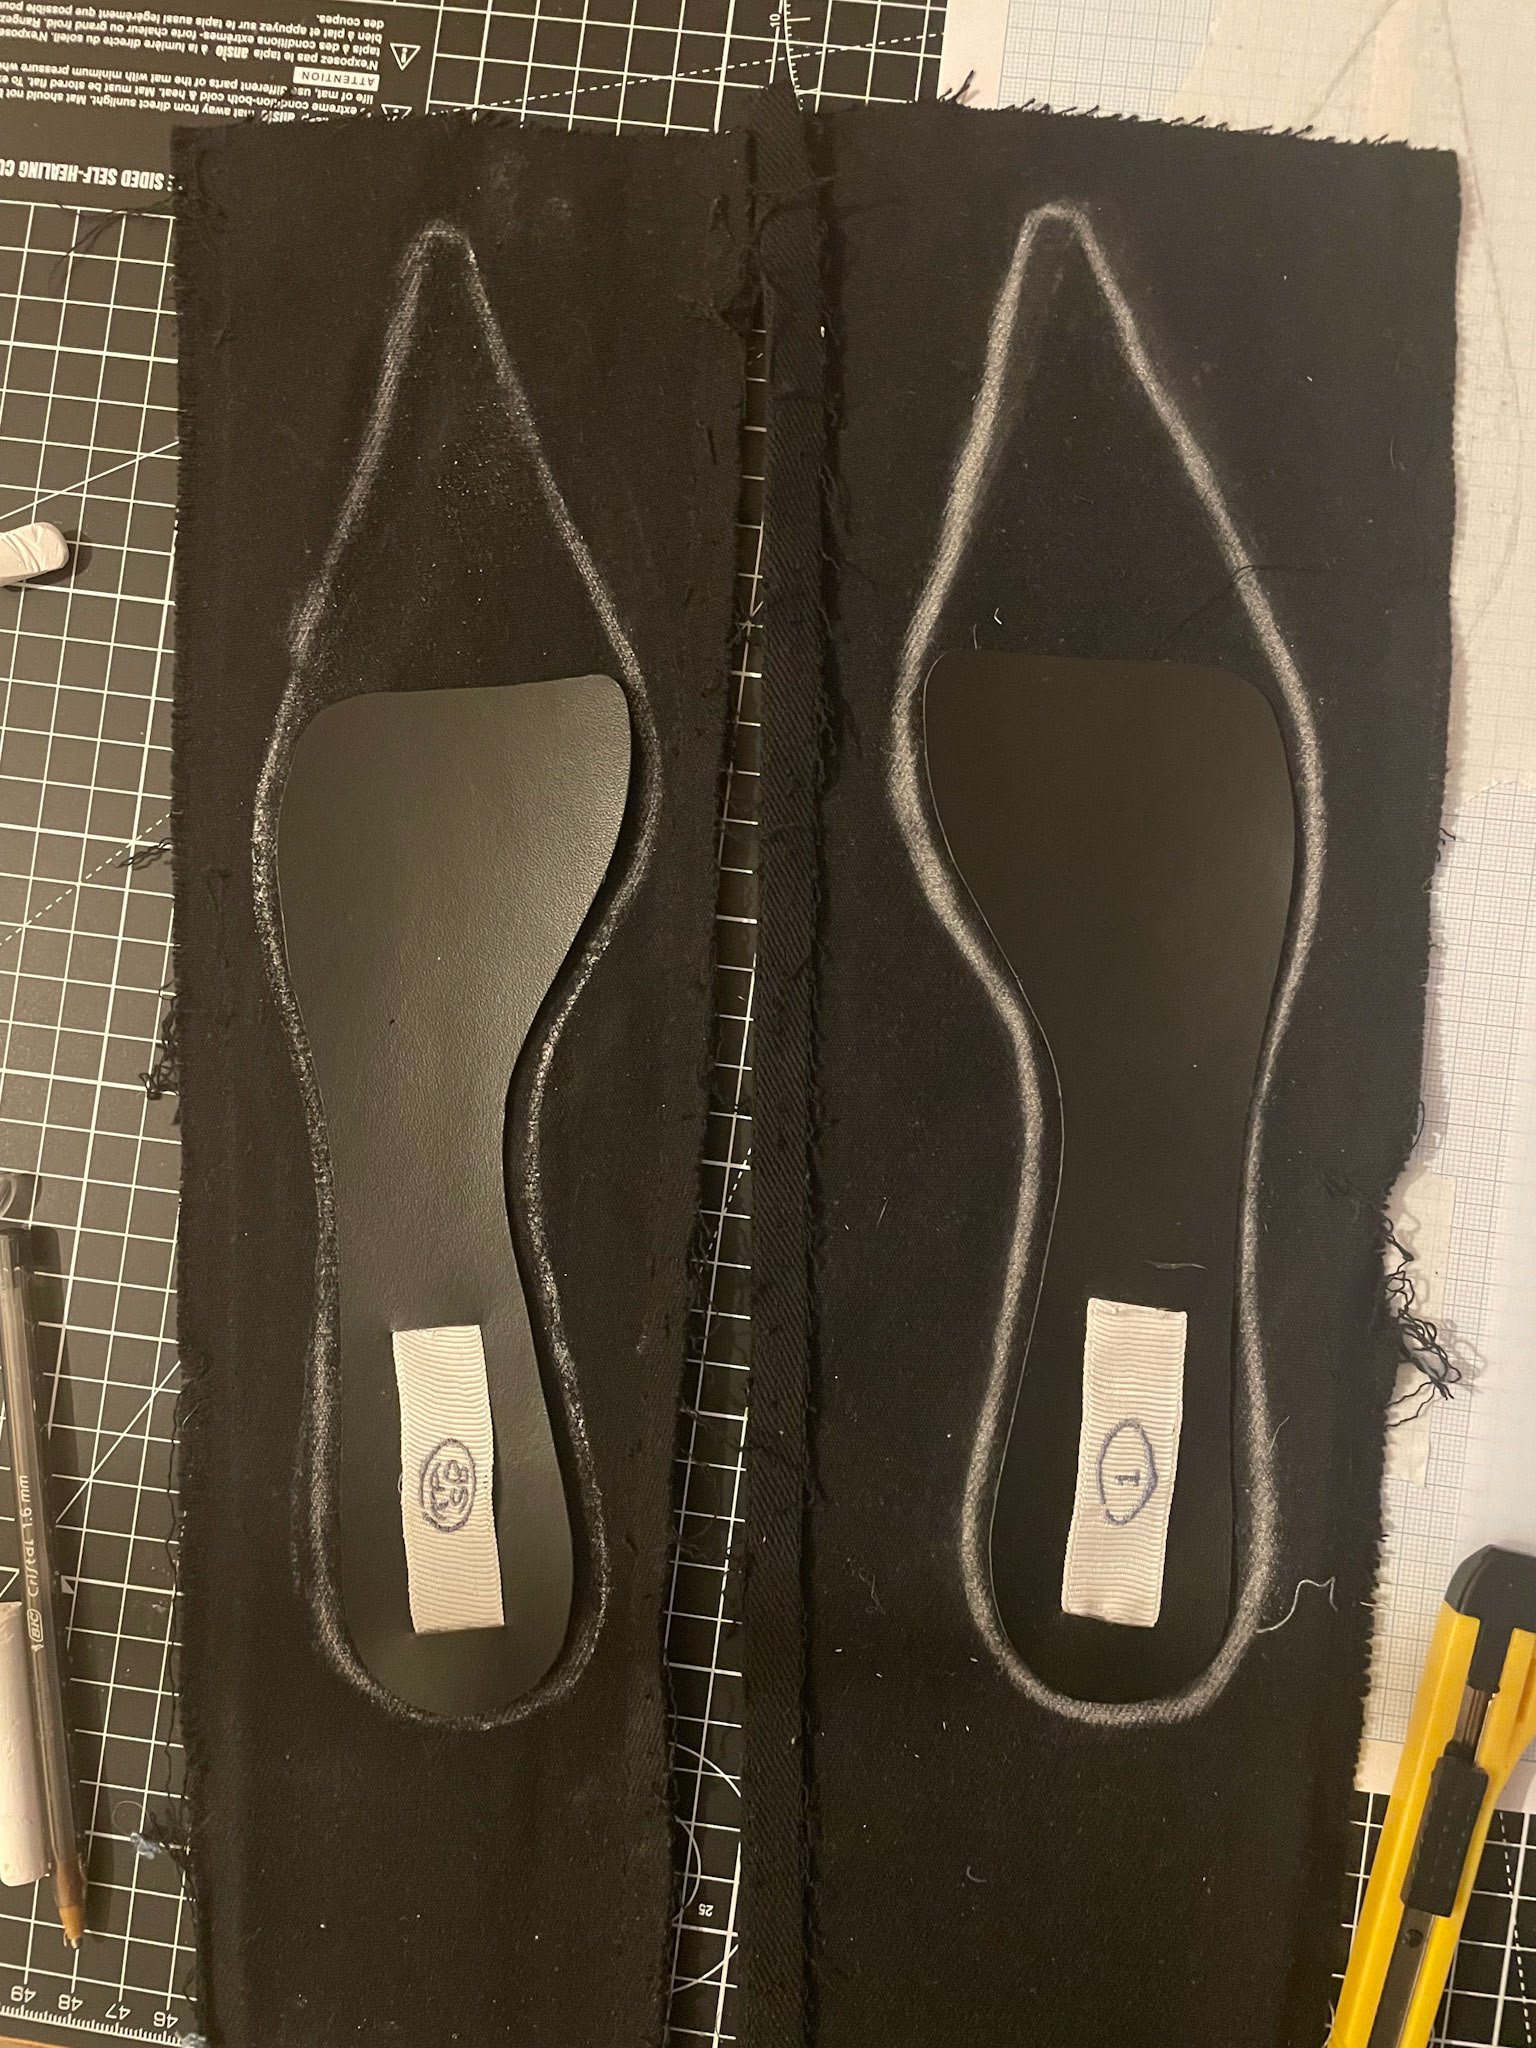
Mapping out
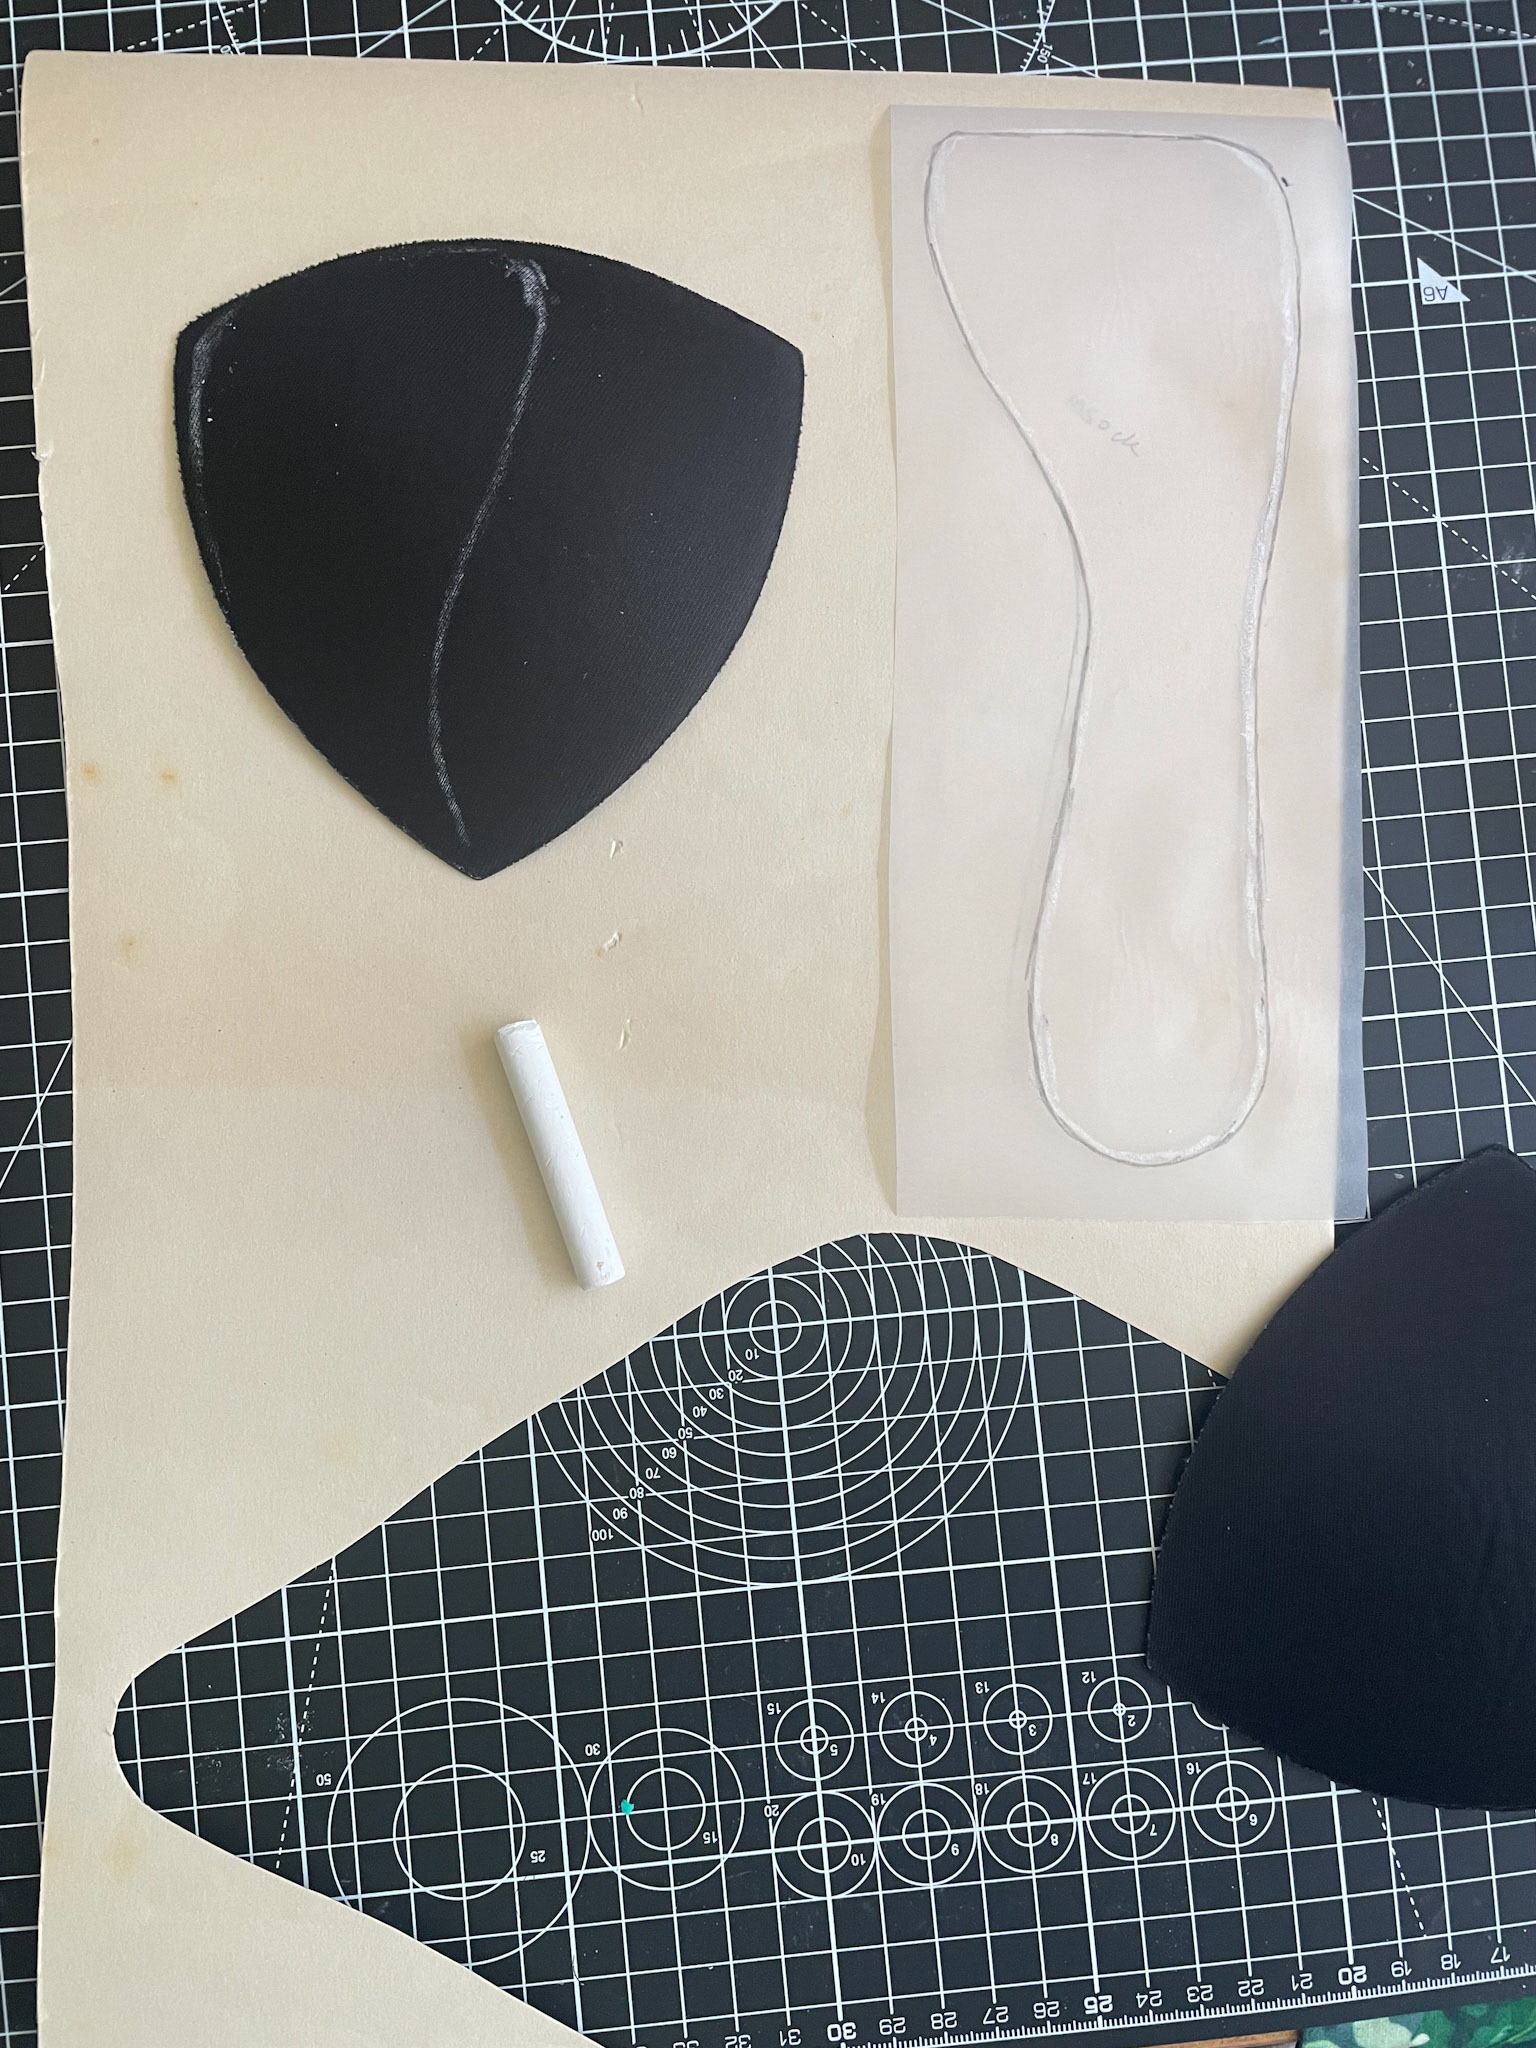
Trying to be economical with cutting the insock padding from the 2 bra paddings
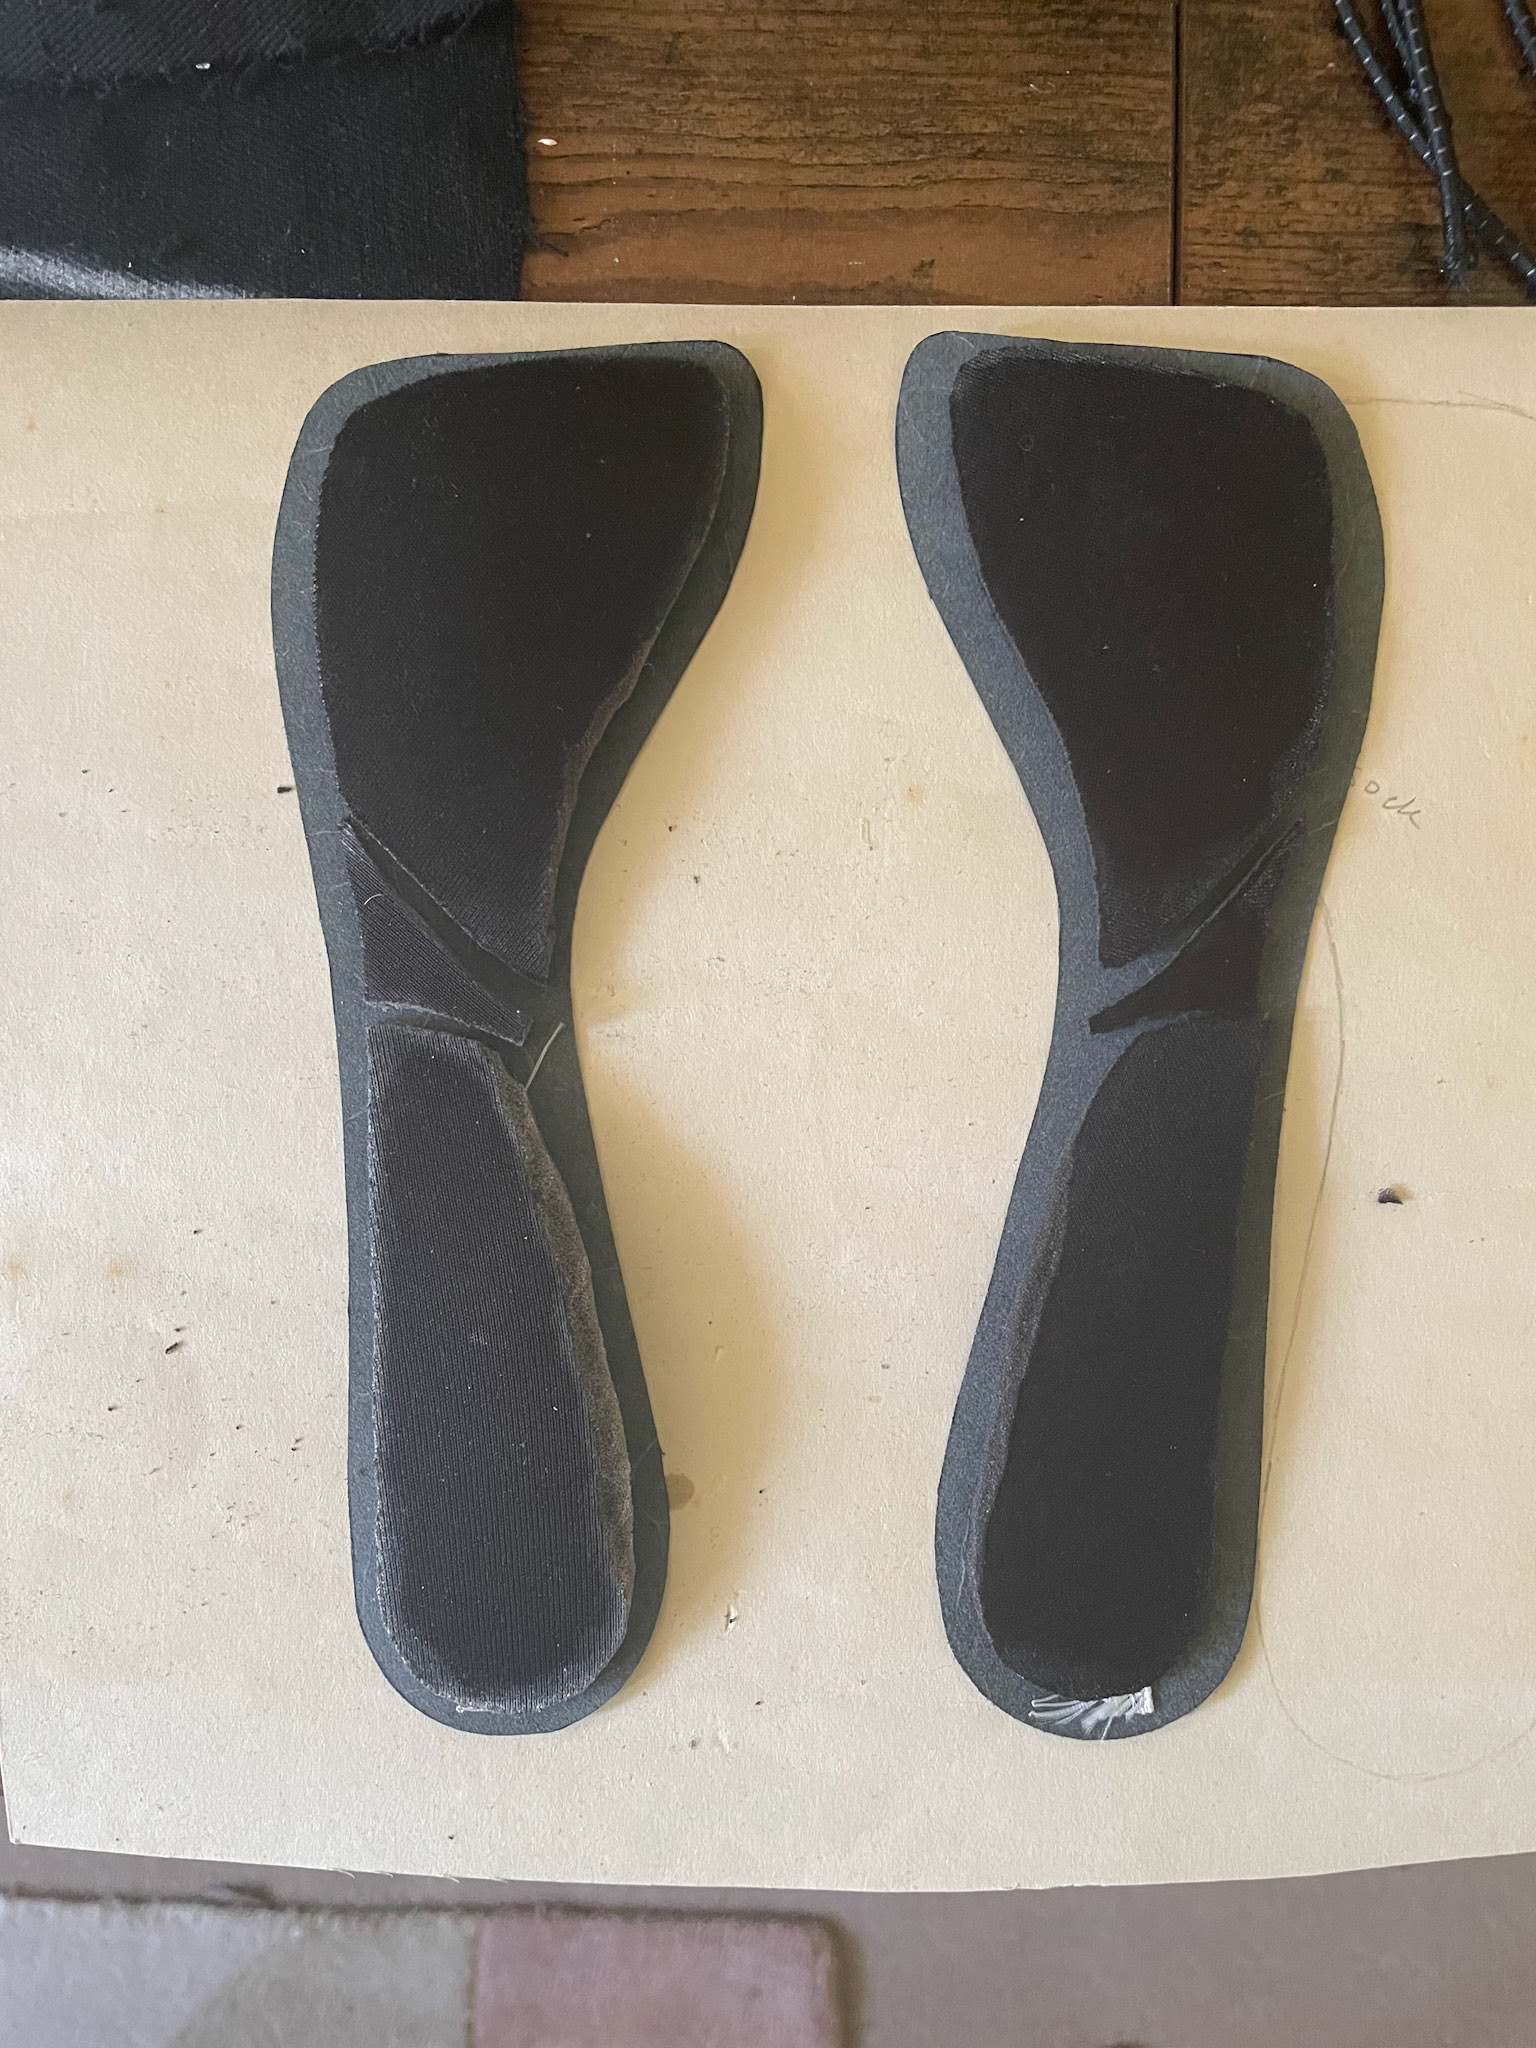
Puzzle piece formation of padding inserts to fulfil the insock shape
Machine stitched together
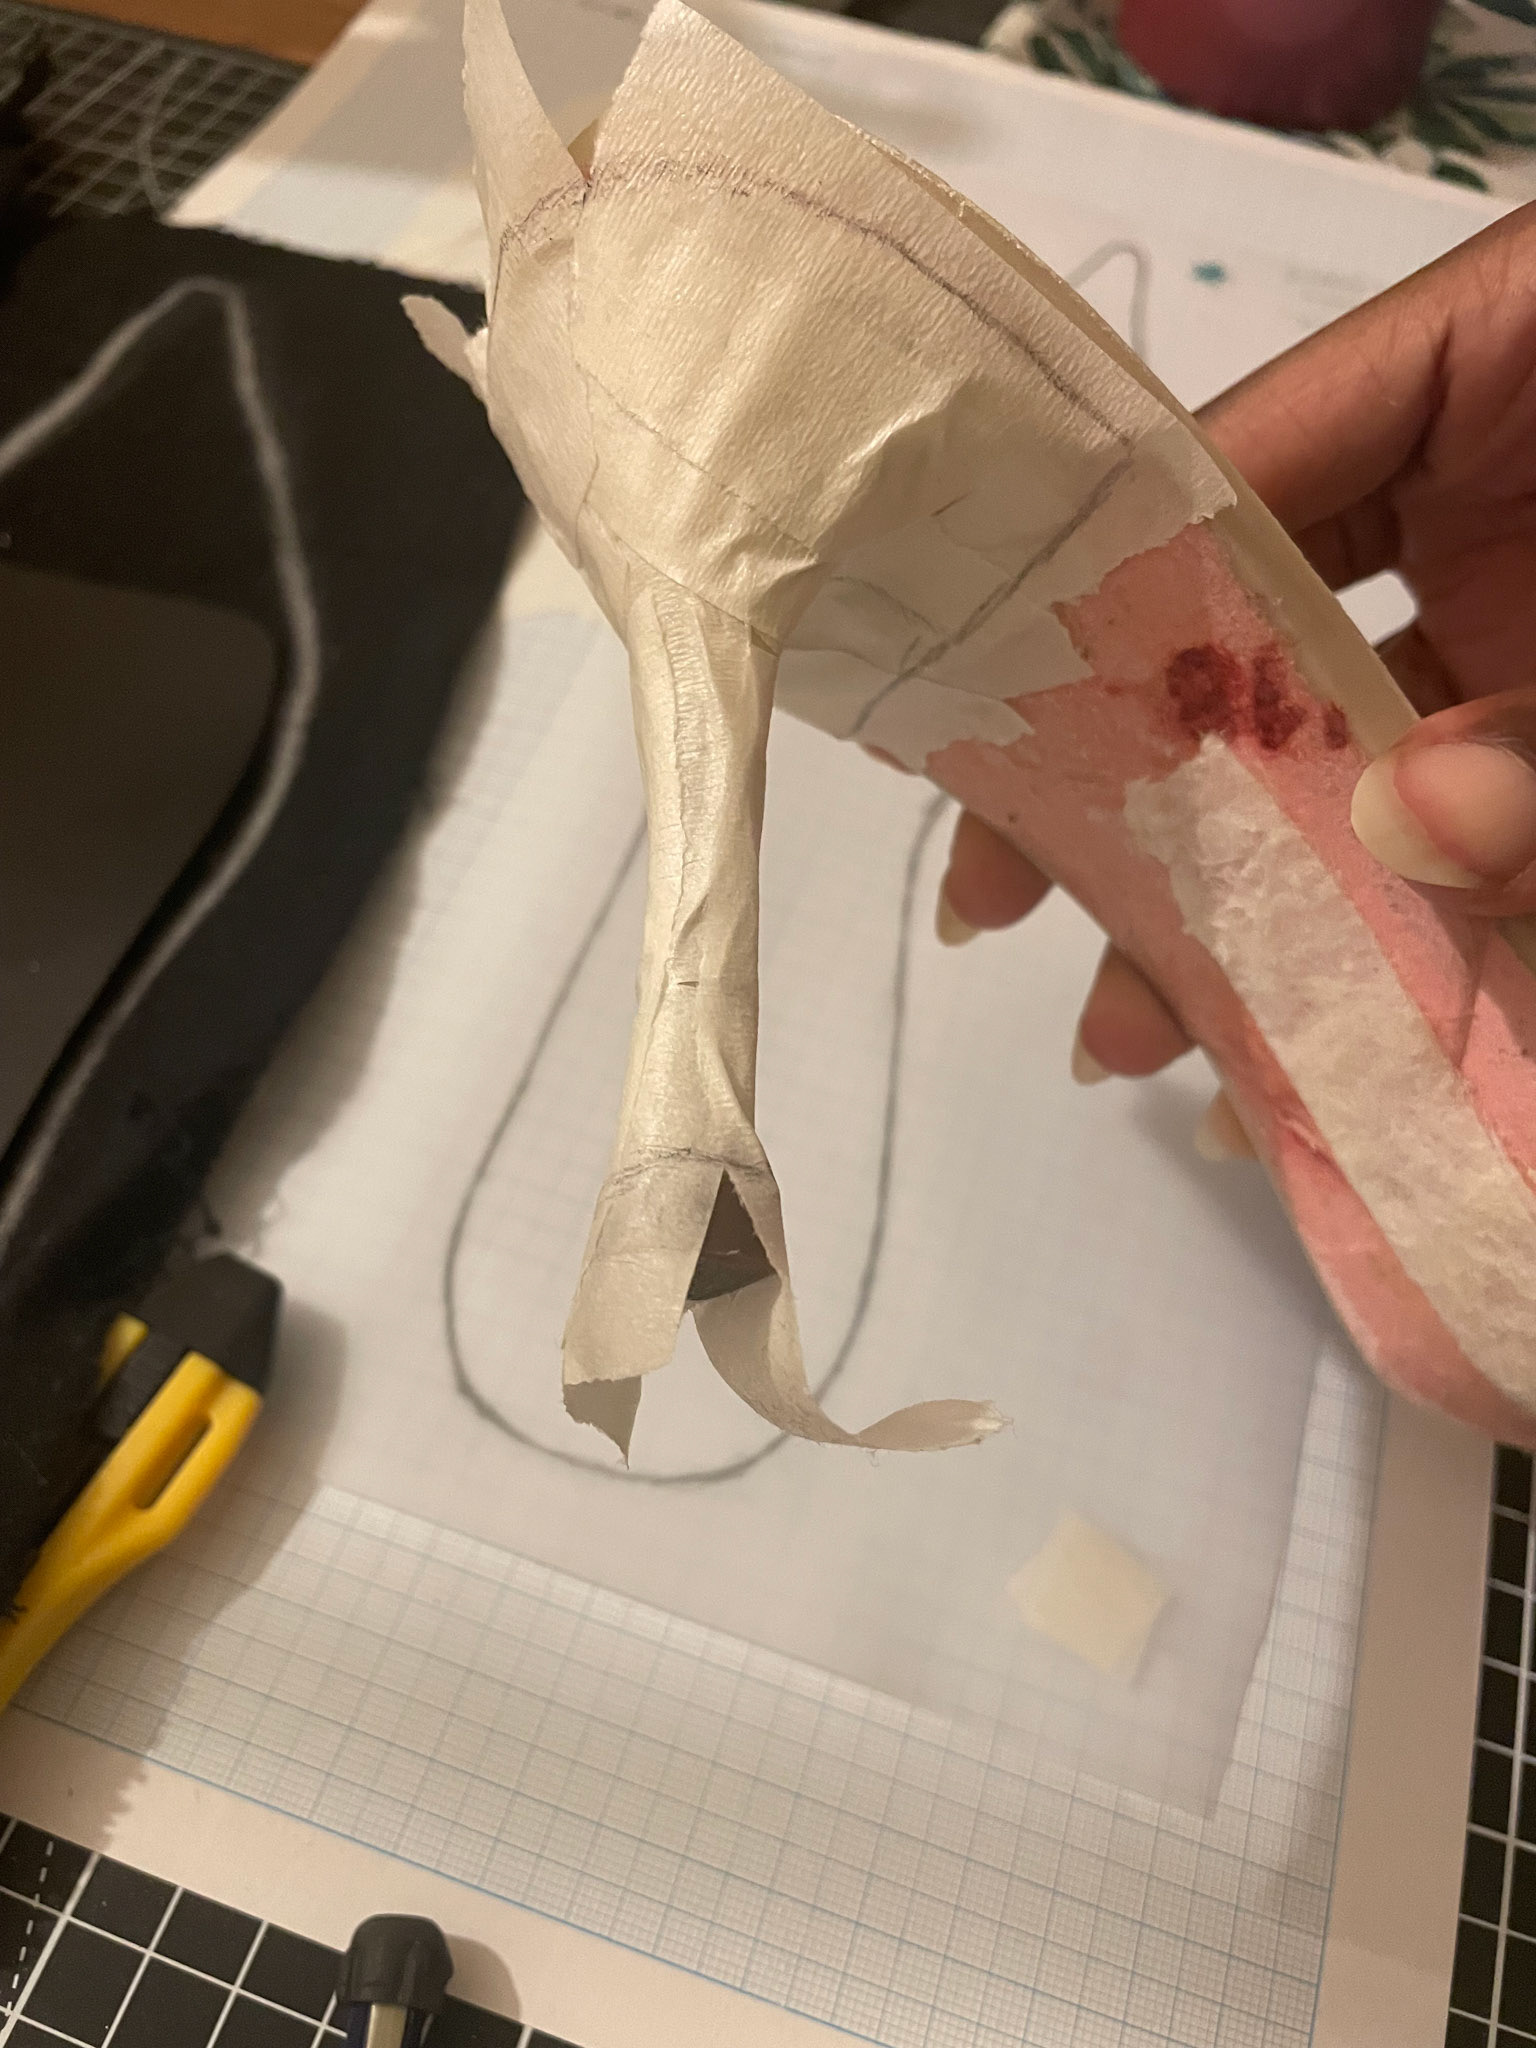
Taping the heel
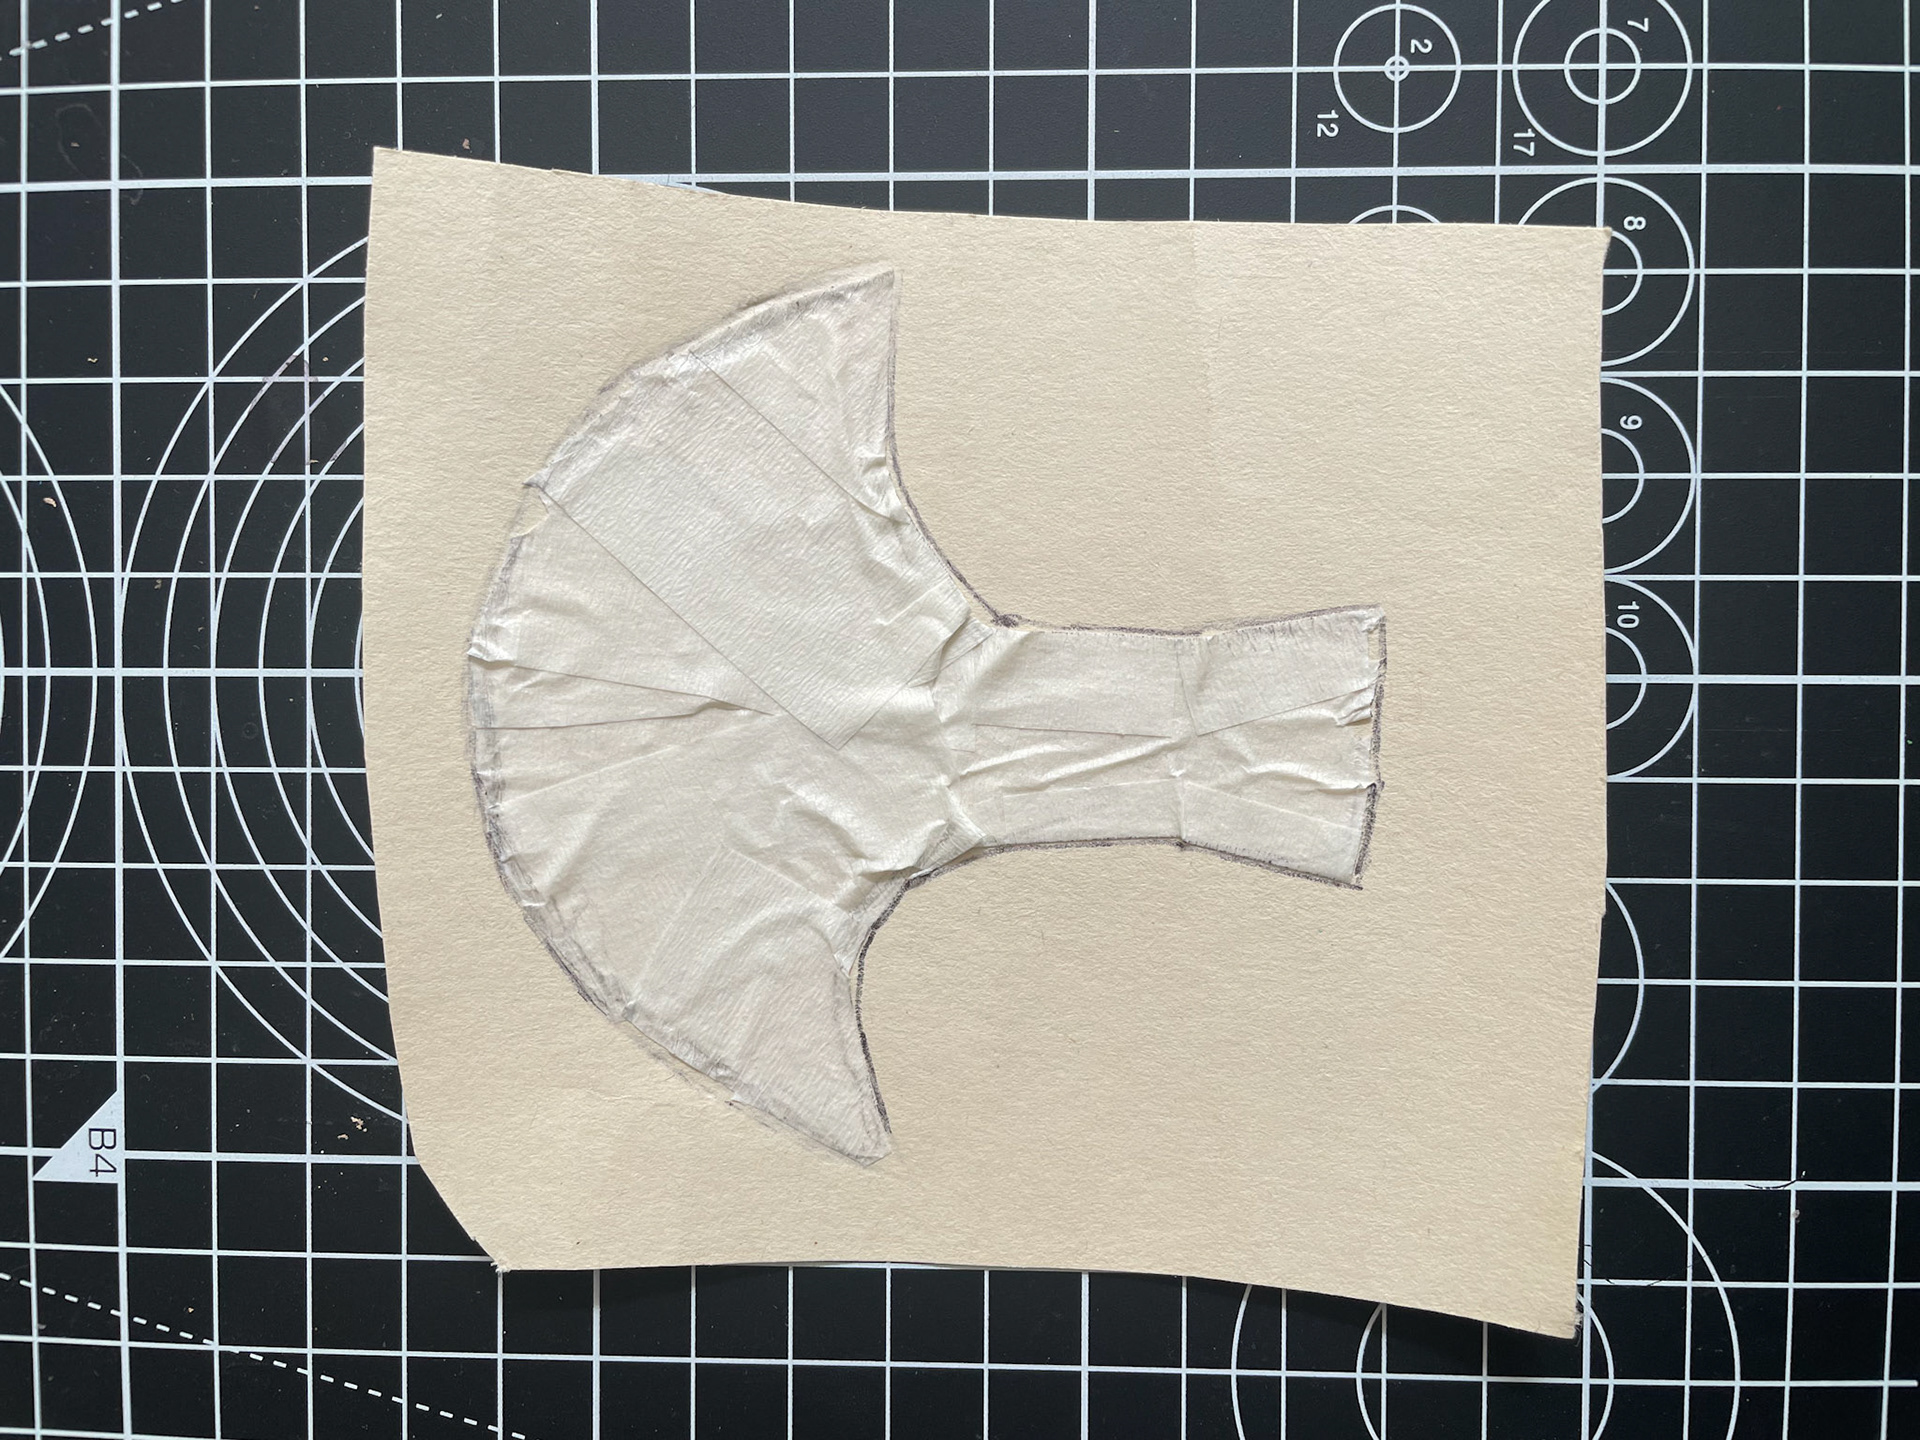
Creating the heel pattern
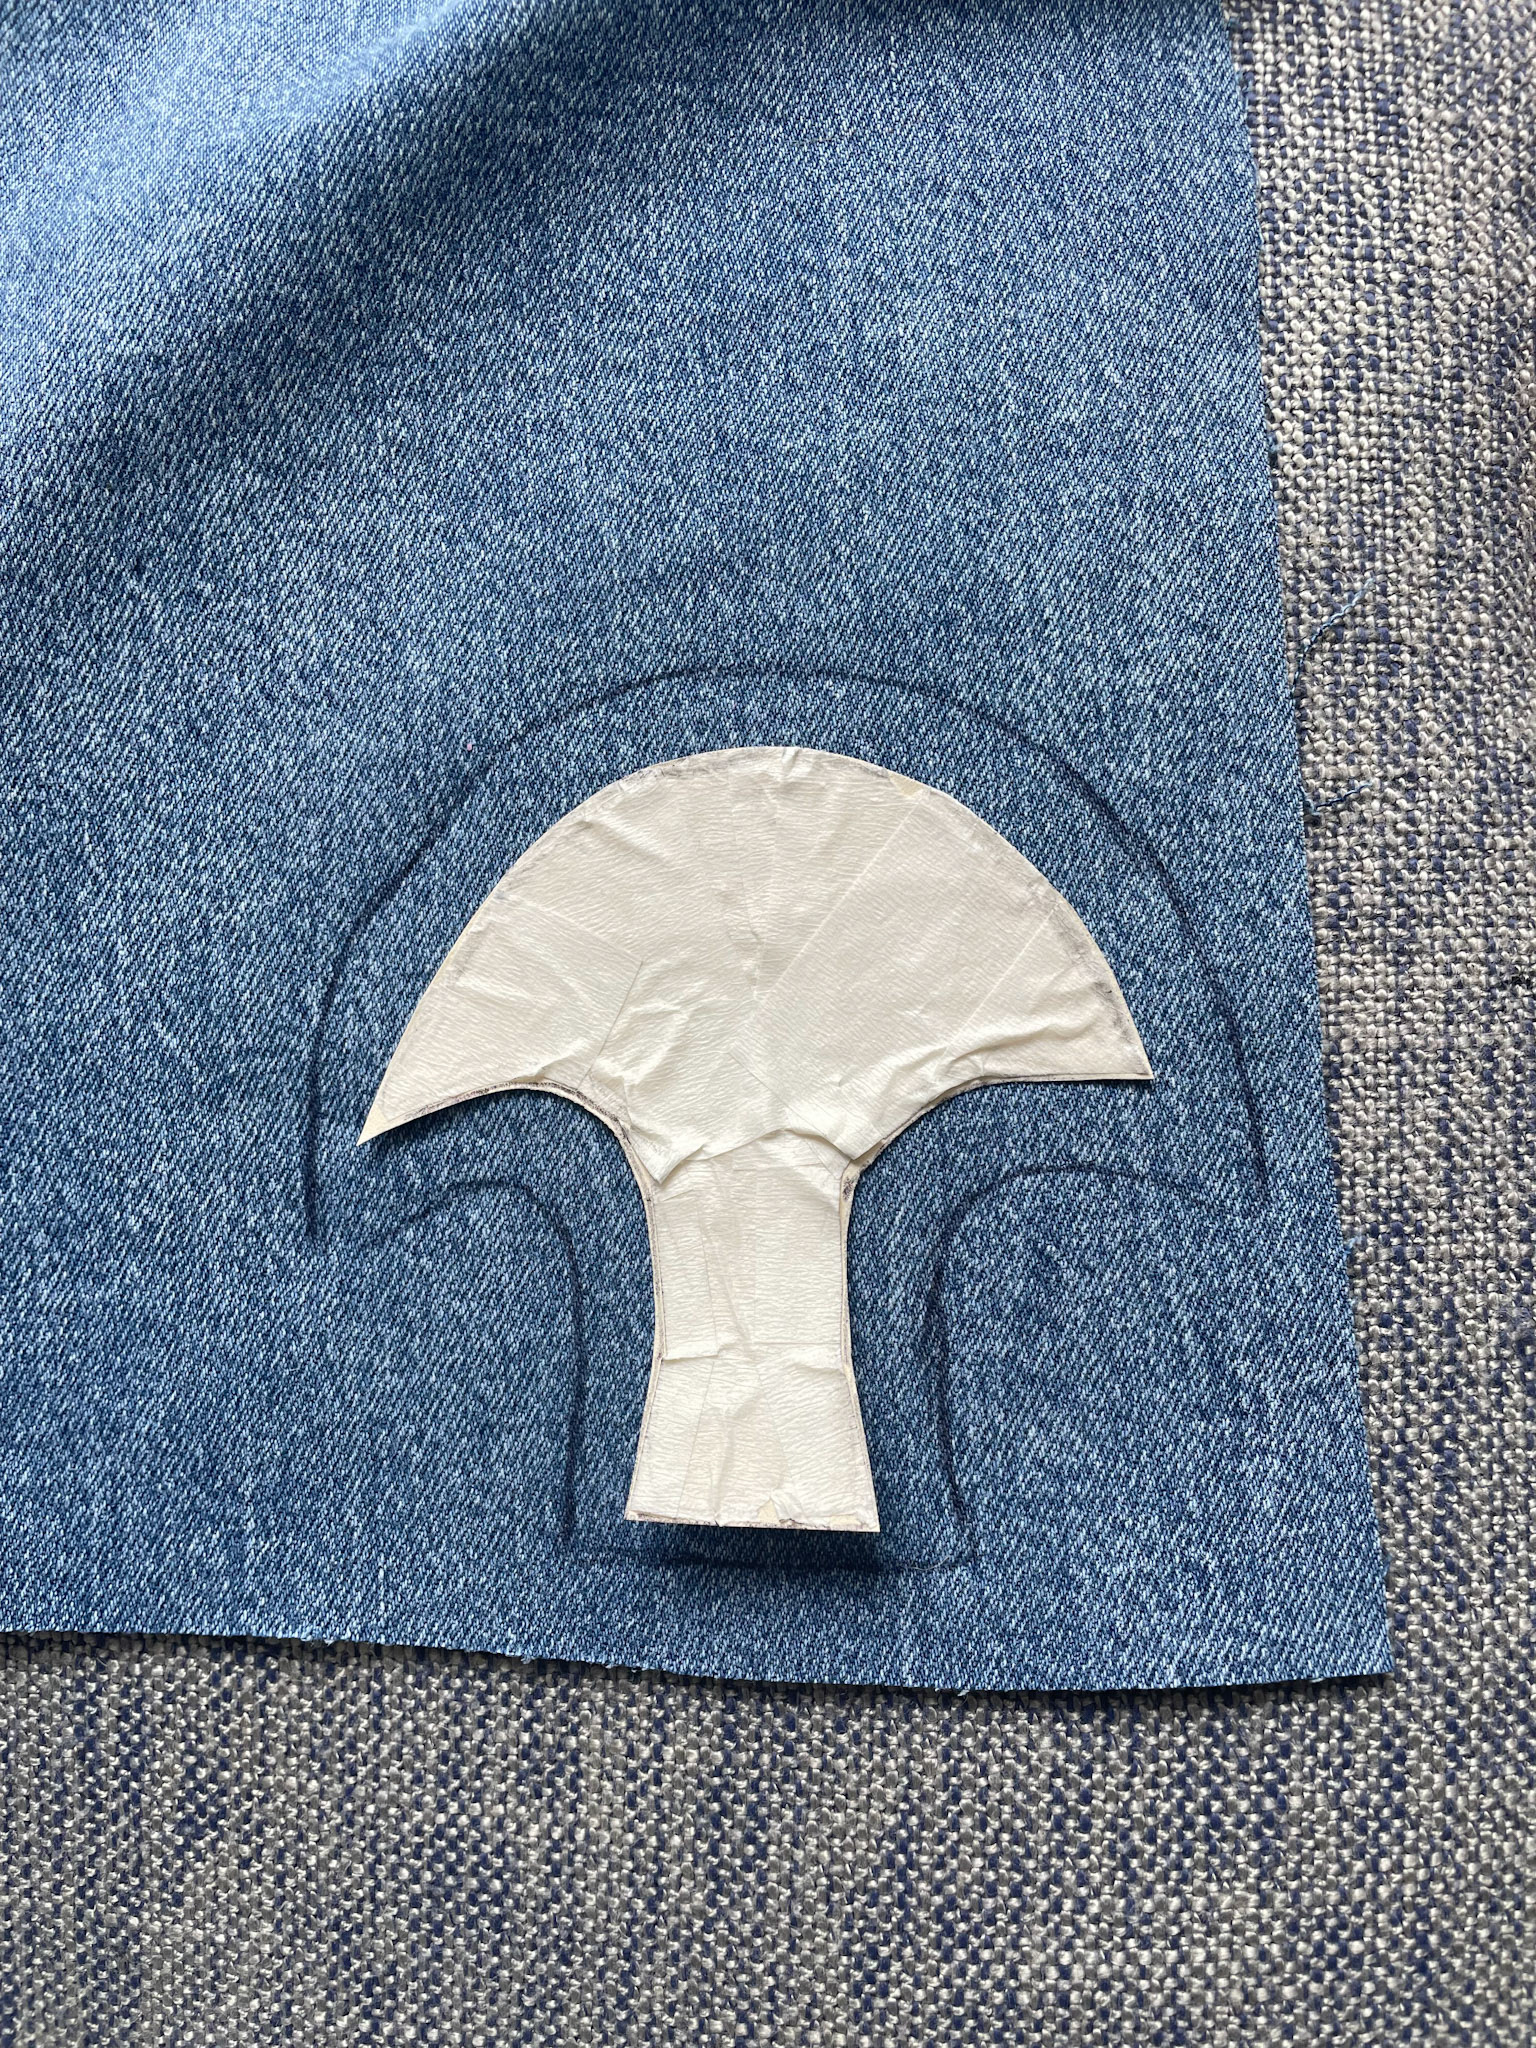
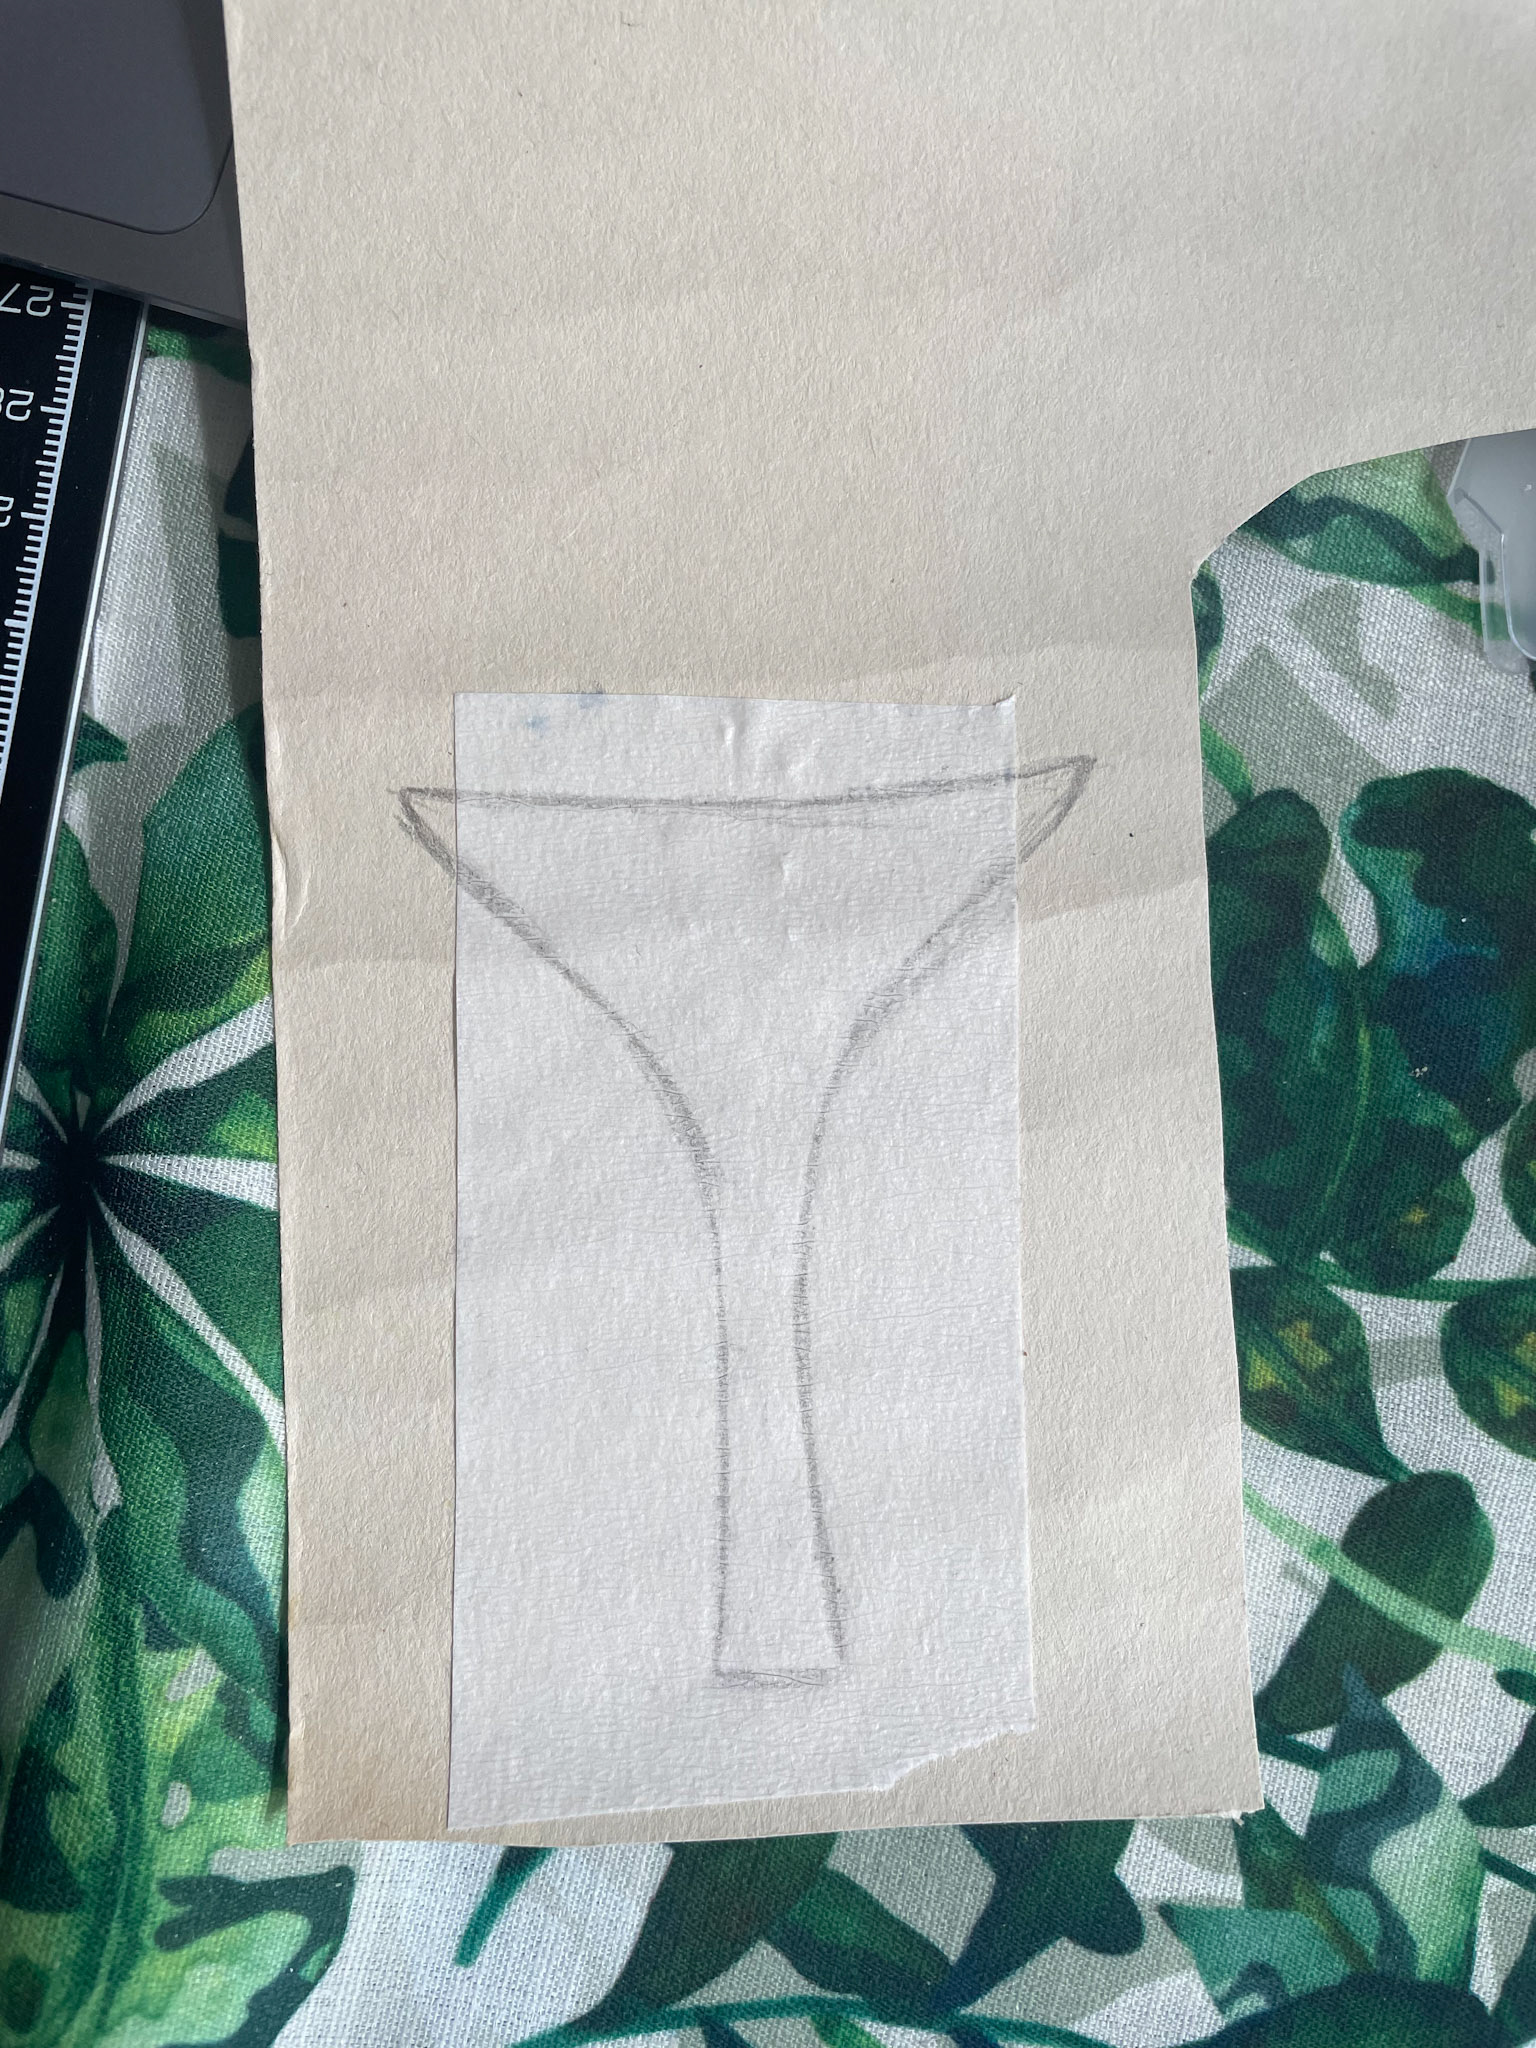
Establishing it would look cleaner to have a separate insert for the inner part of the heel
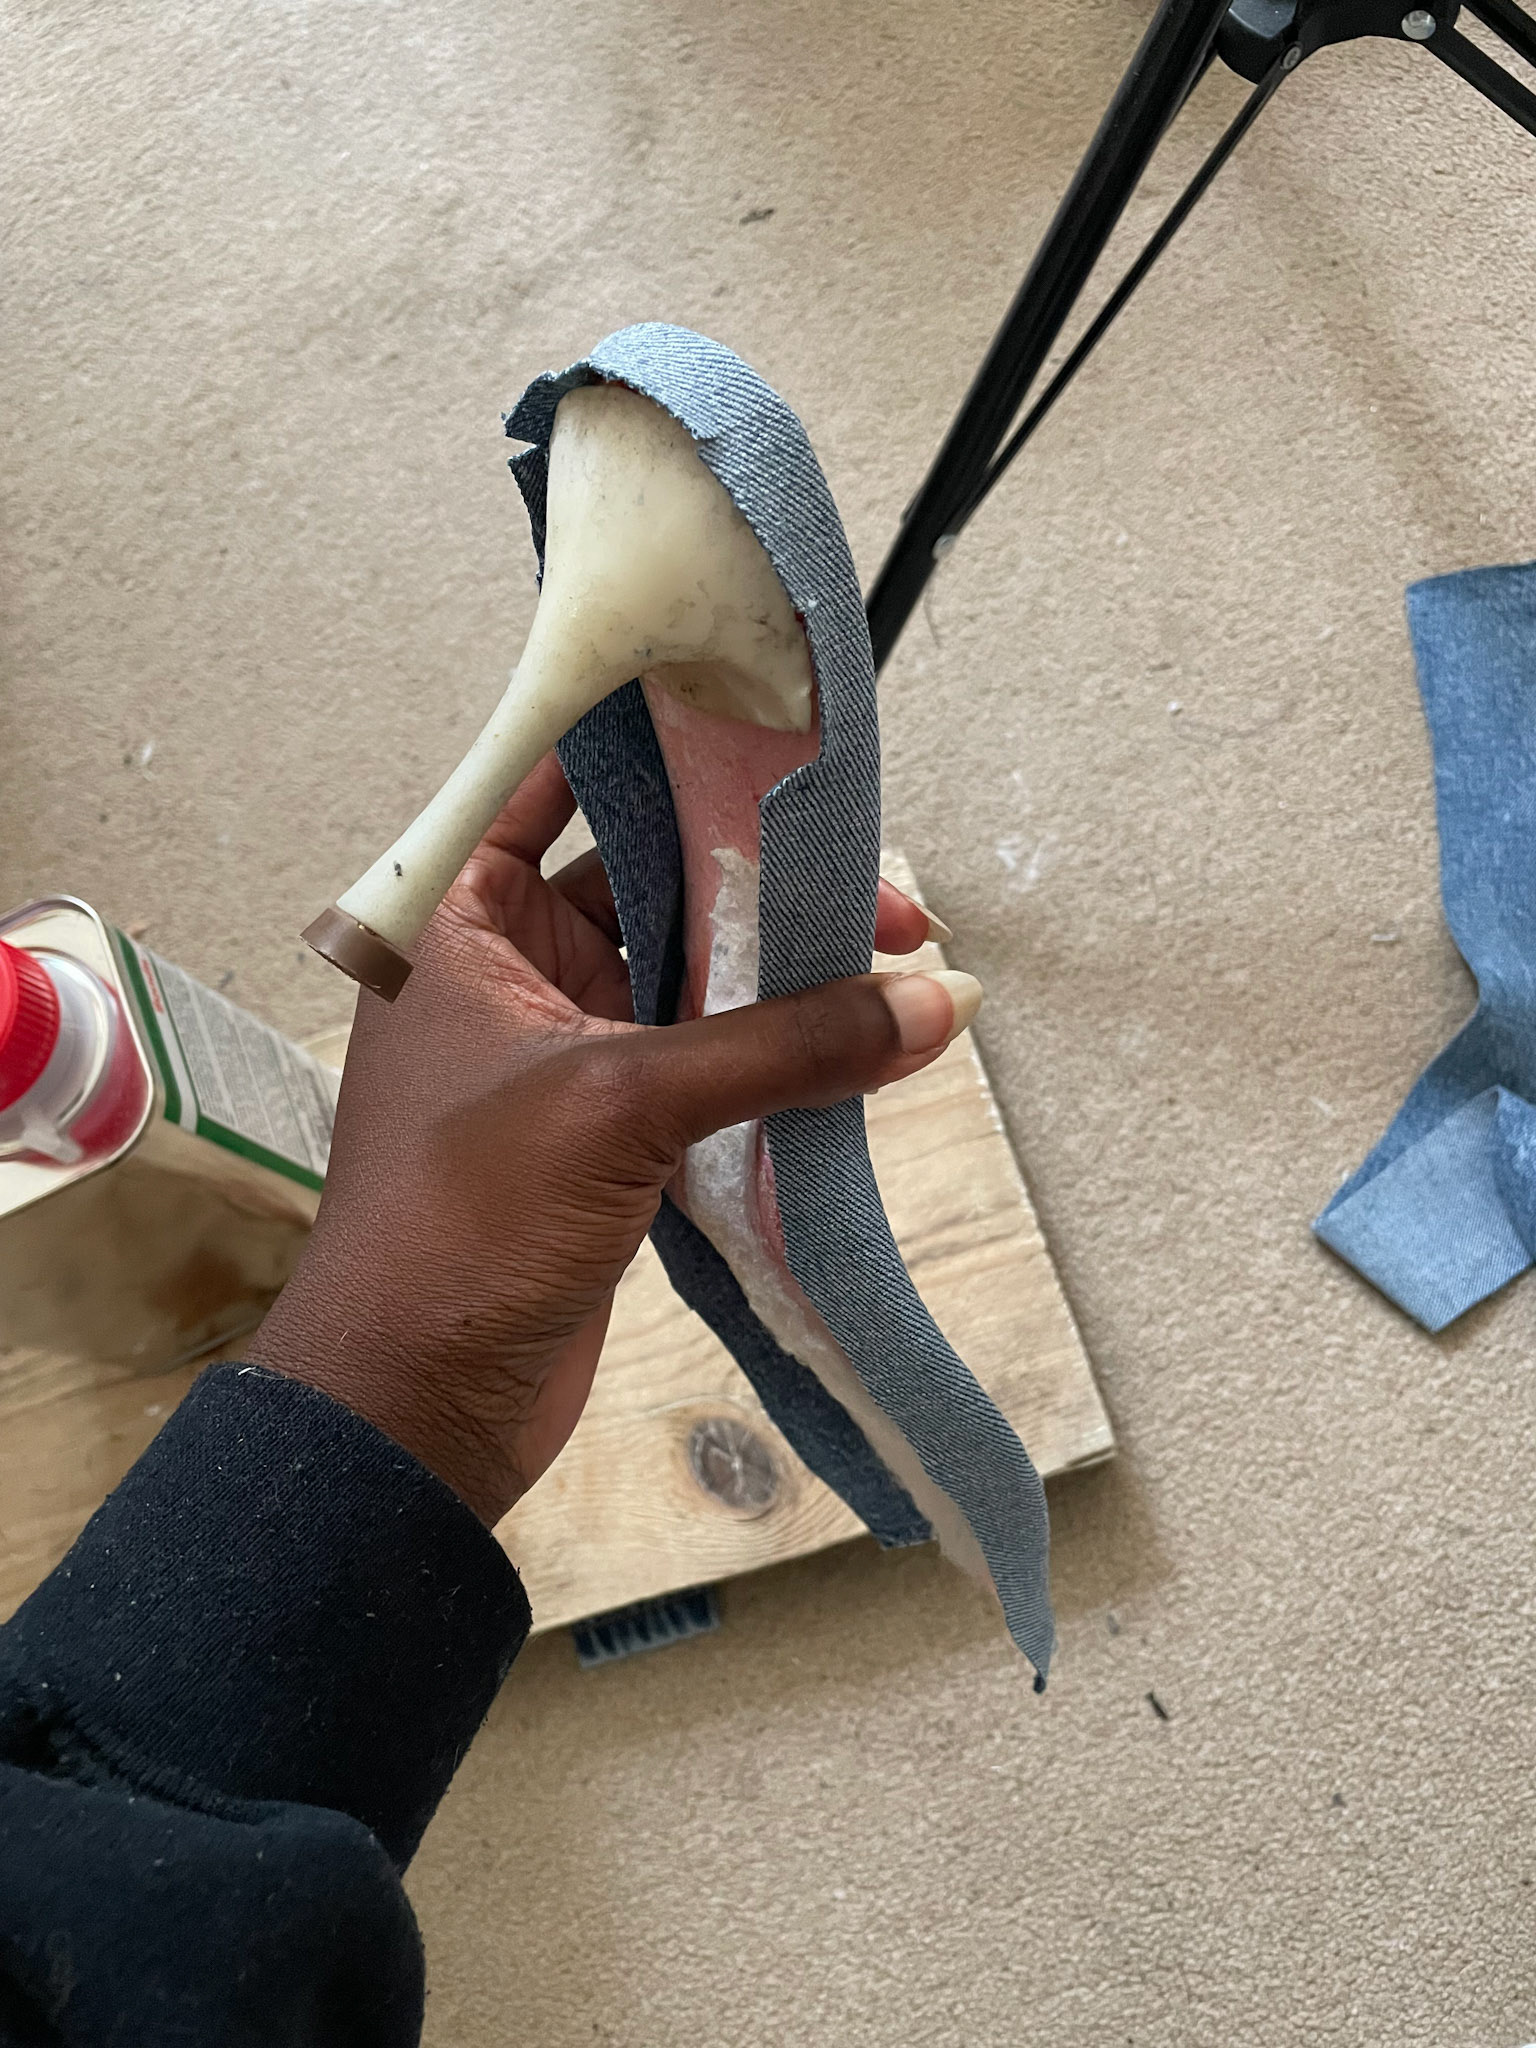
Wrapping the insole with the same old jeans denim as the lining
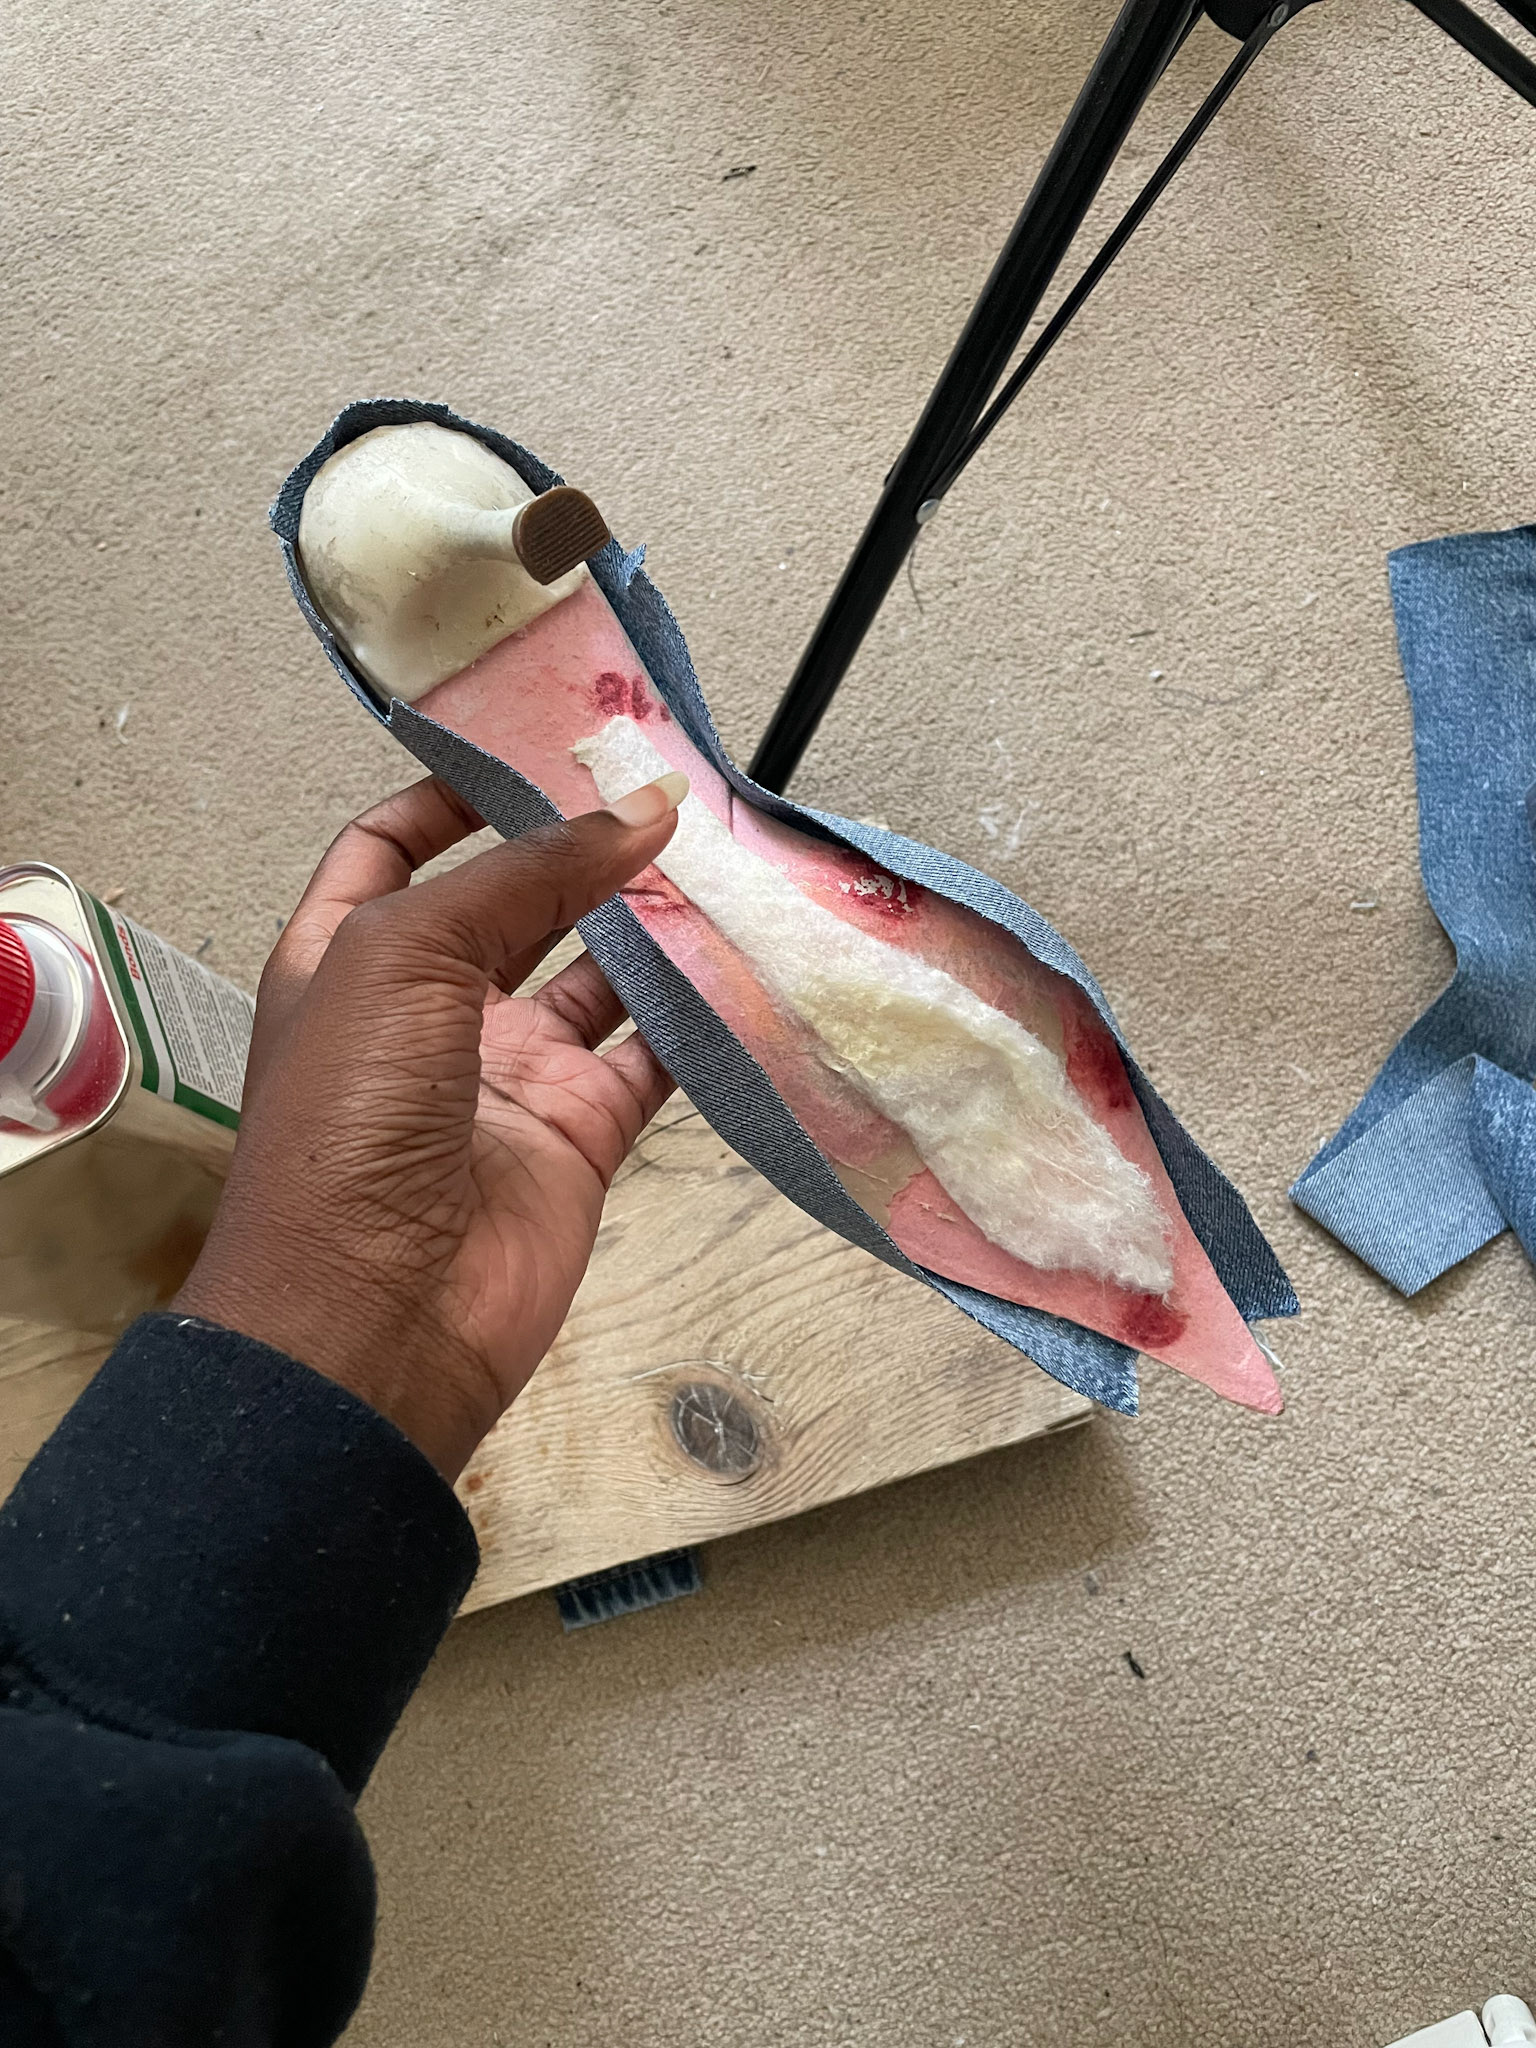
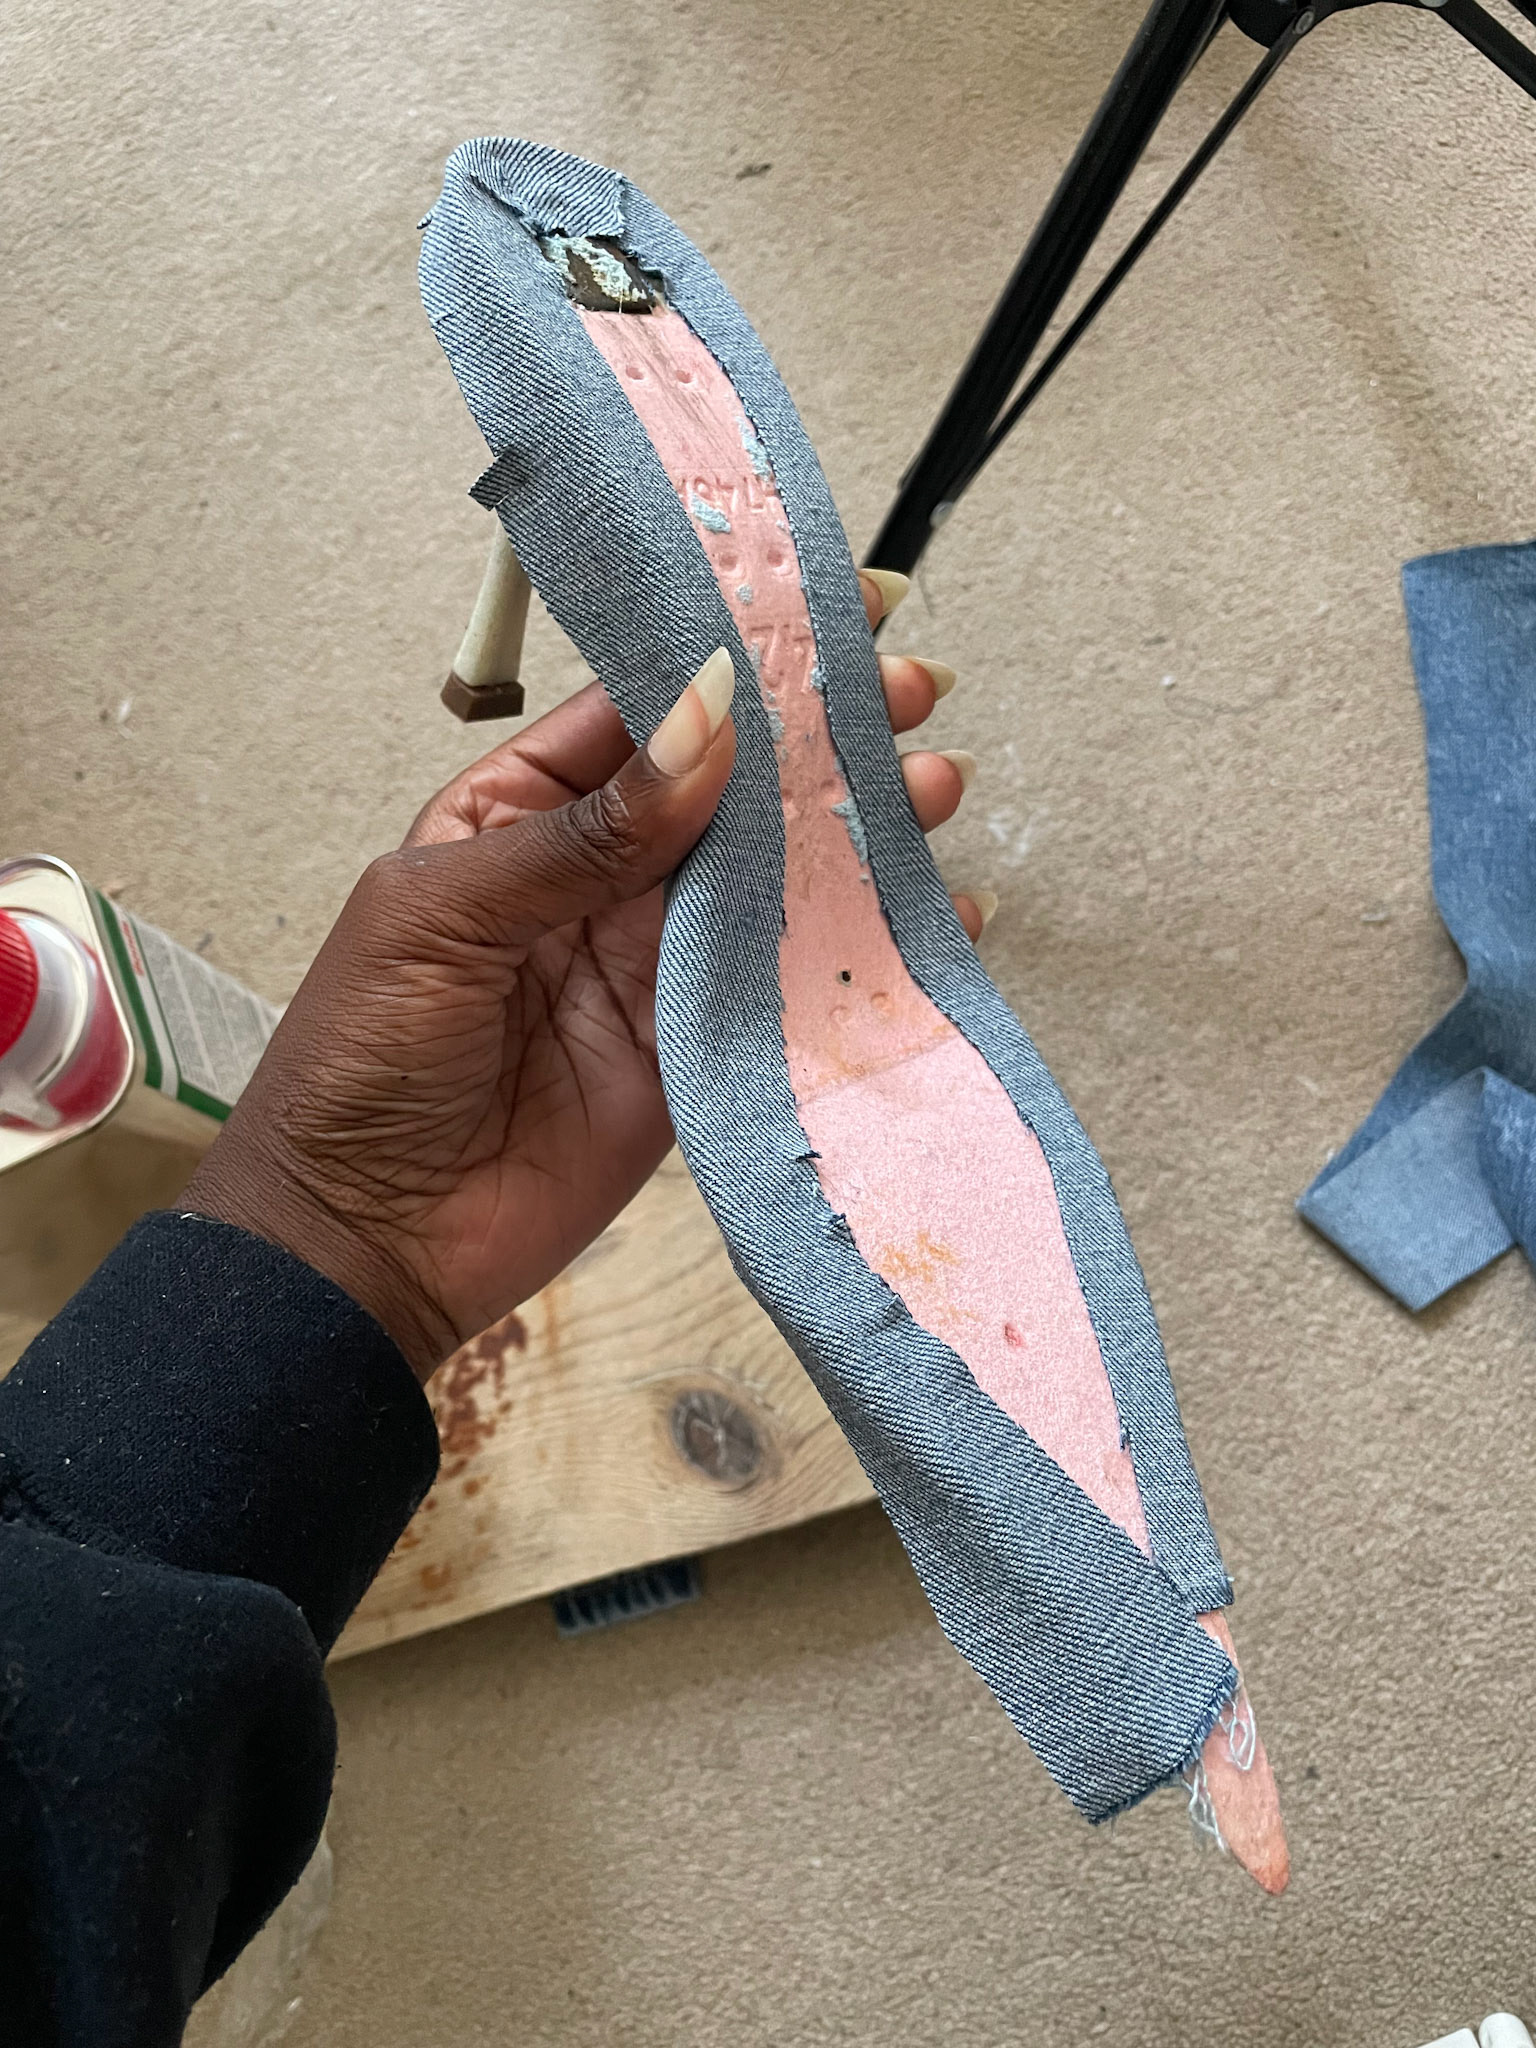
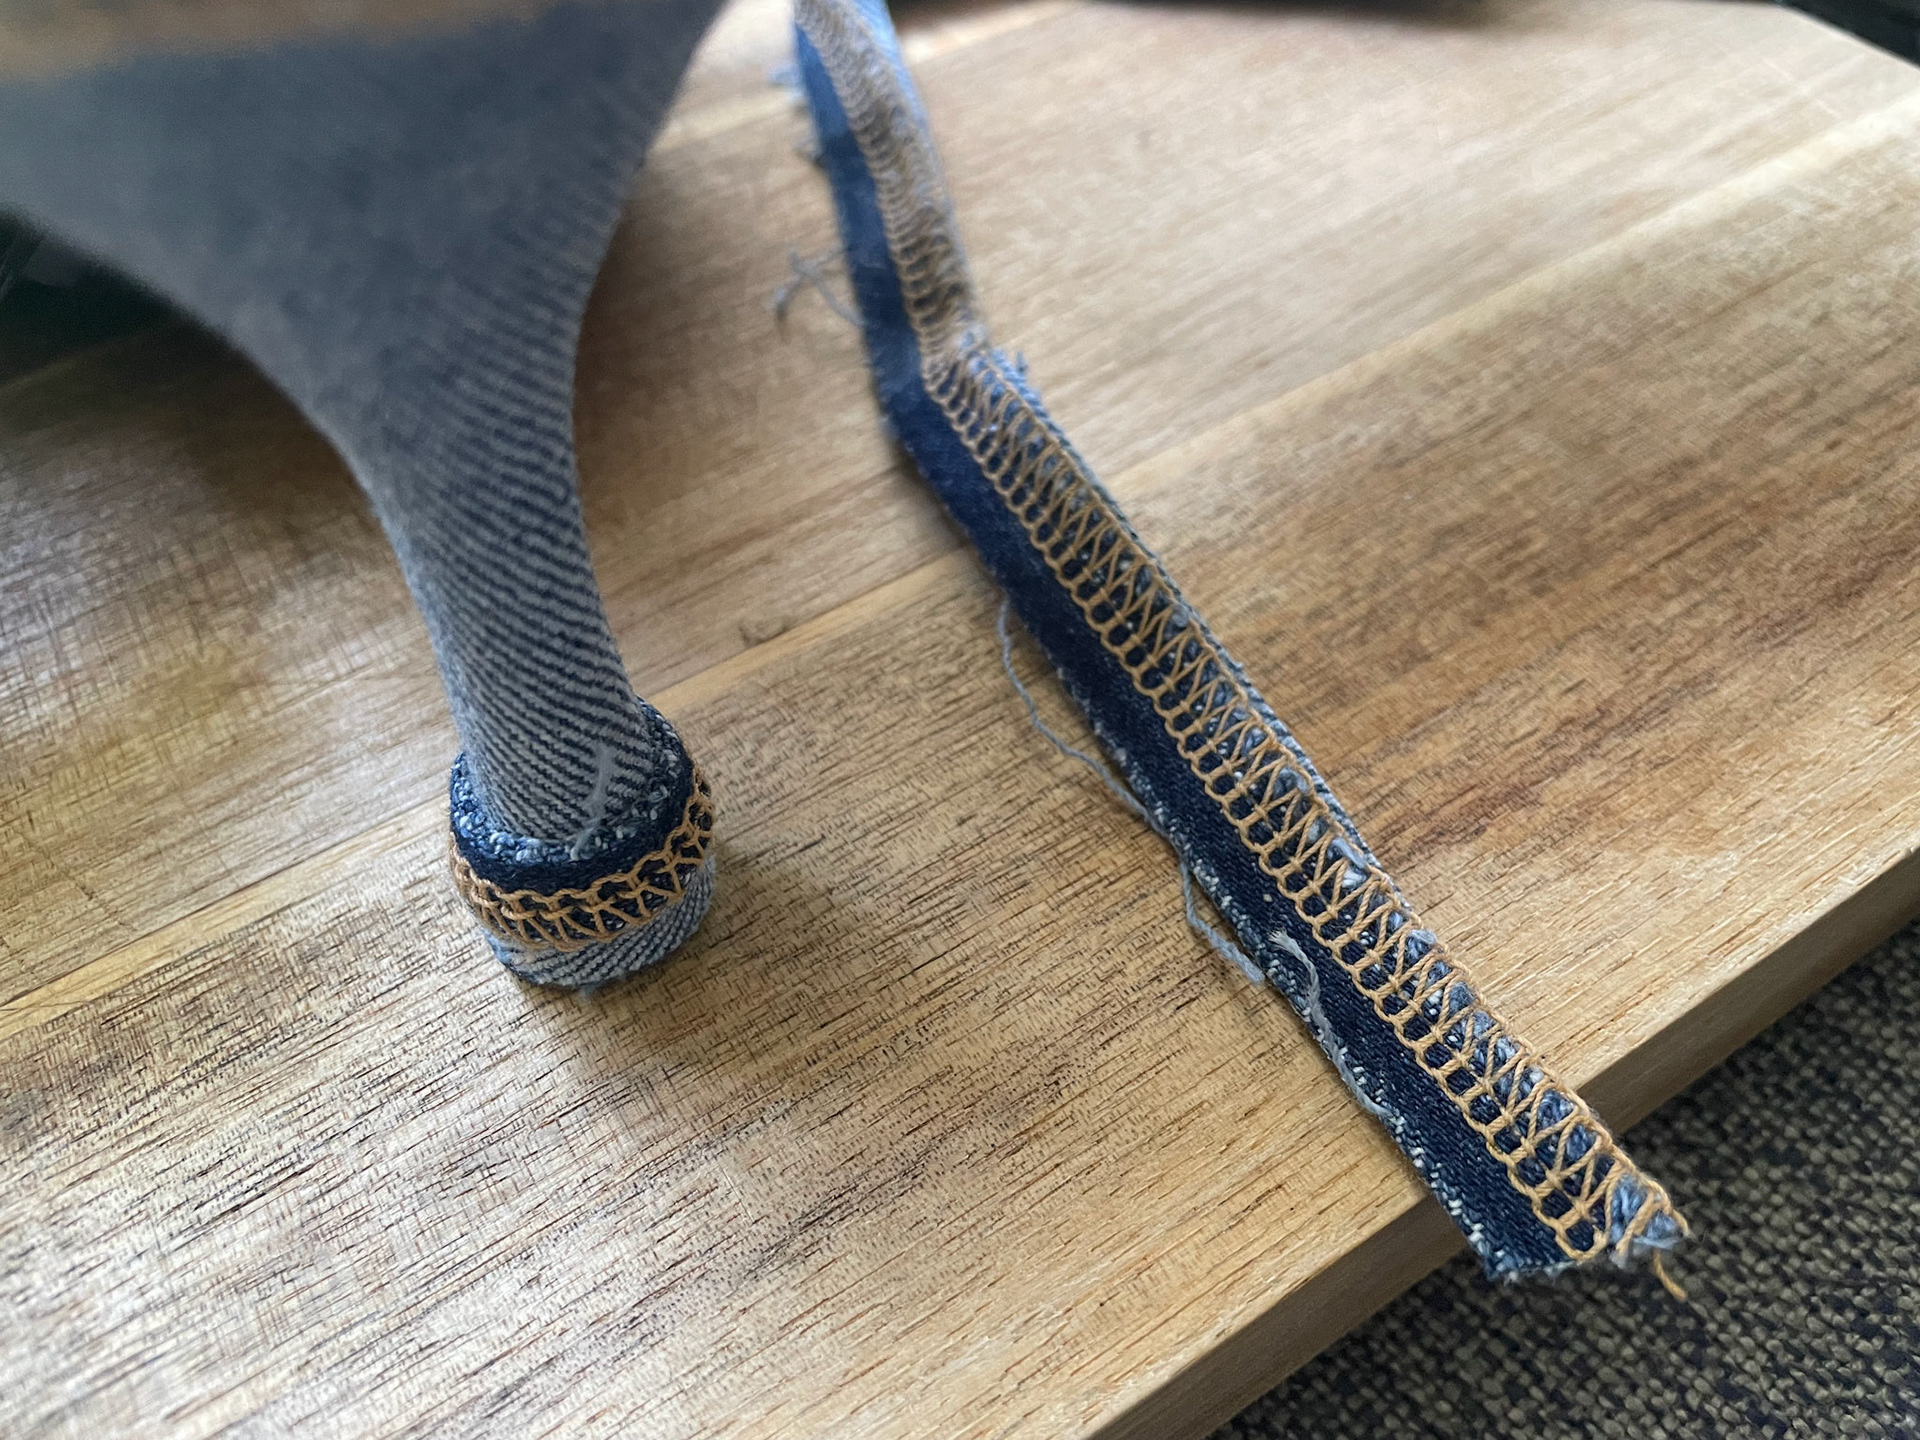
Final glued wrapping of the edge of the insoles
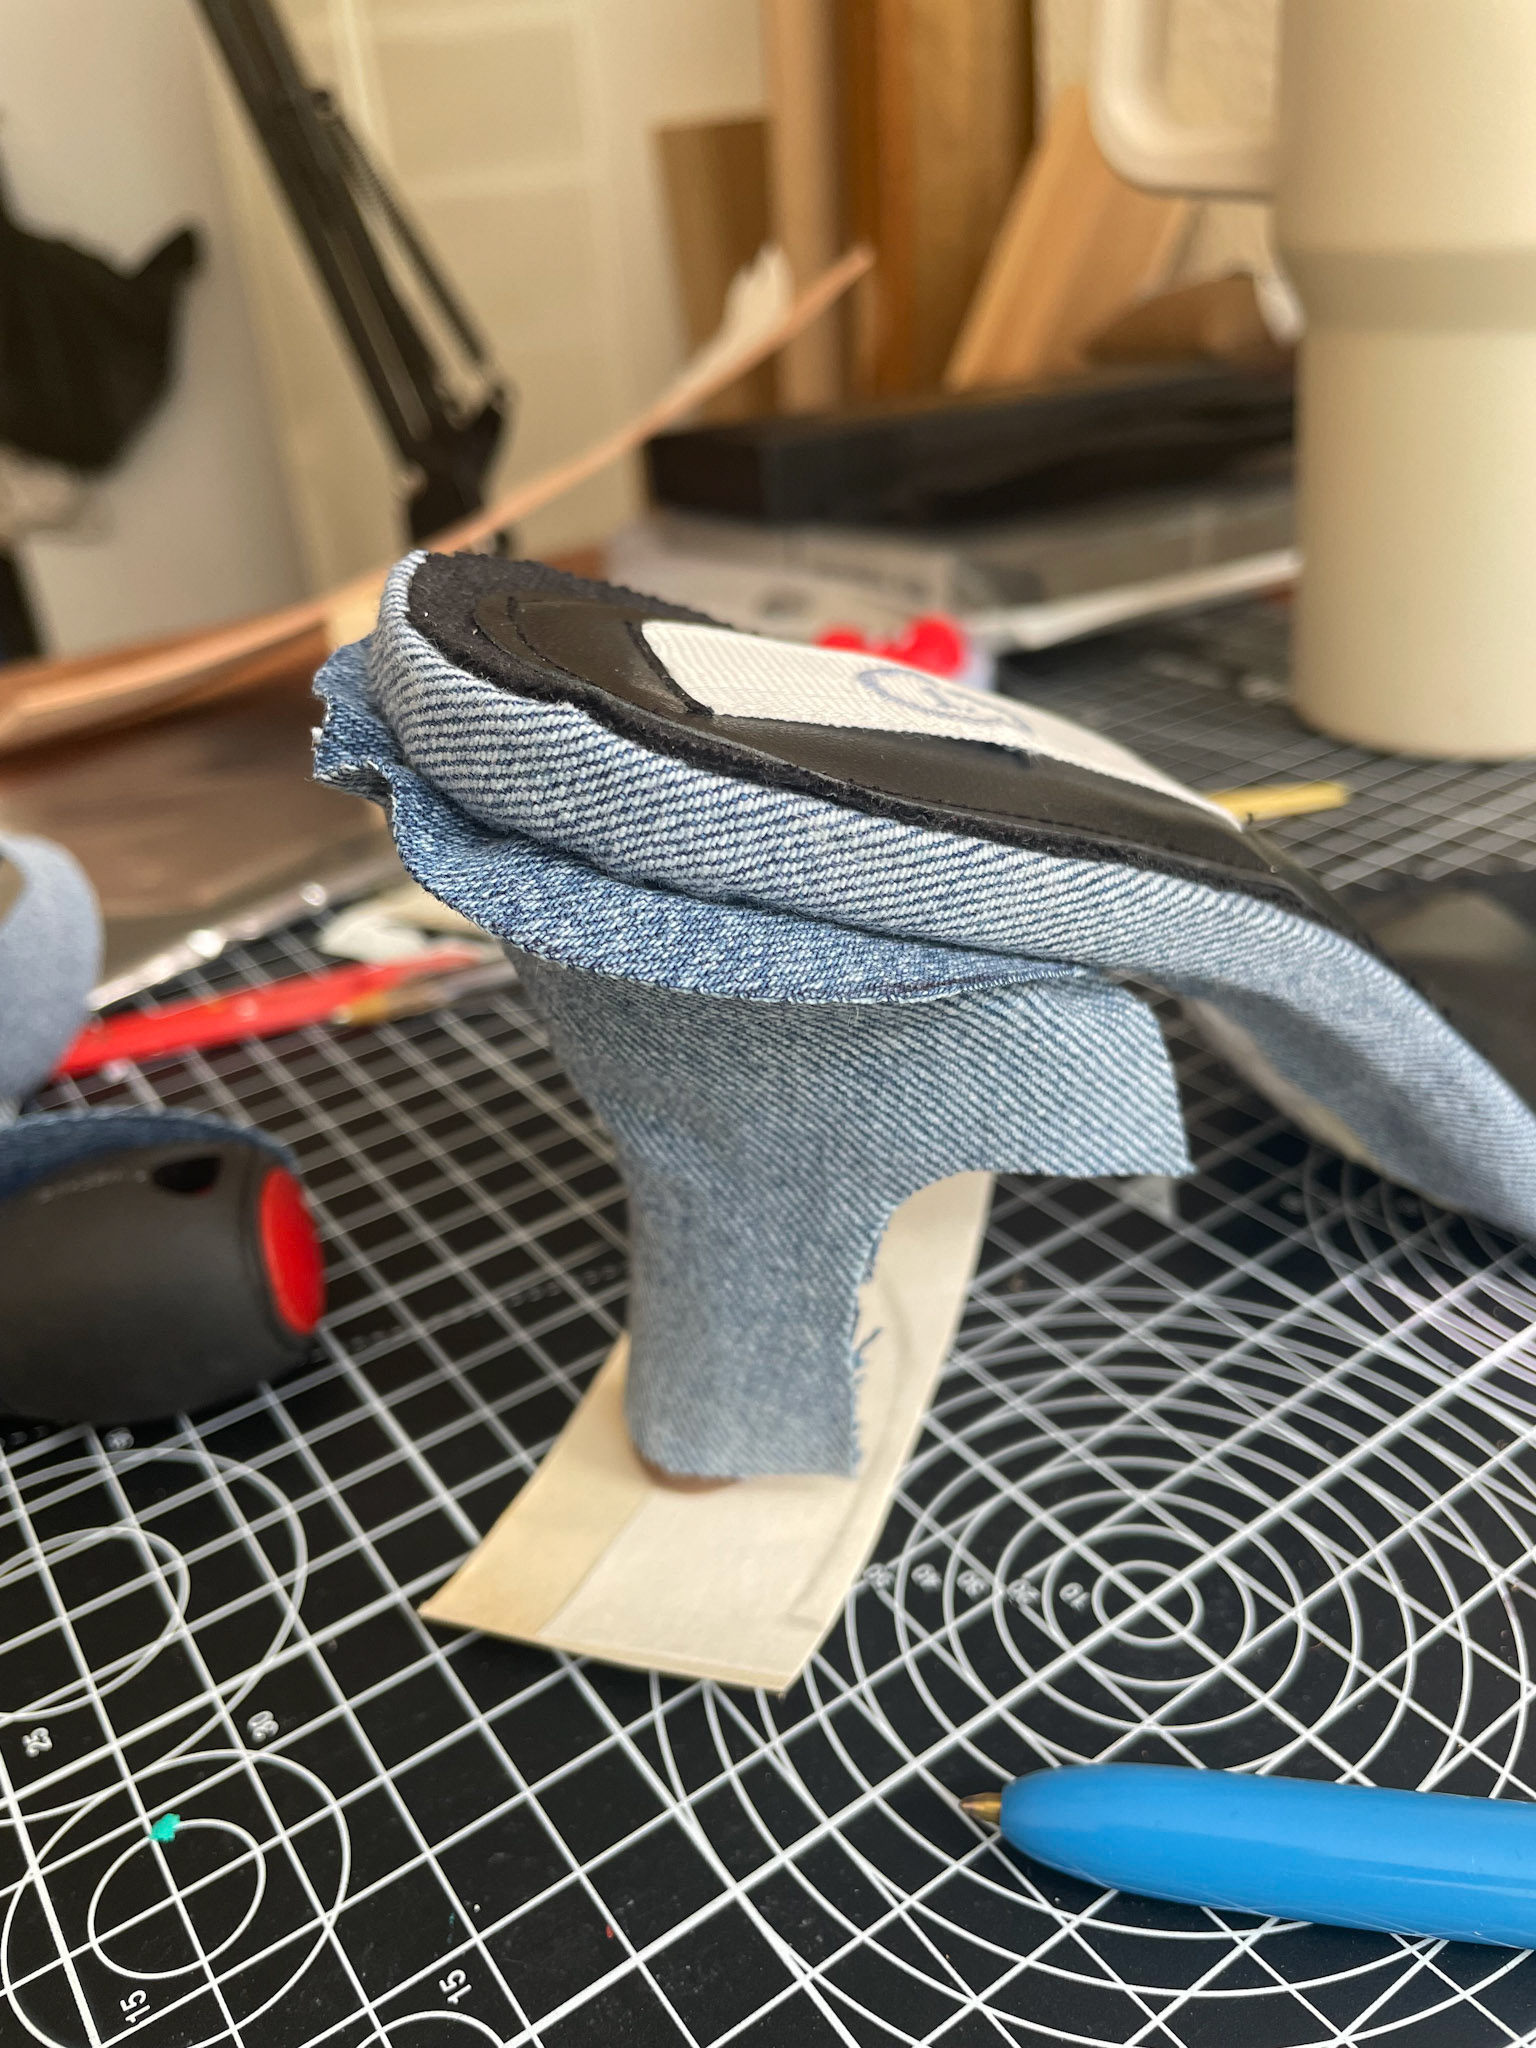
Method of applying the heel cover as I was unable to detach them completely
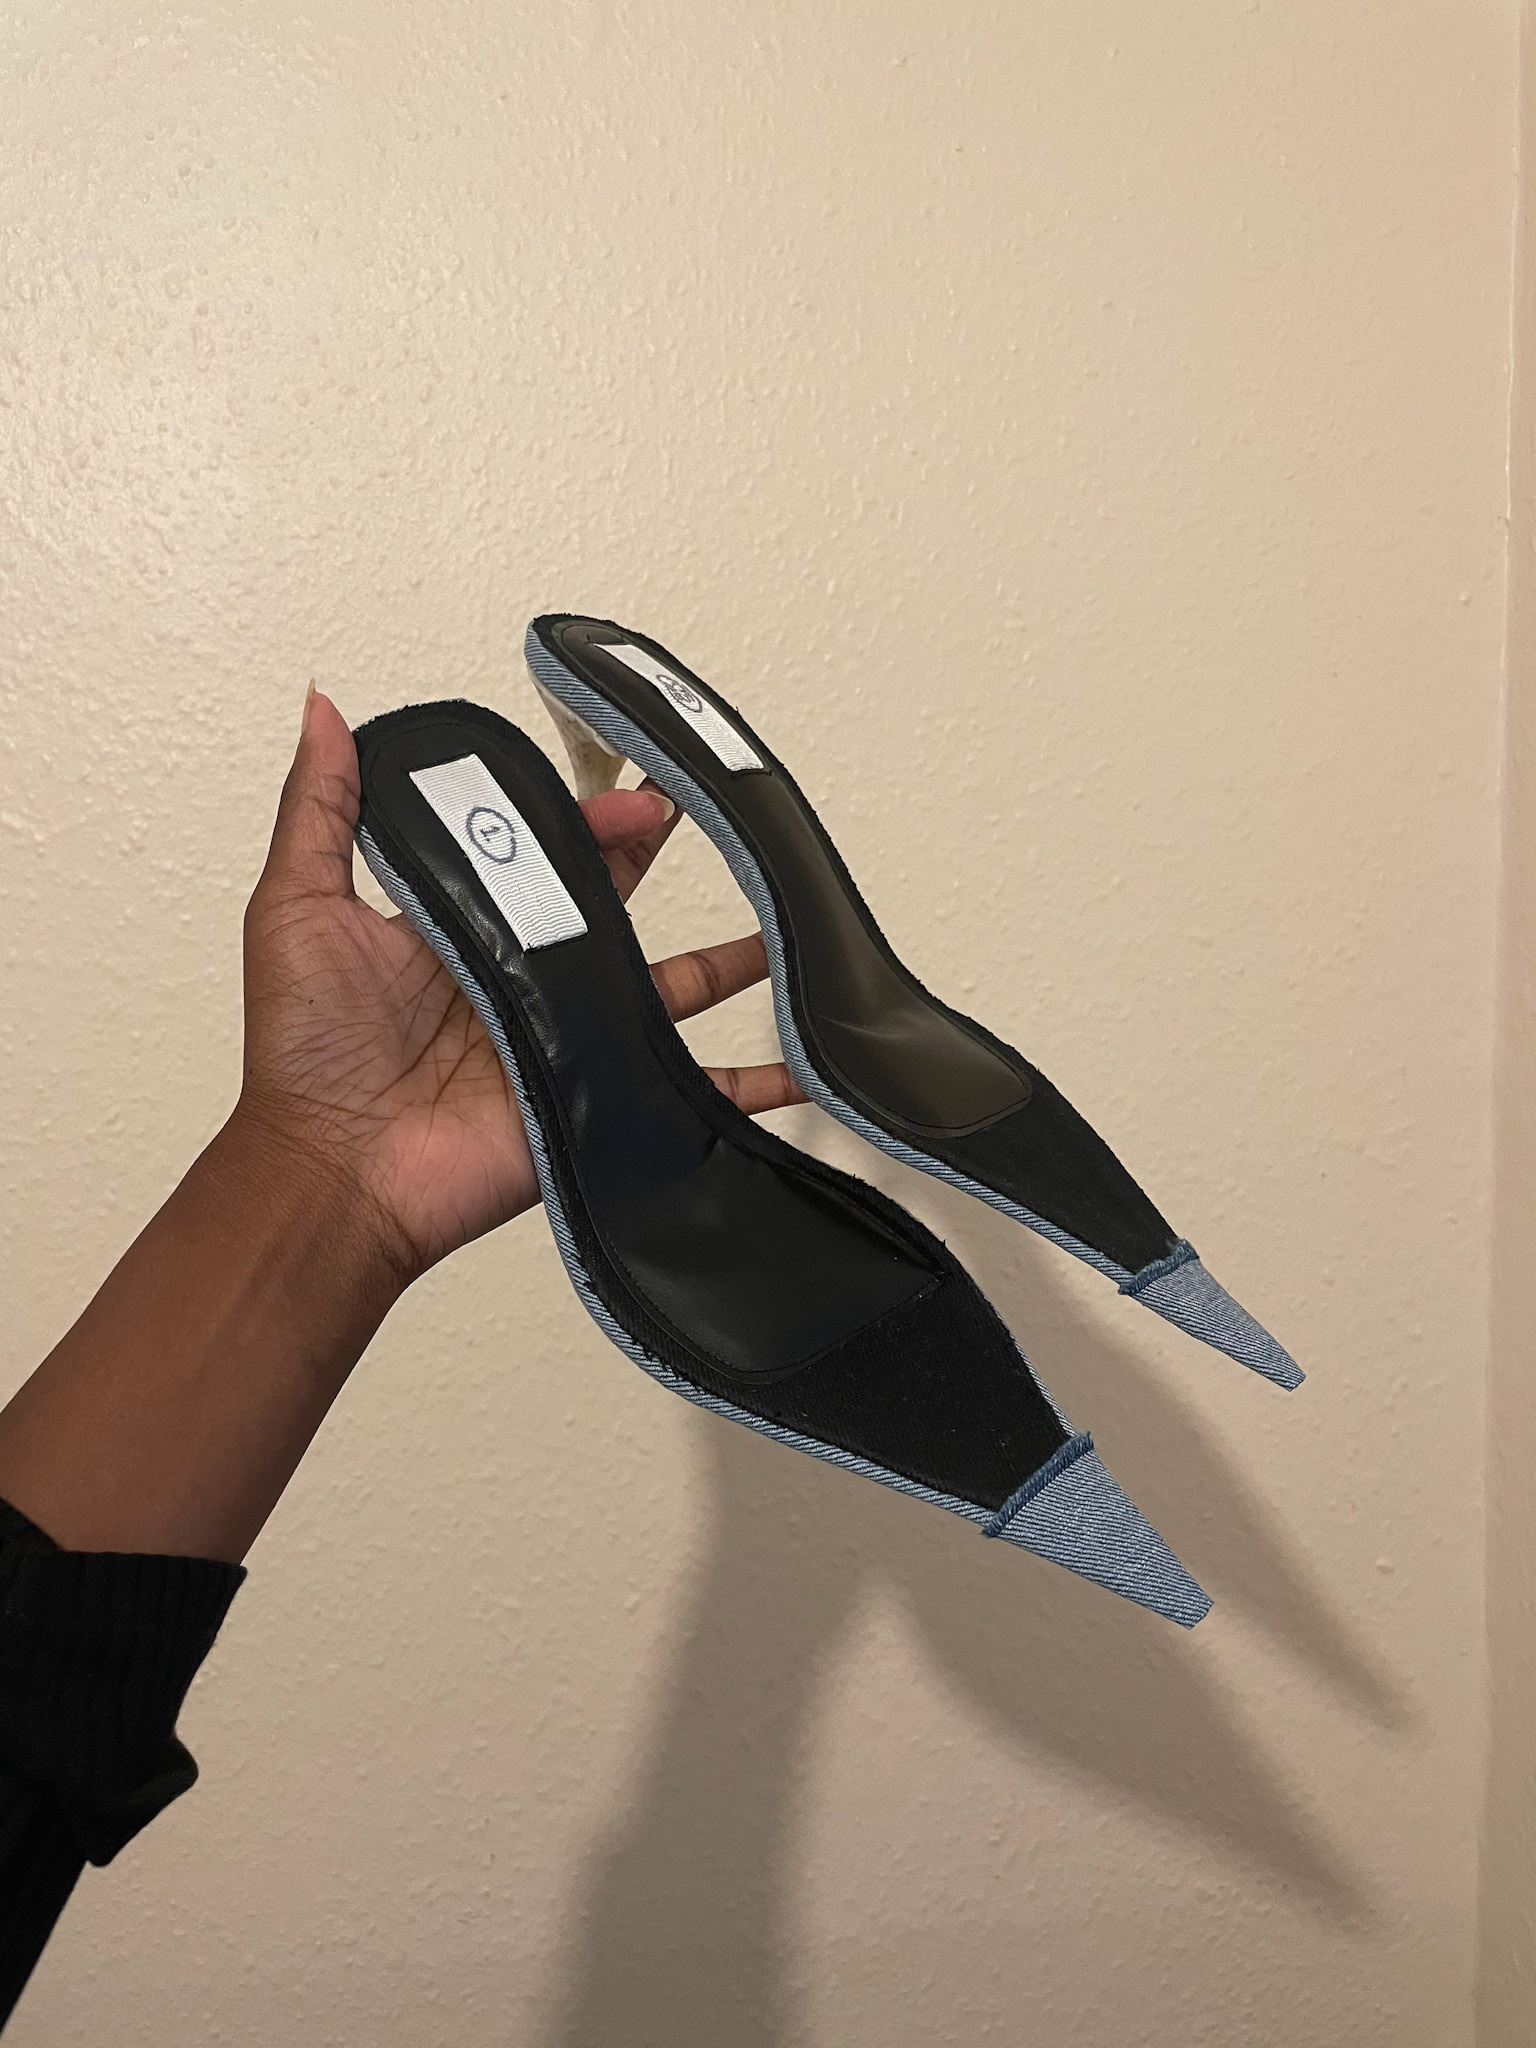
Final insole result
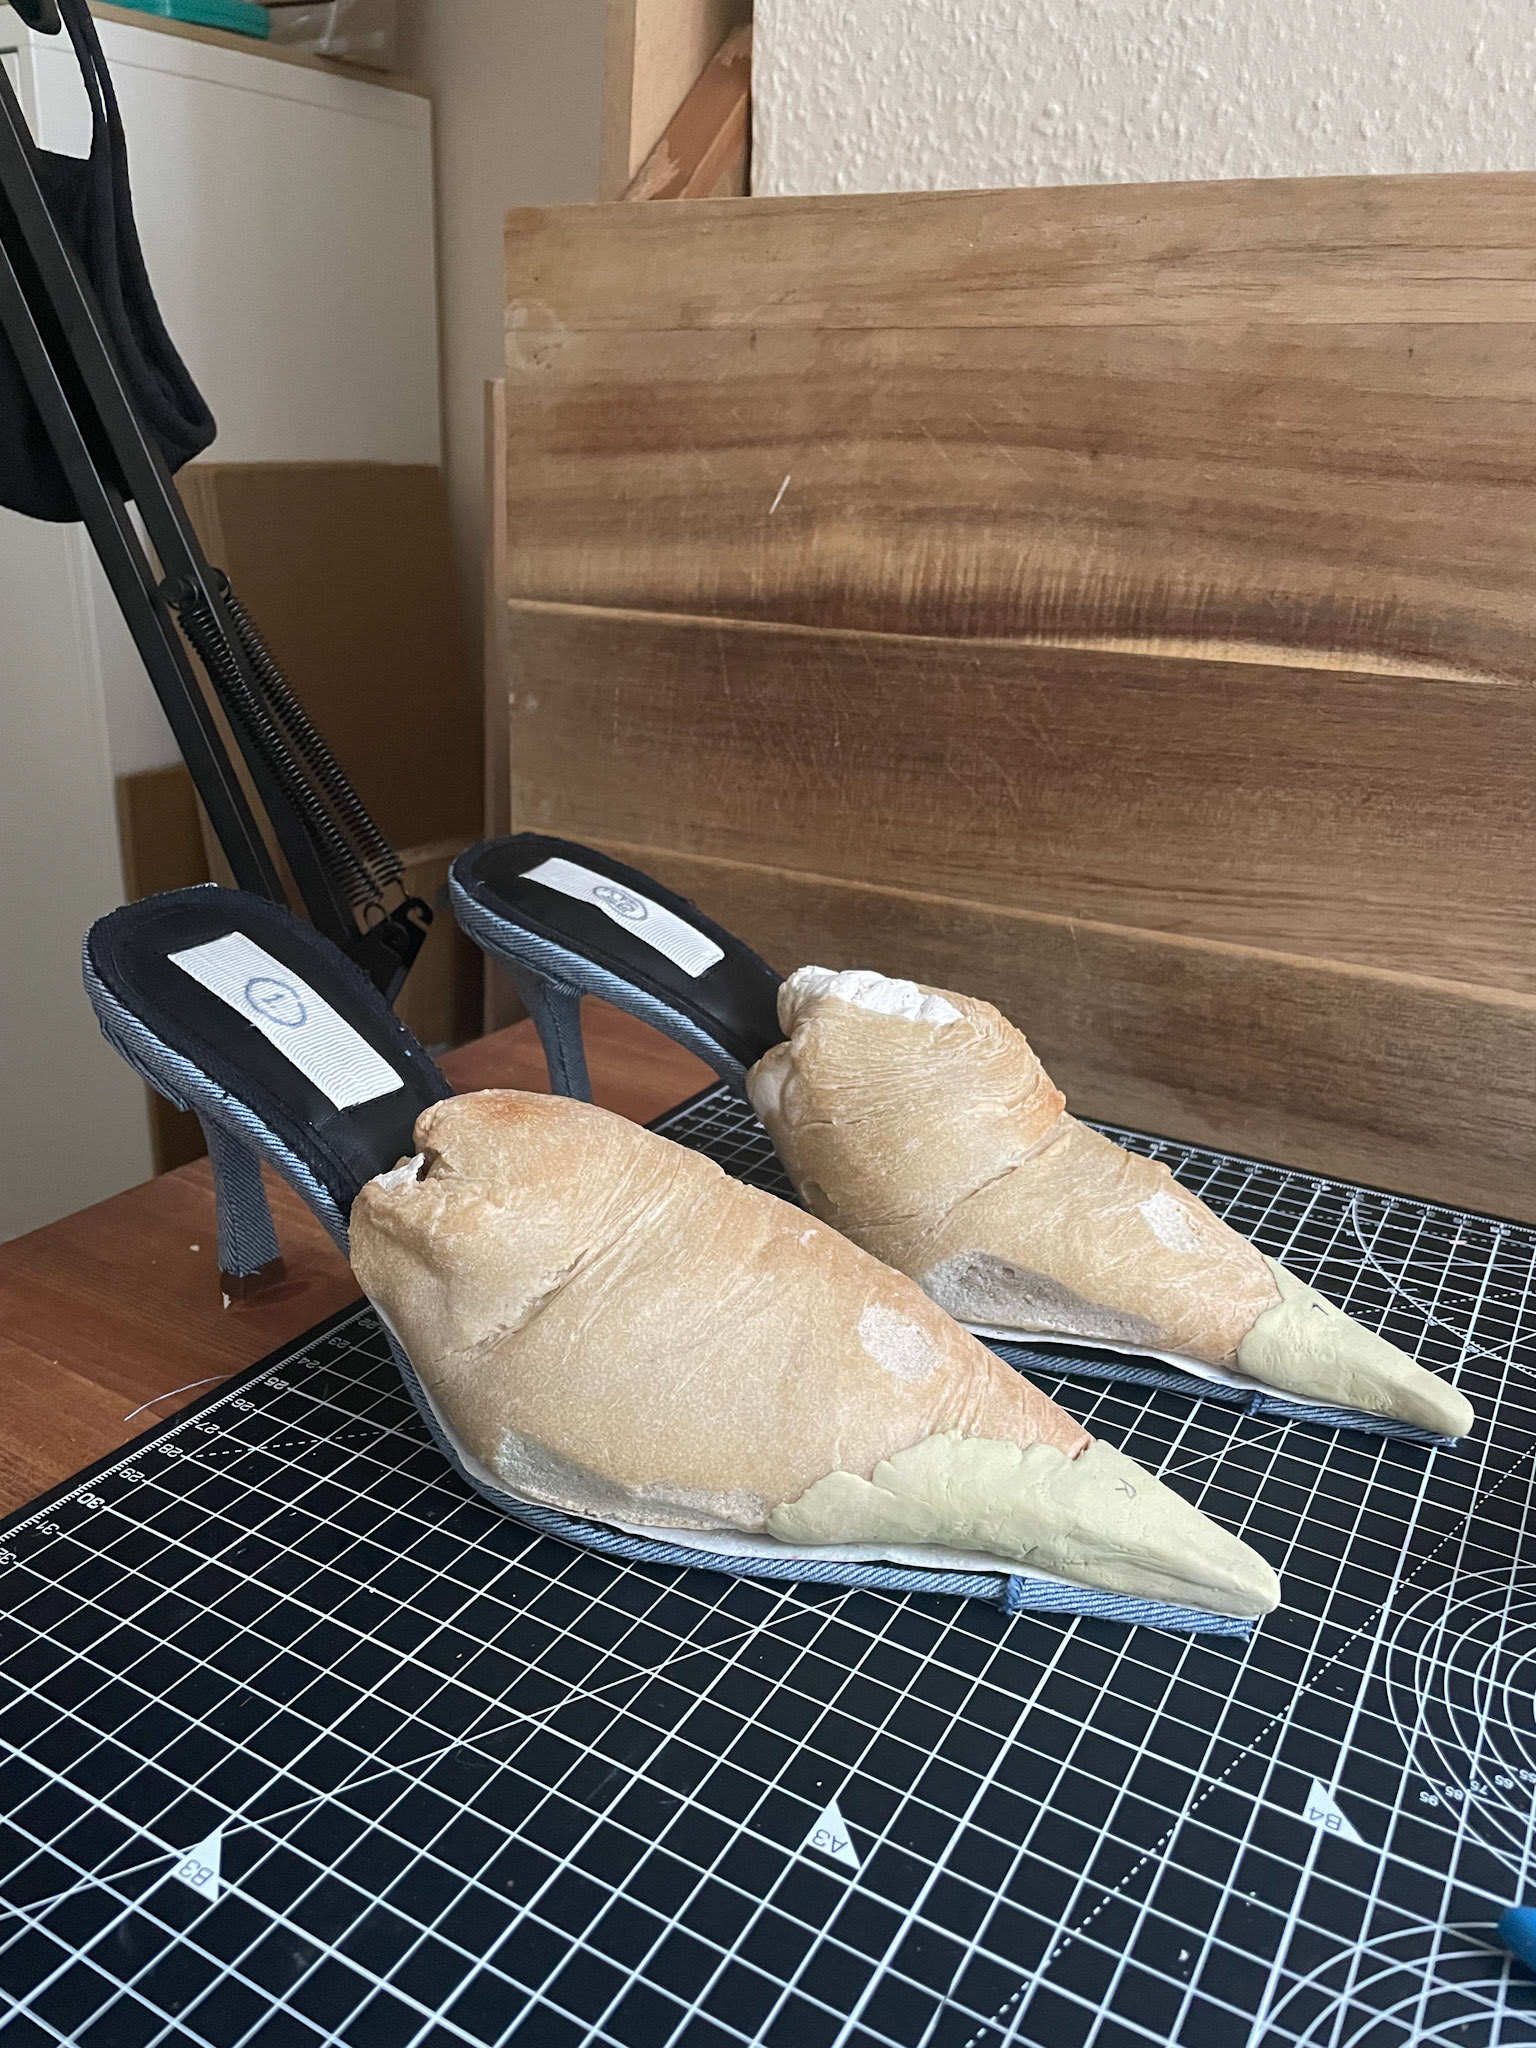
Ready for the next stages
M A K I N G : Upper + lining
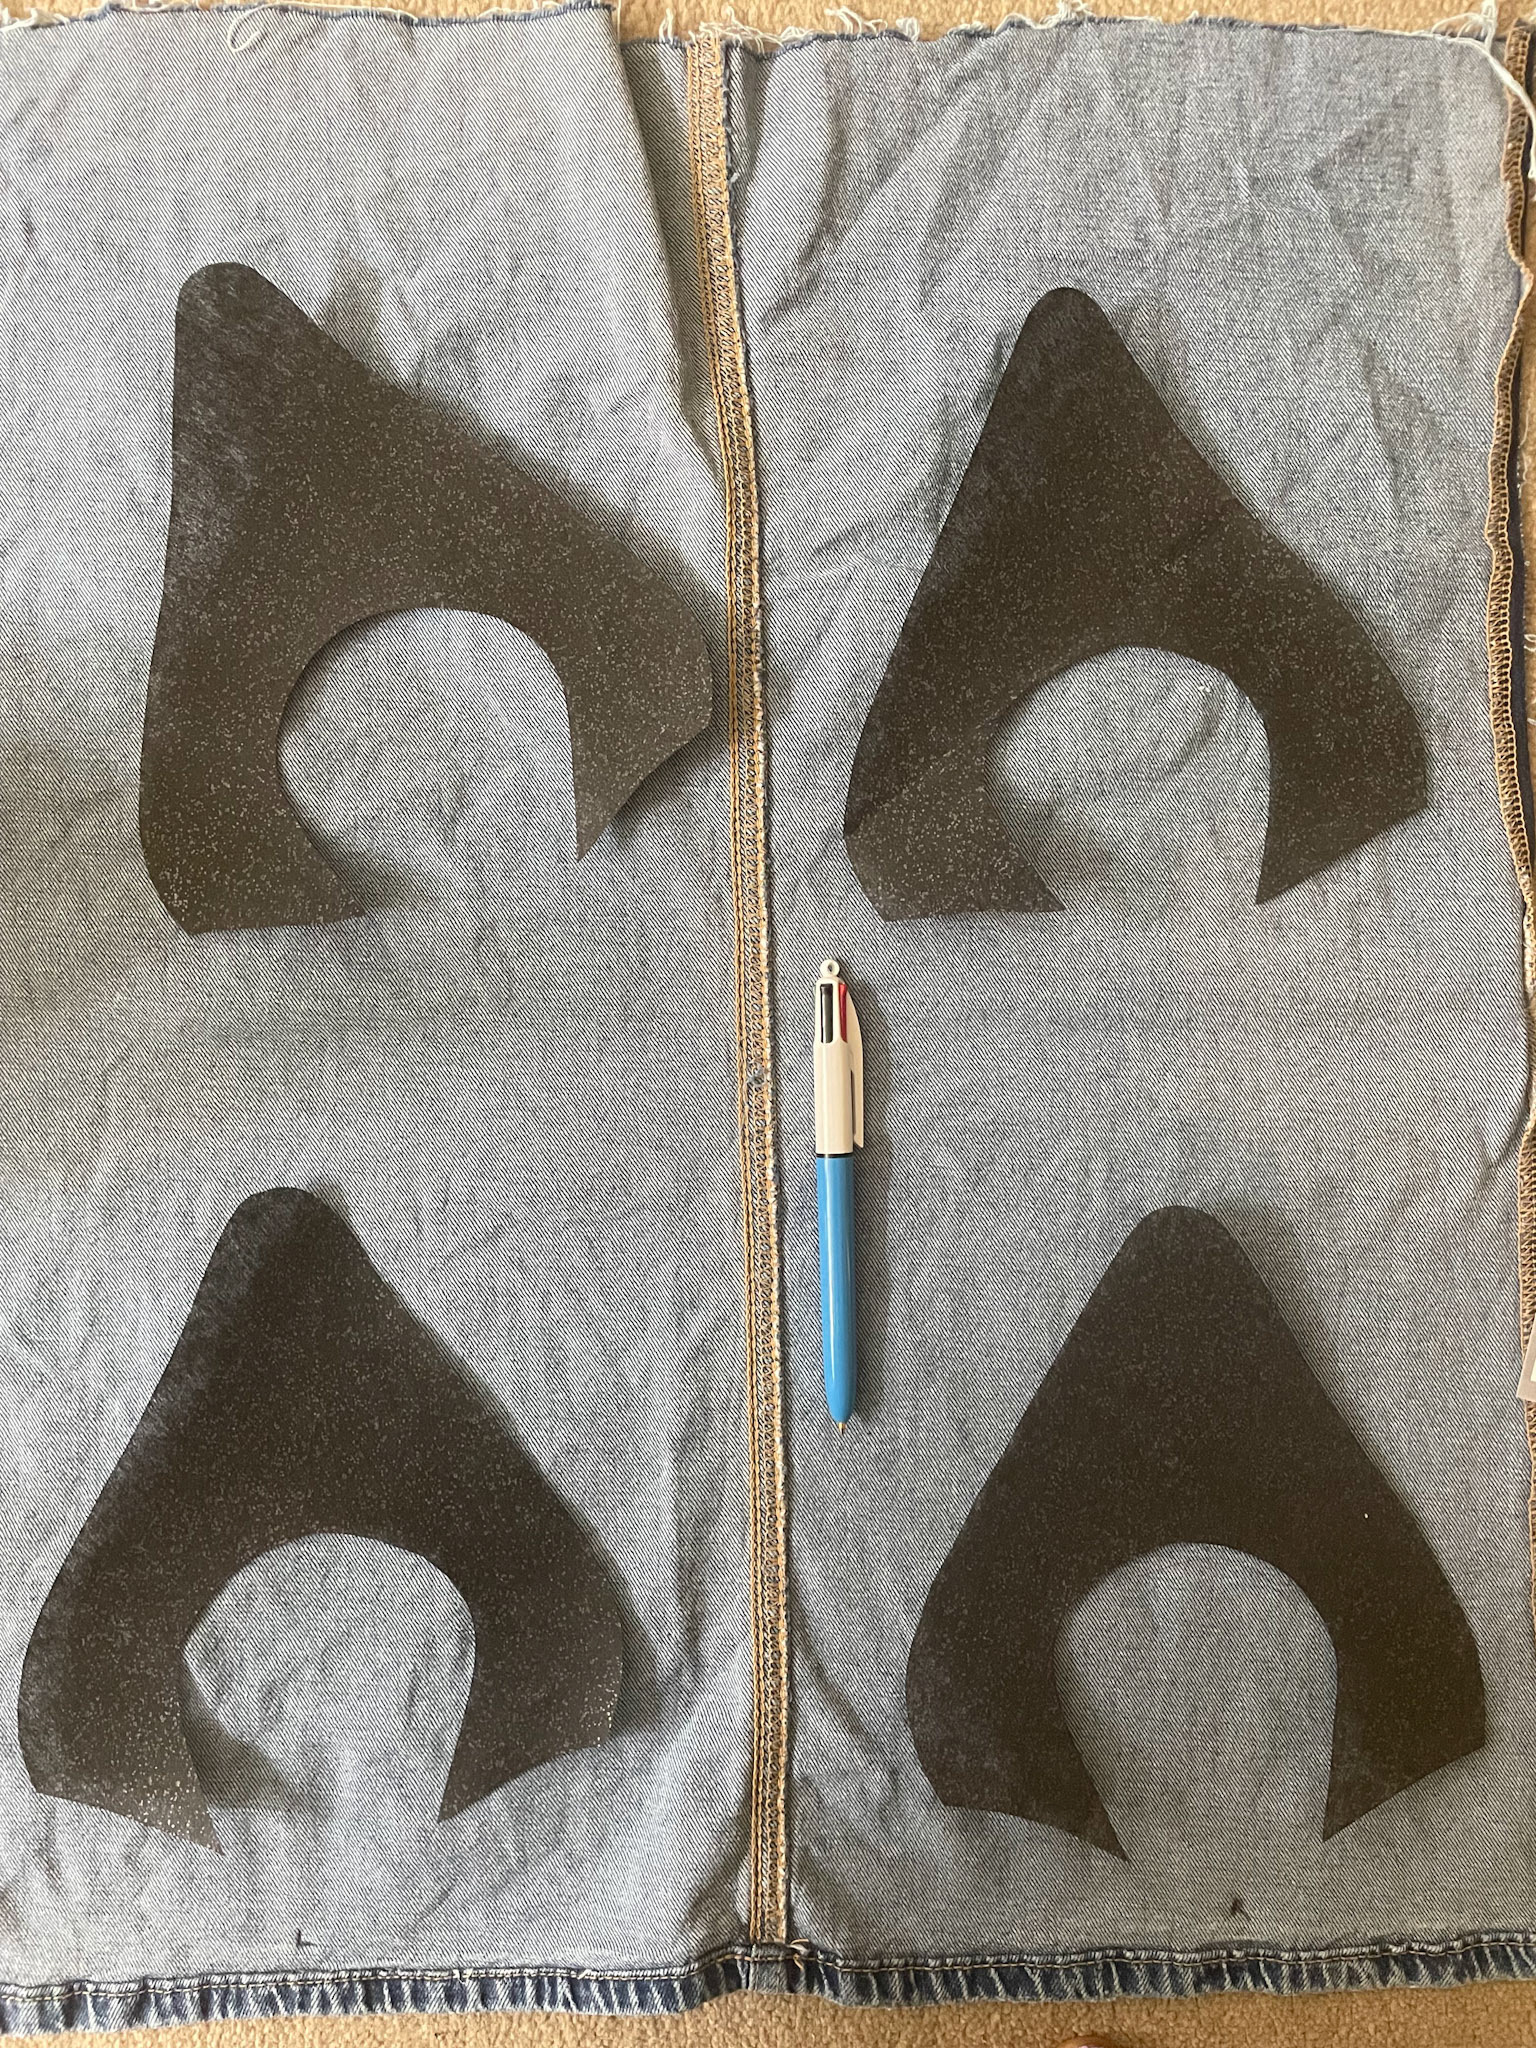
Fusible interlining pattern cutouts, to reinforce denim lining
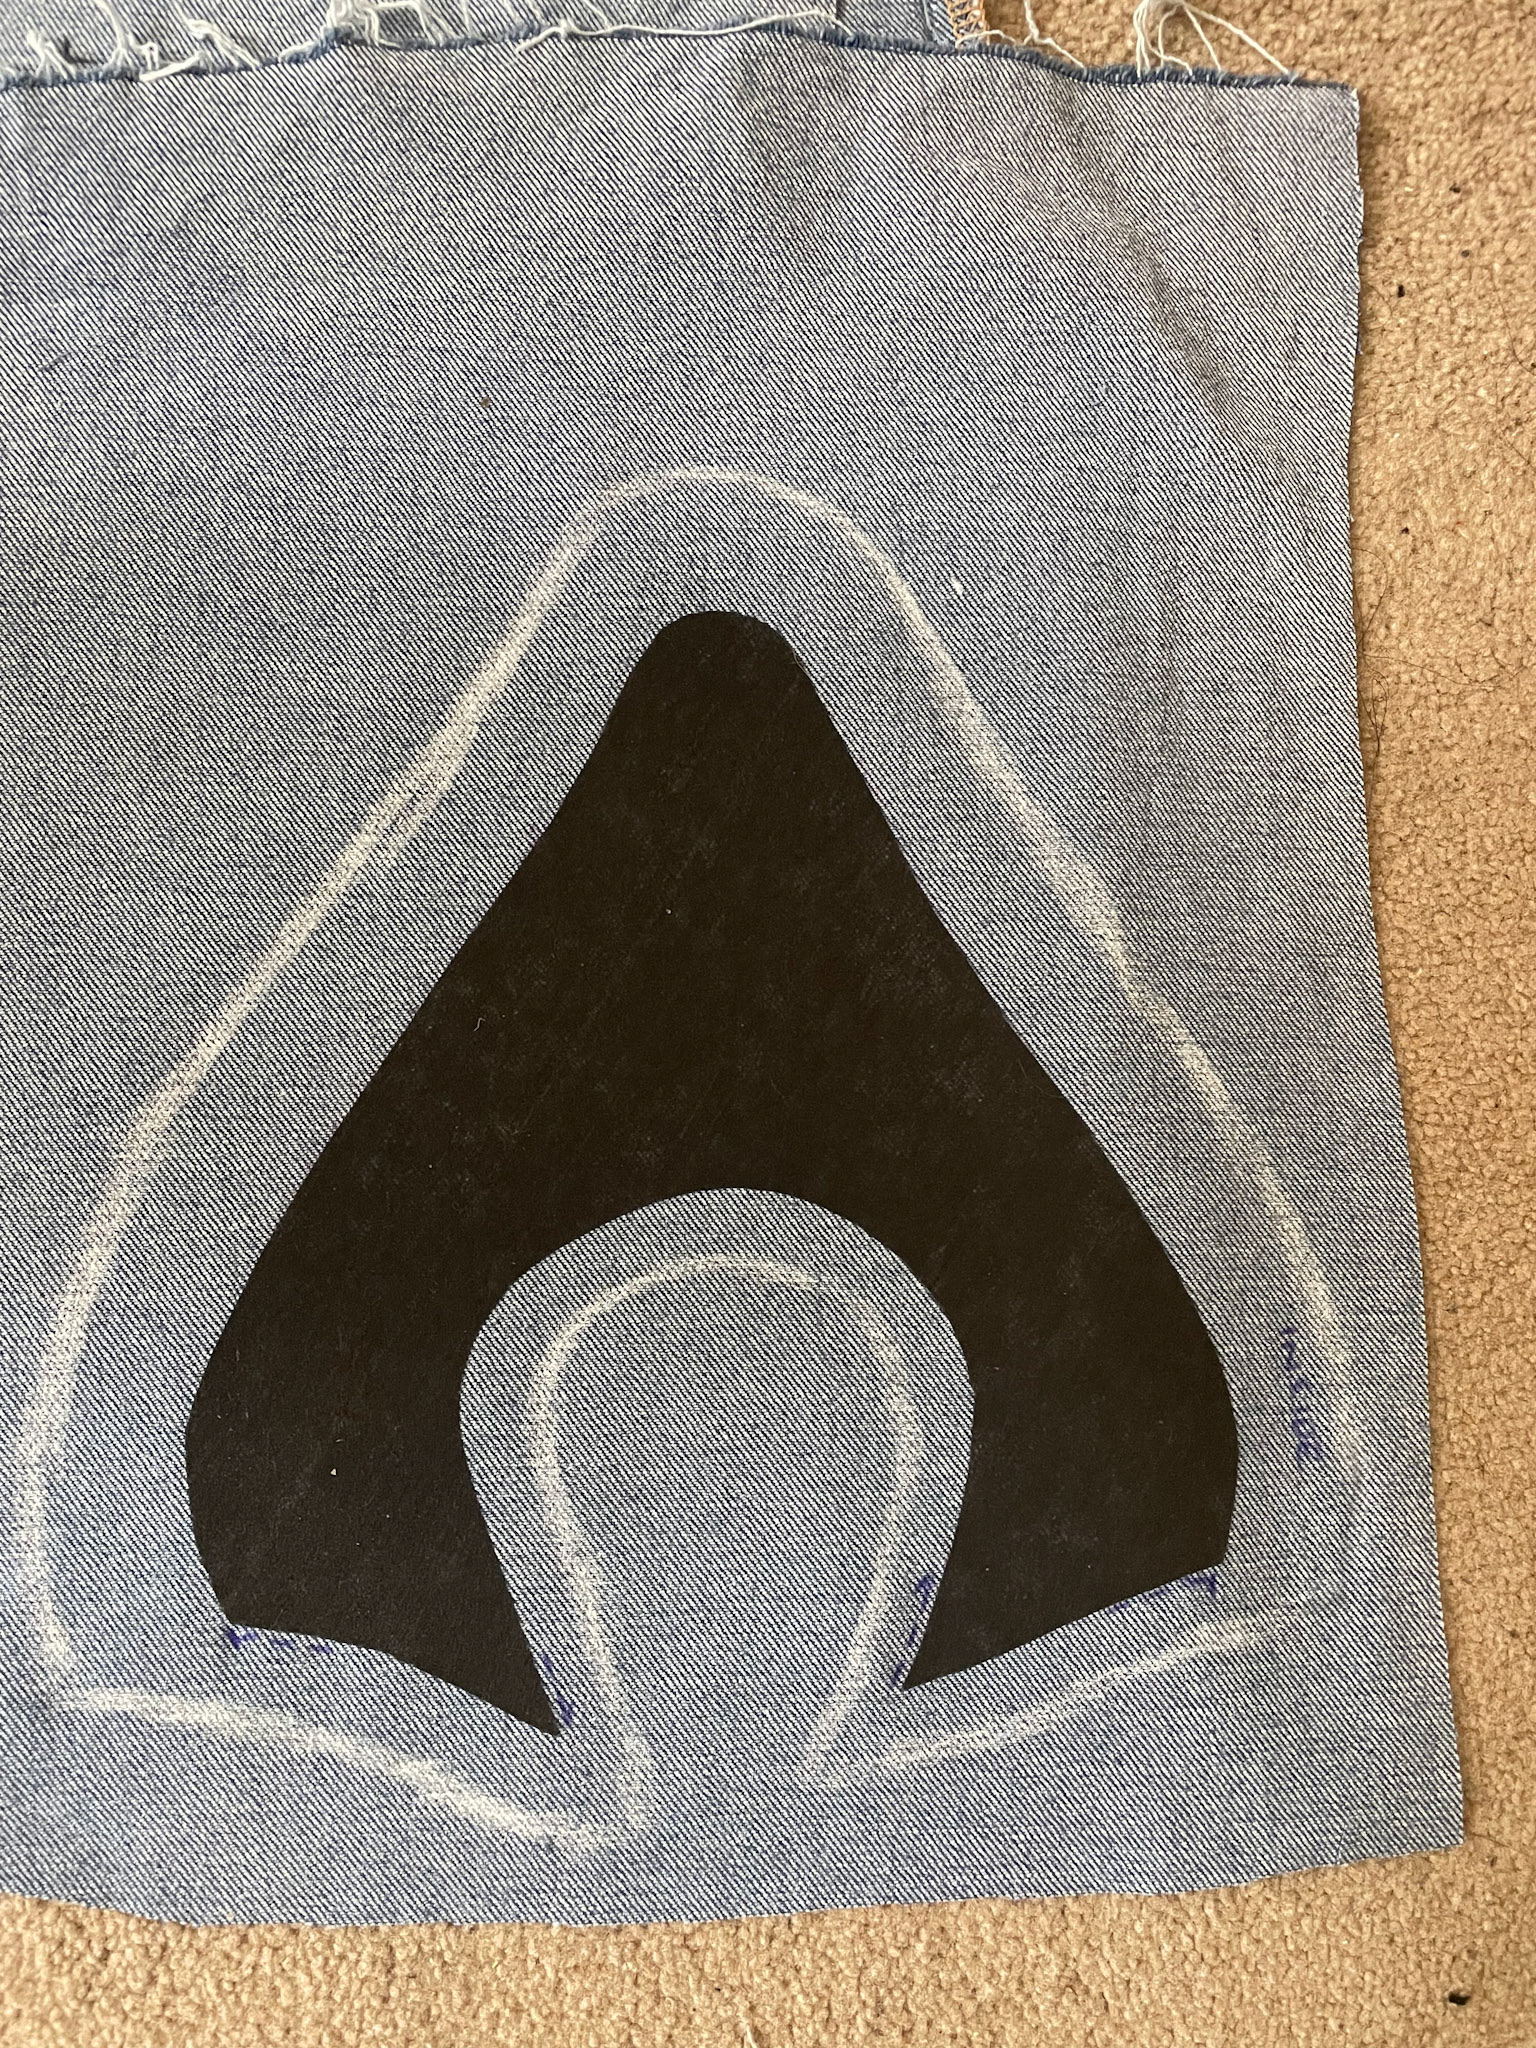
Rough lasting allowance for denim lining
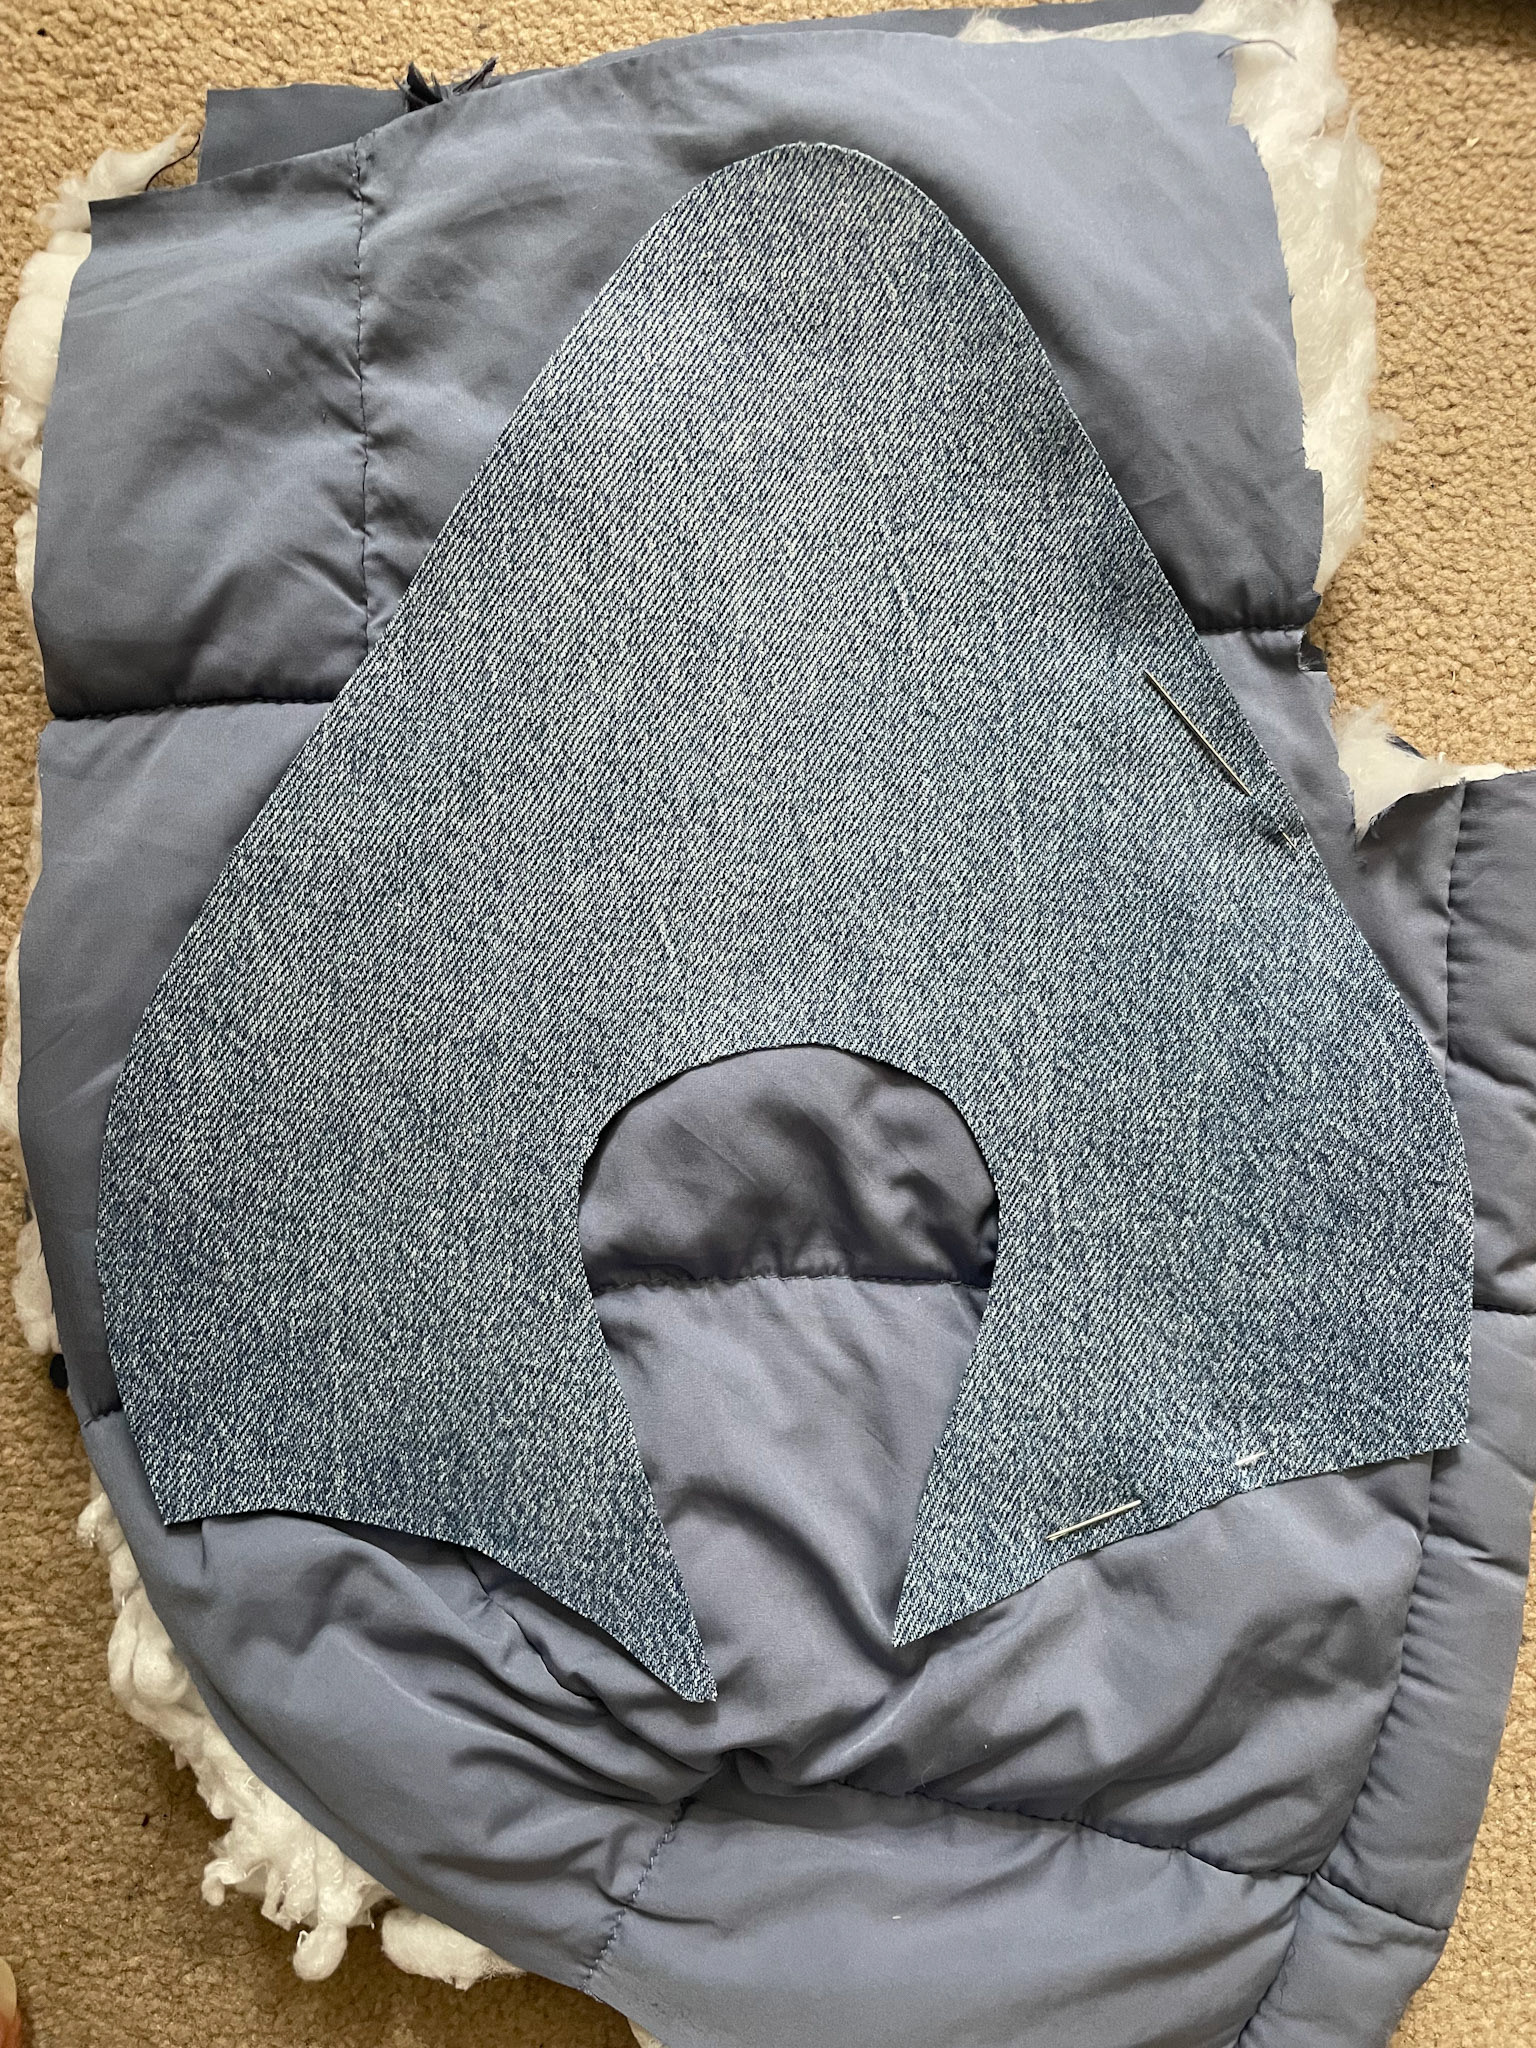
Mapping out the material for the upper
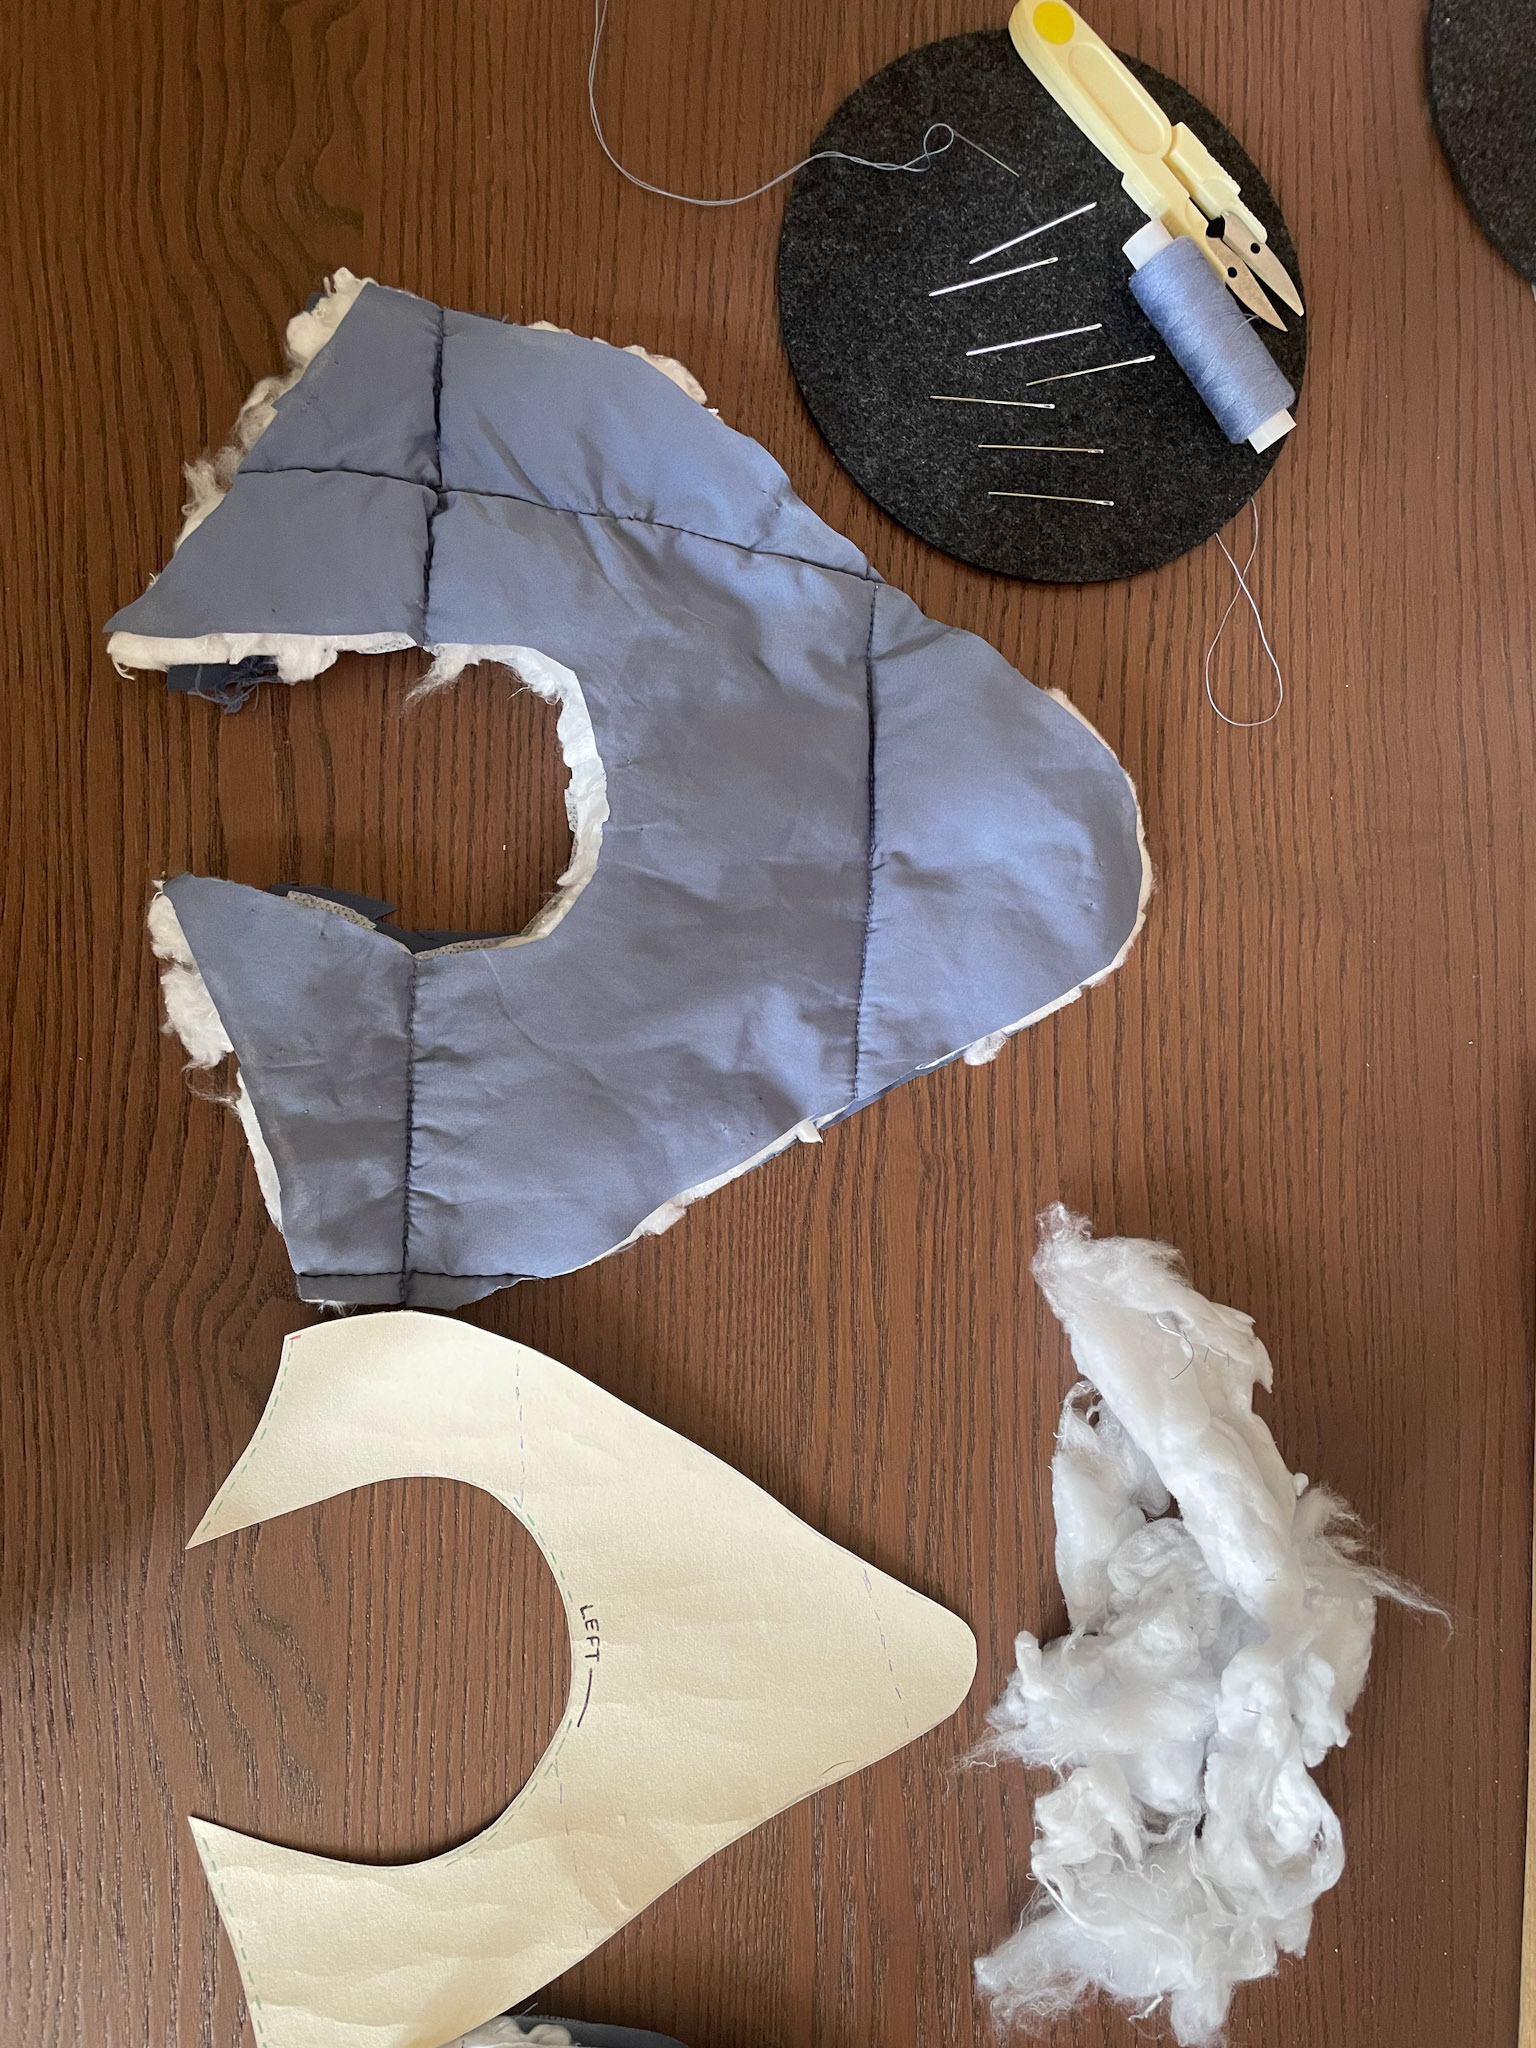
I had to thin out the padding a little before sewing
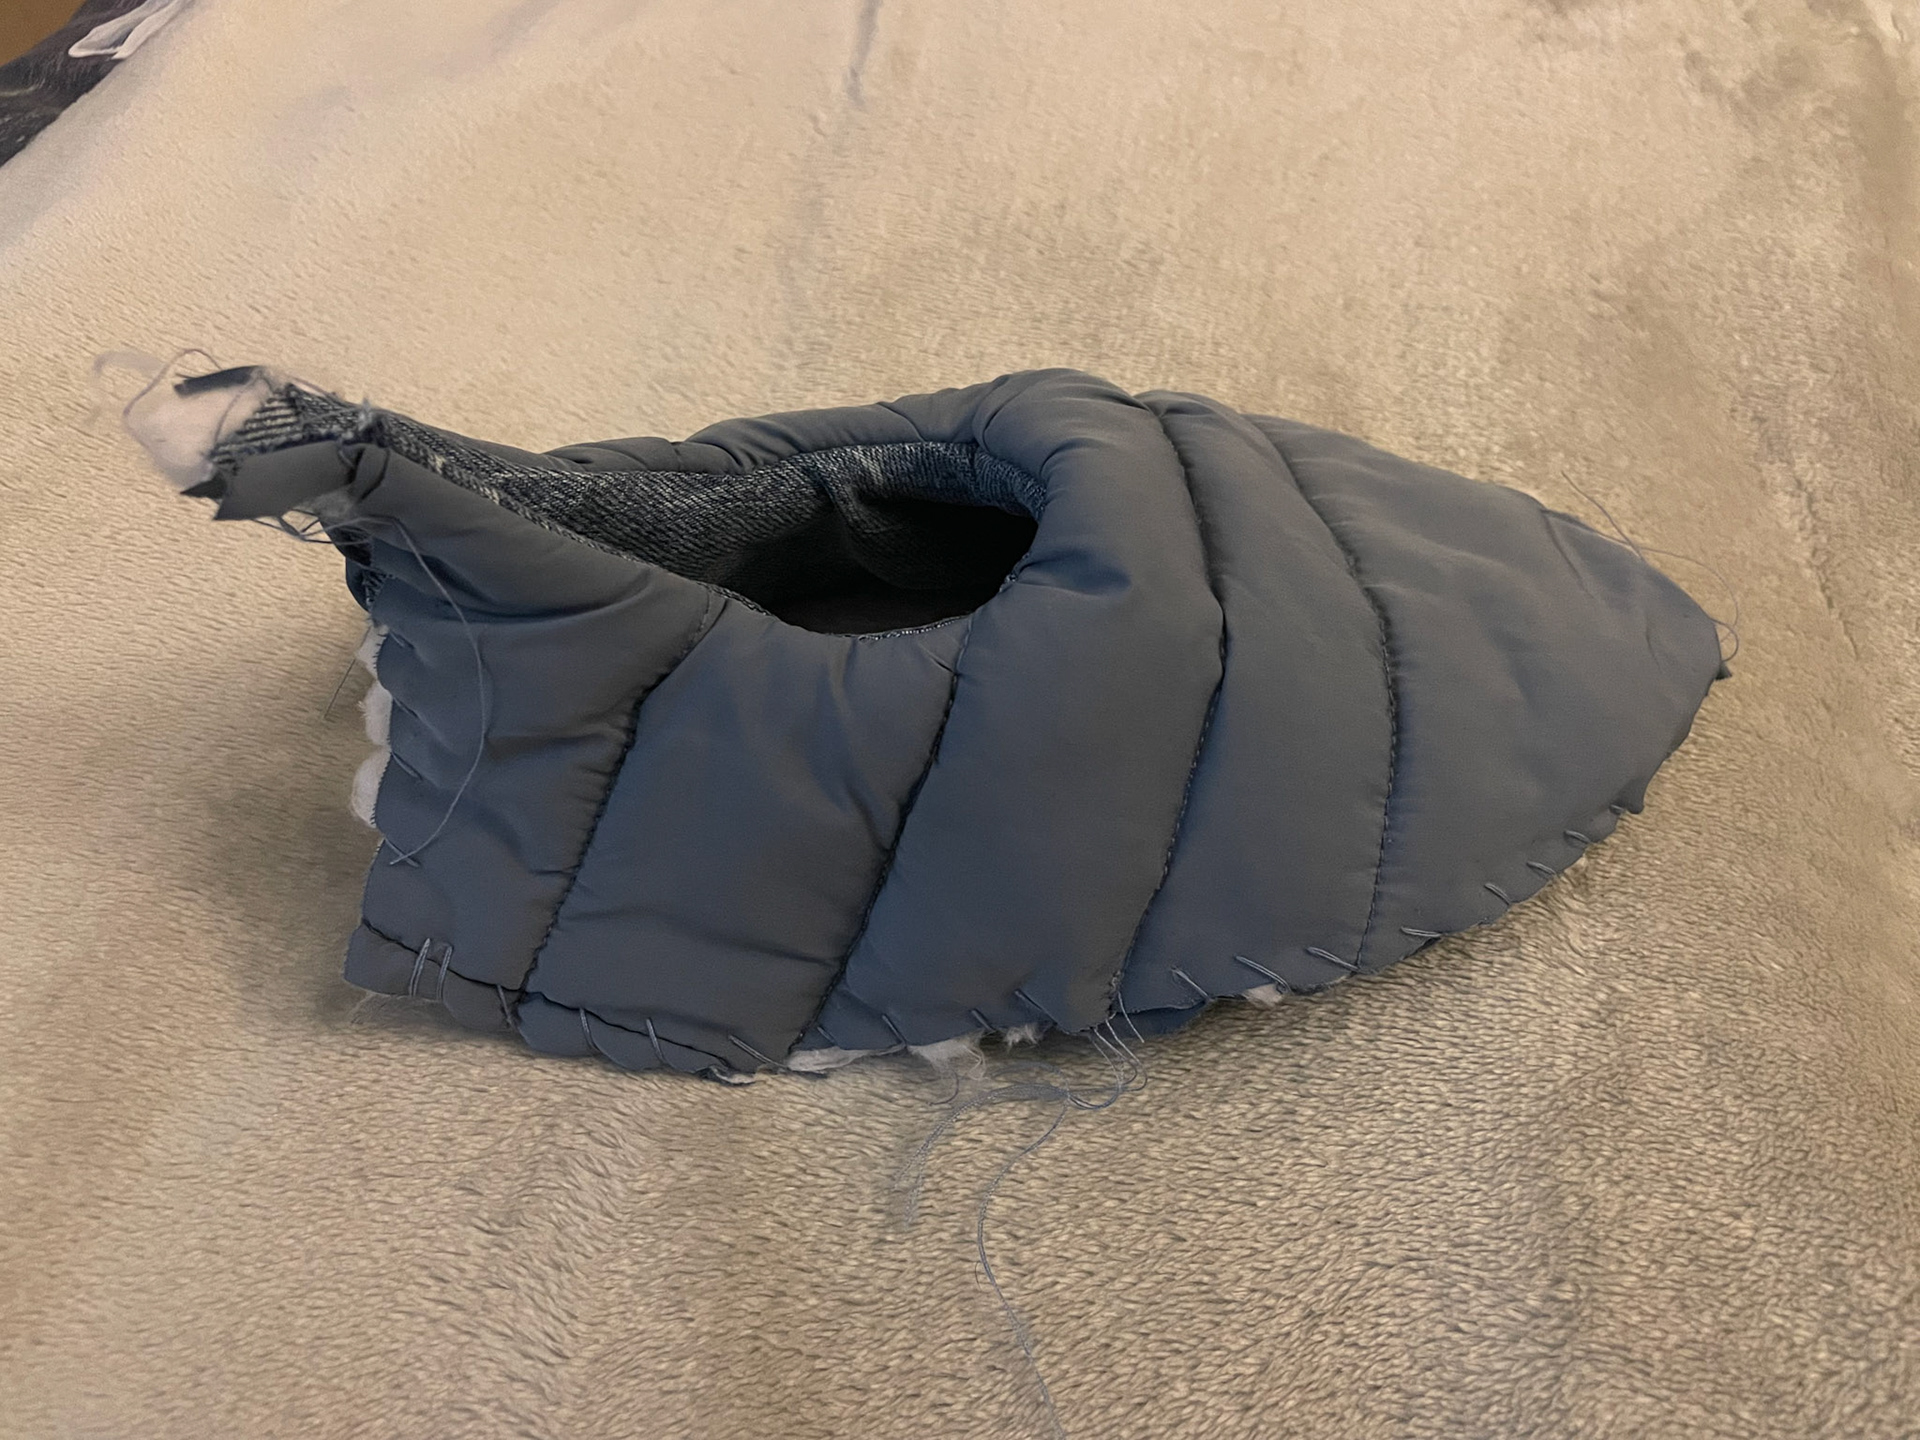
I decided to sew another horizontal line for more consistent seam spacing
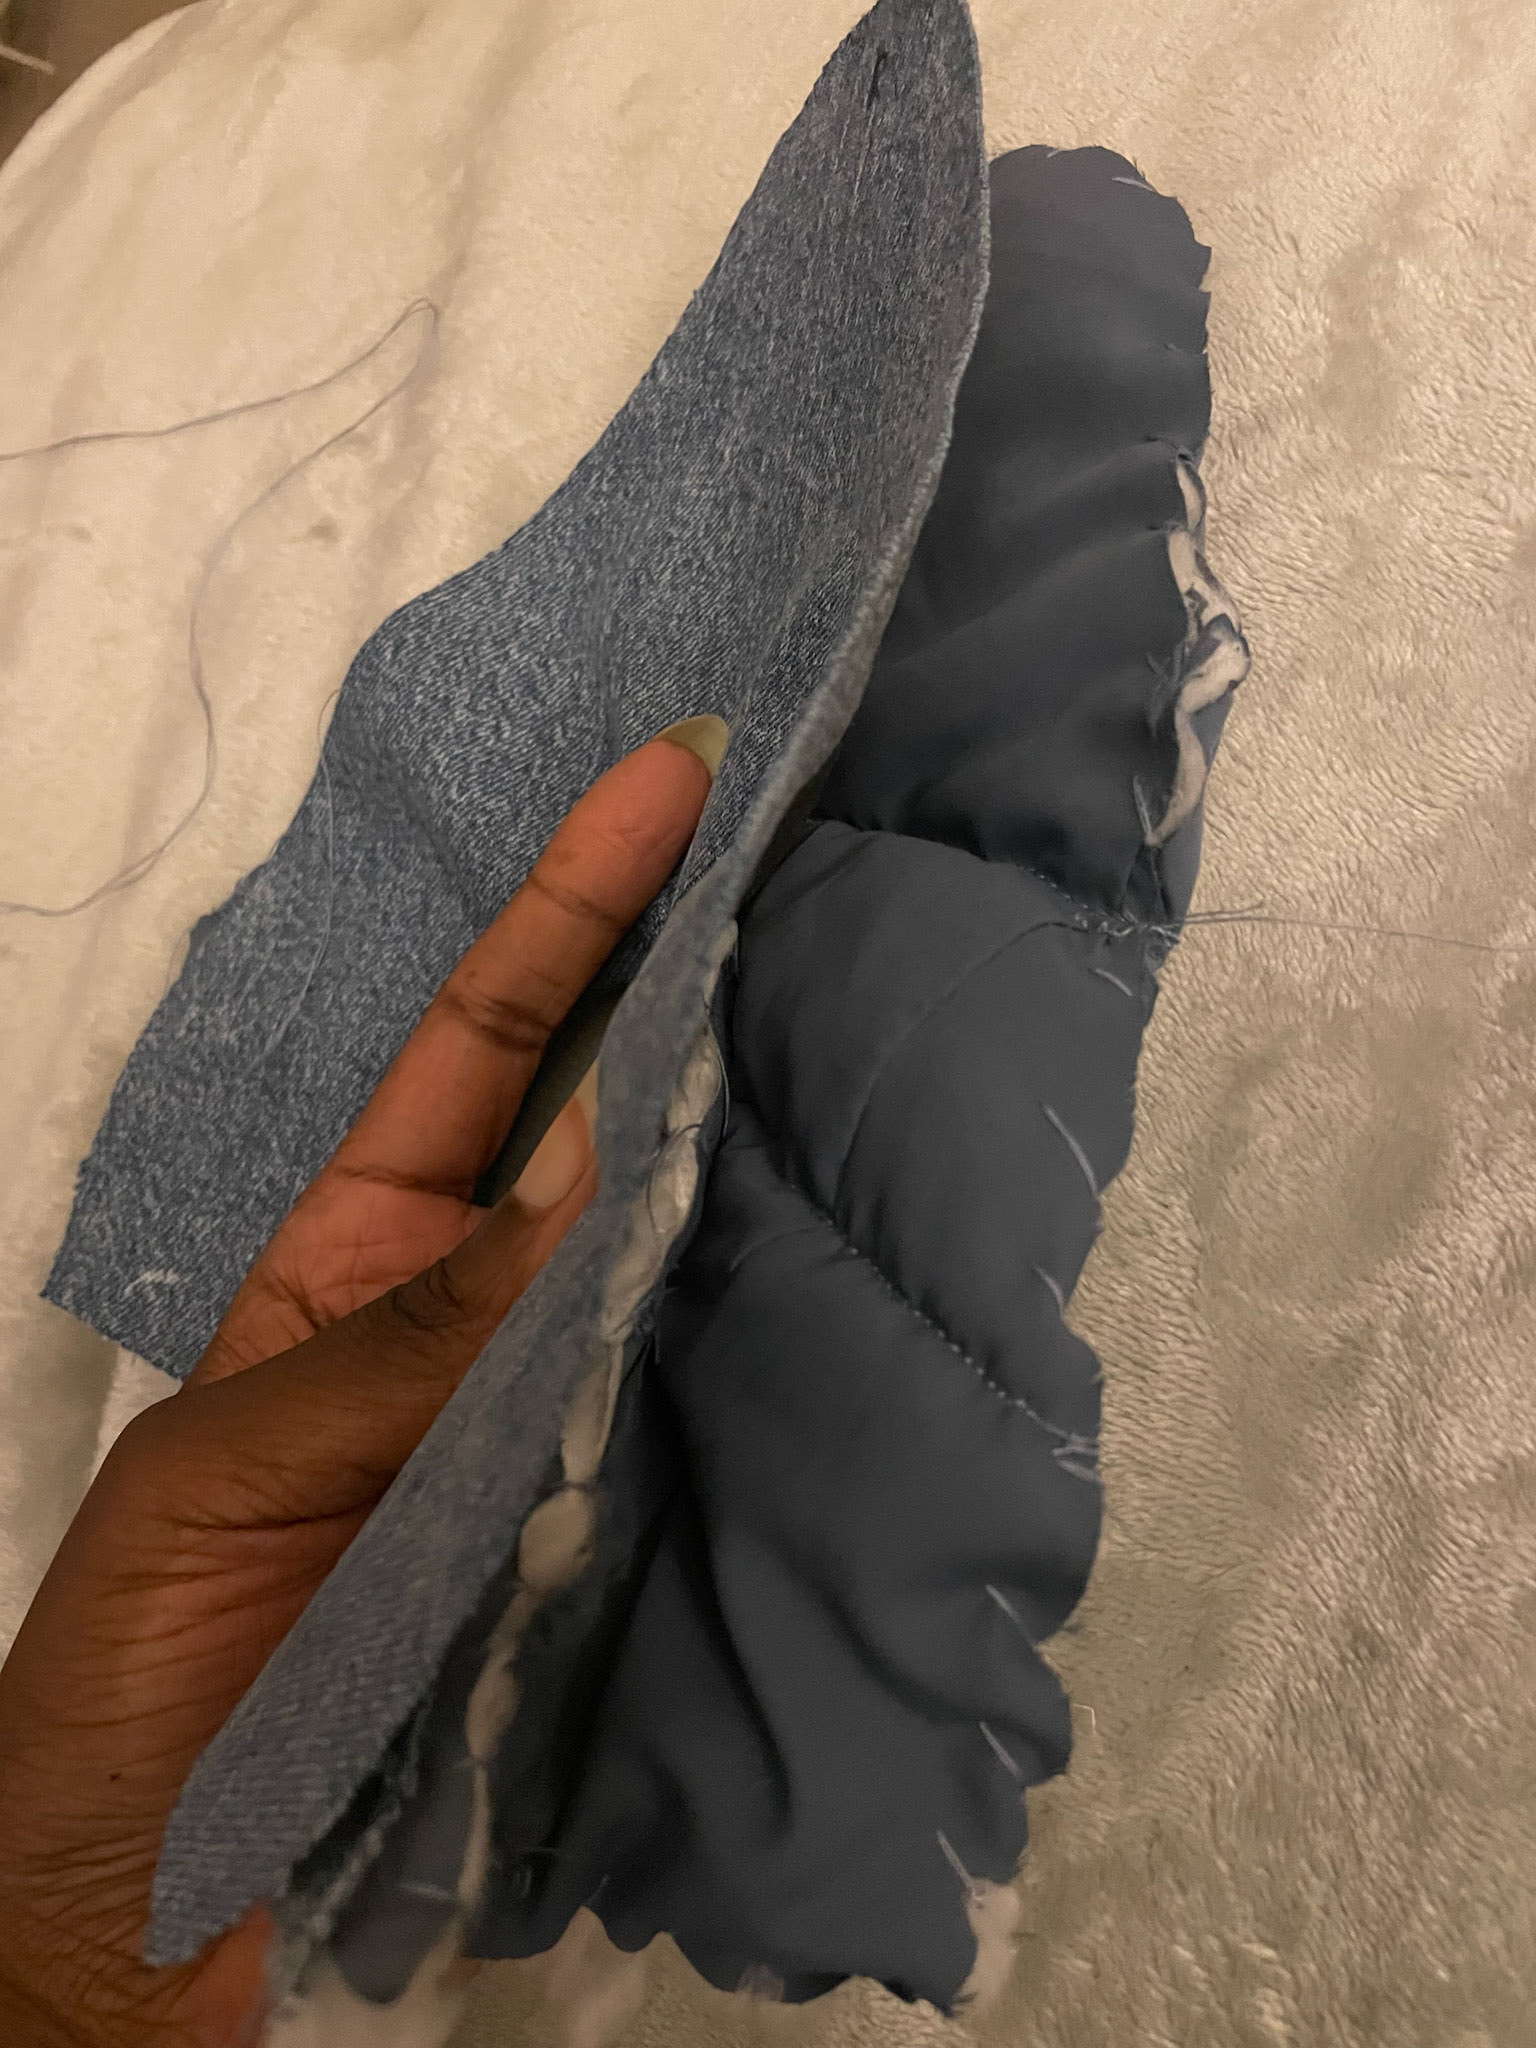
I ensured the edges of both the lining and upper were still separate to allow individual lasting
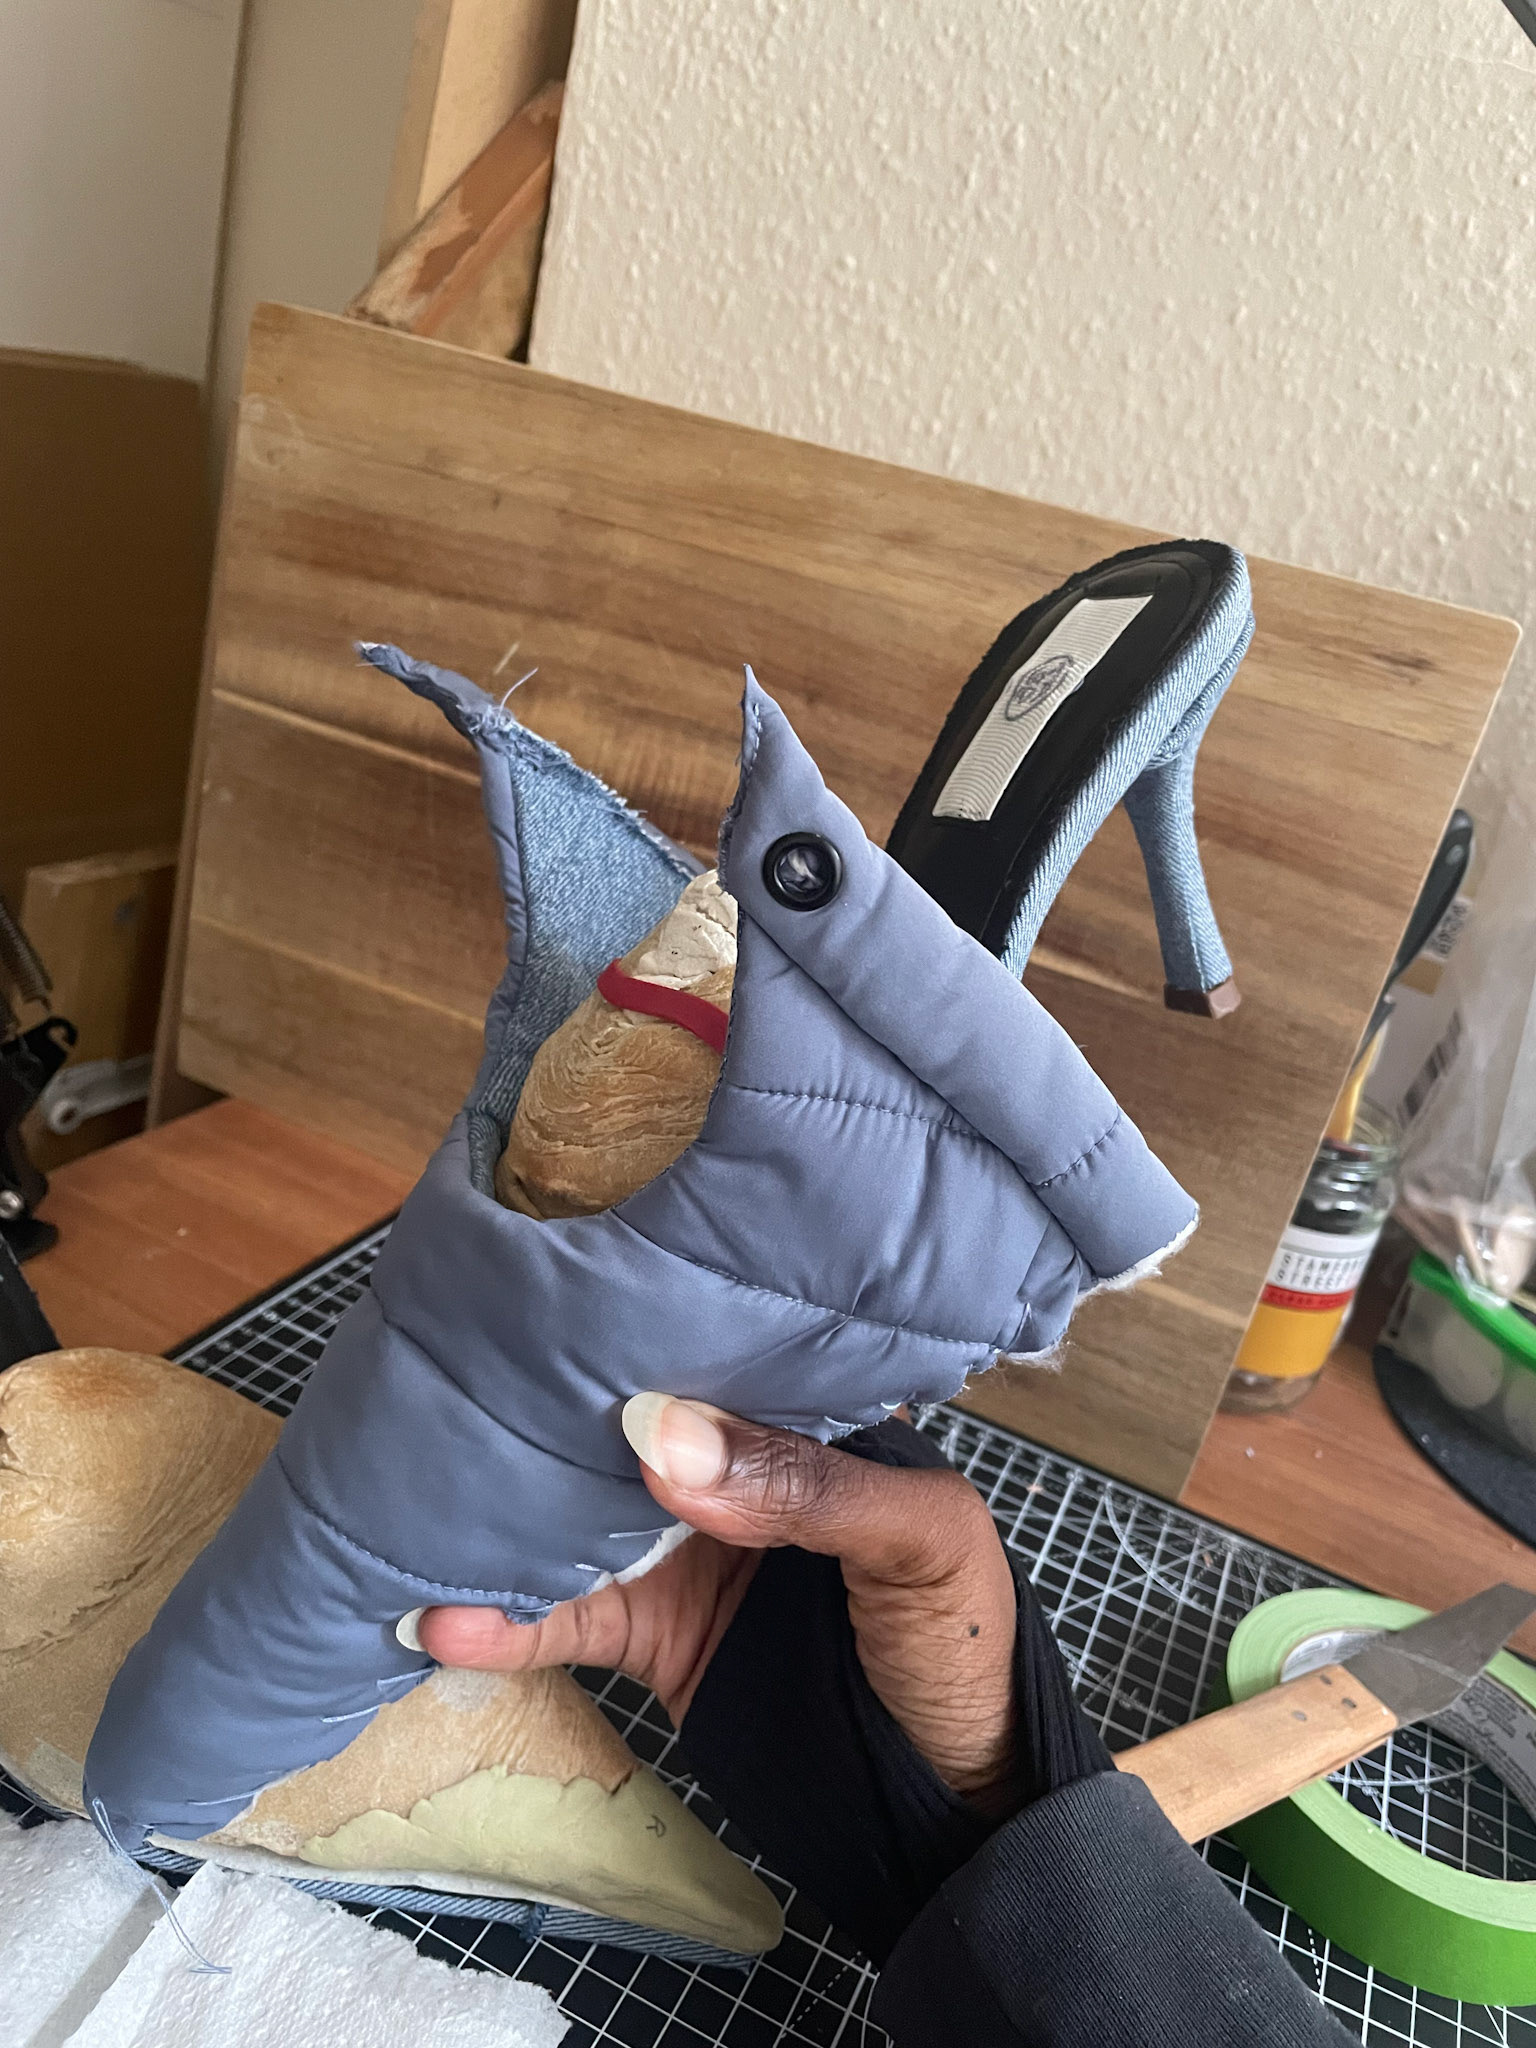
Visualising the final upper with the "eyelet puffer piping" now attached
M A K I N G : Toe puff and side stiffeners
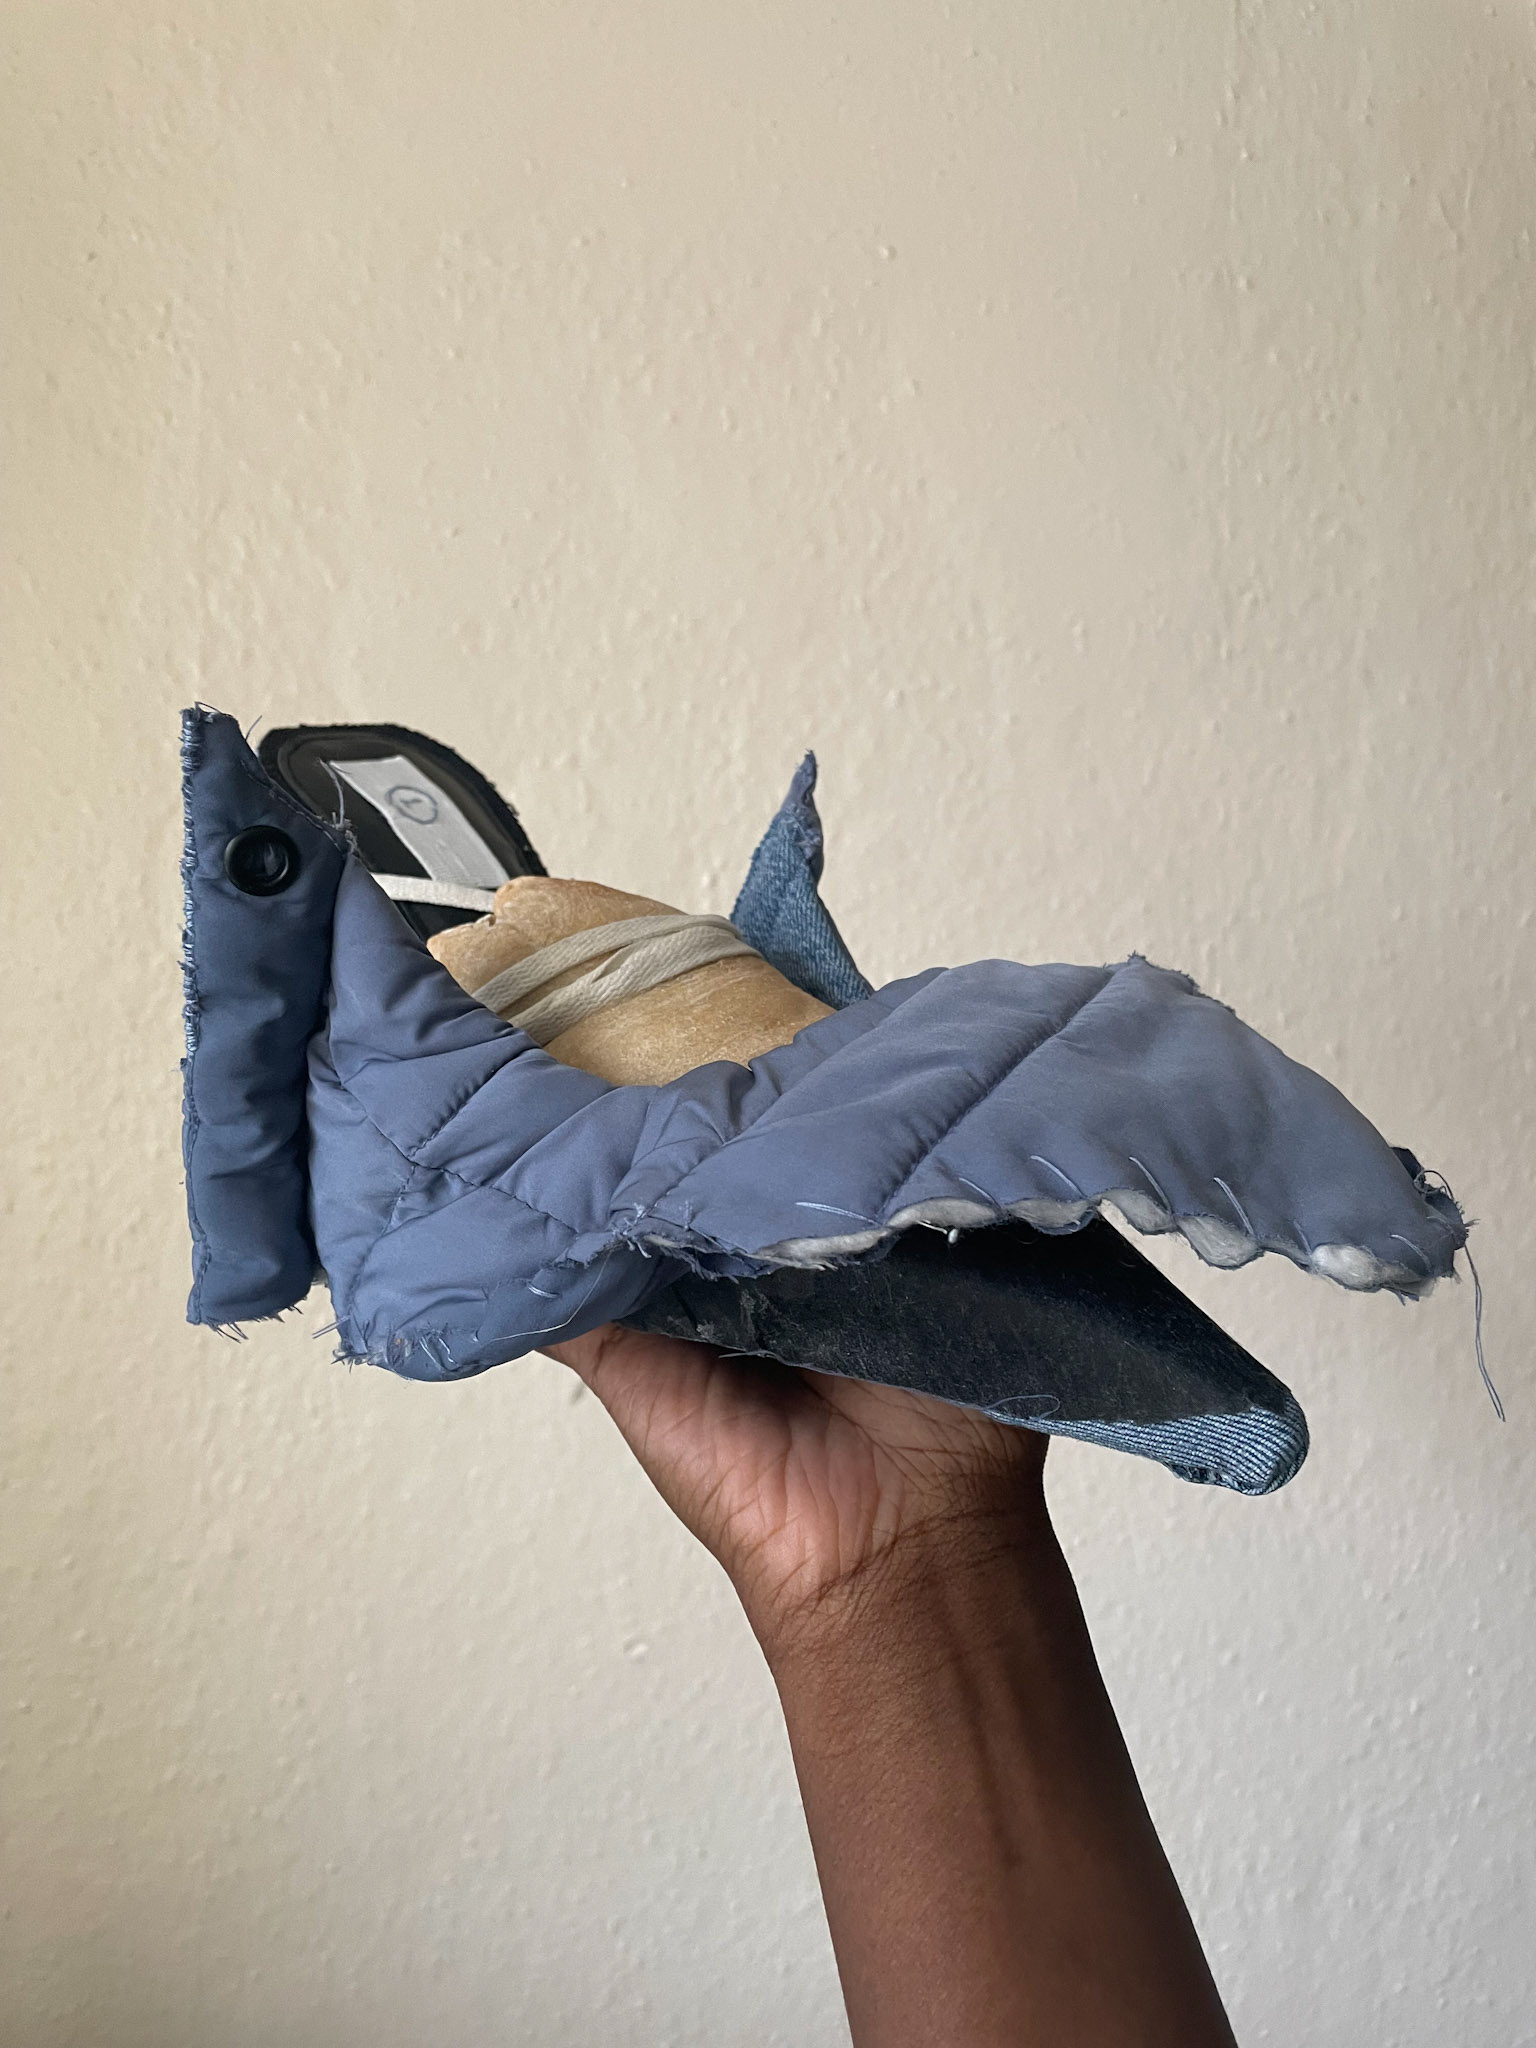
Lining (only) lasted
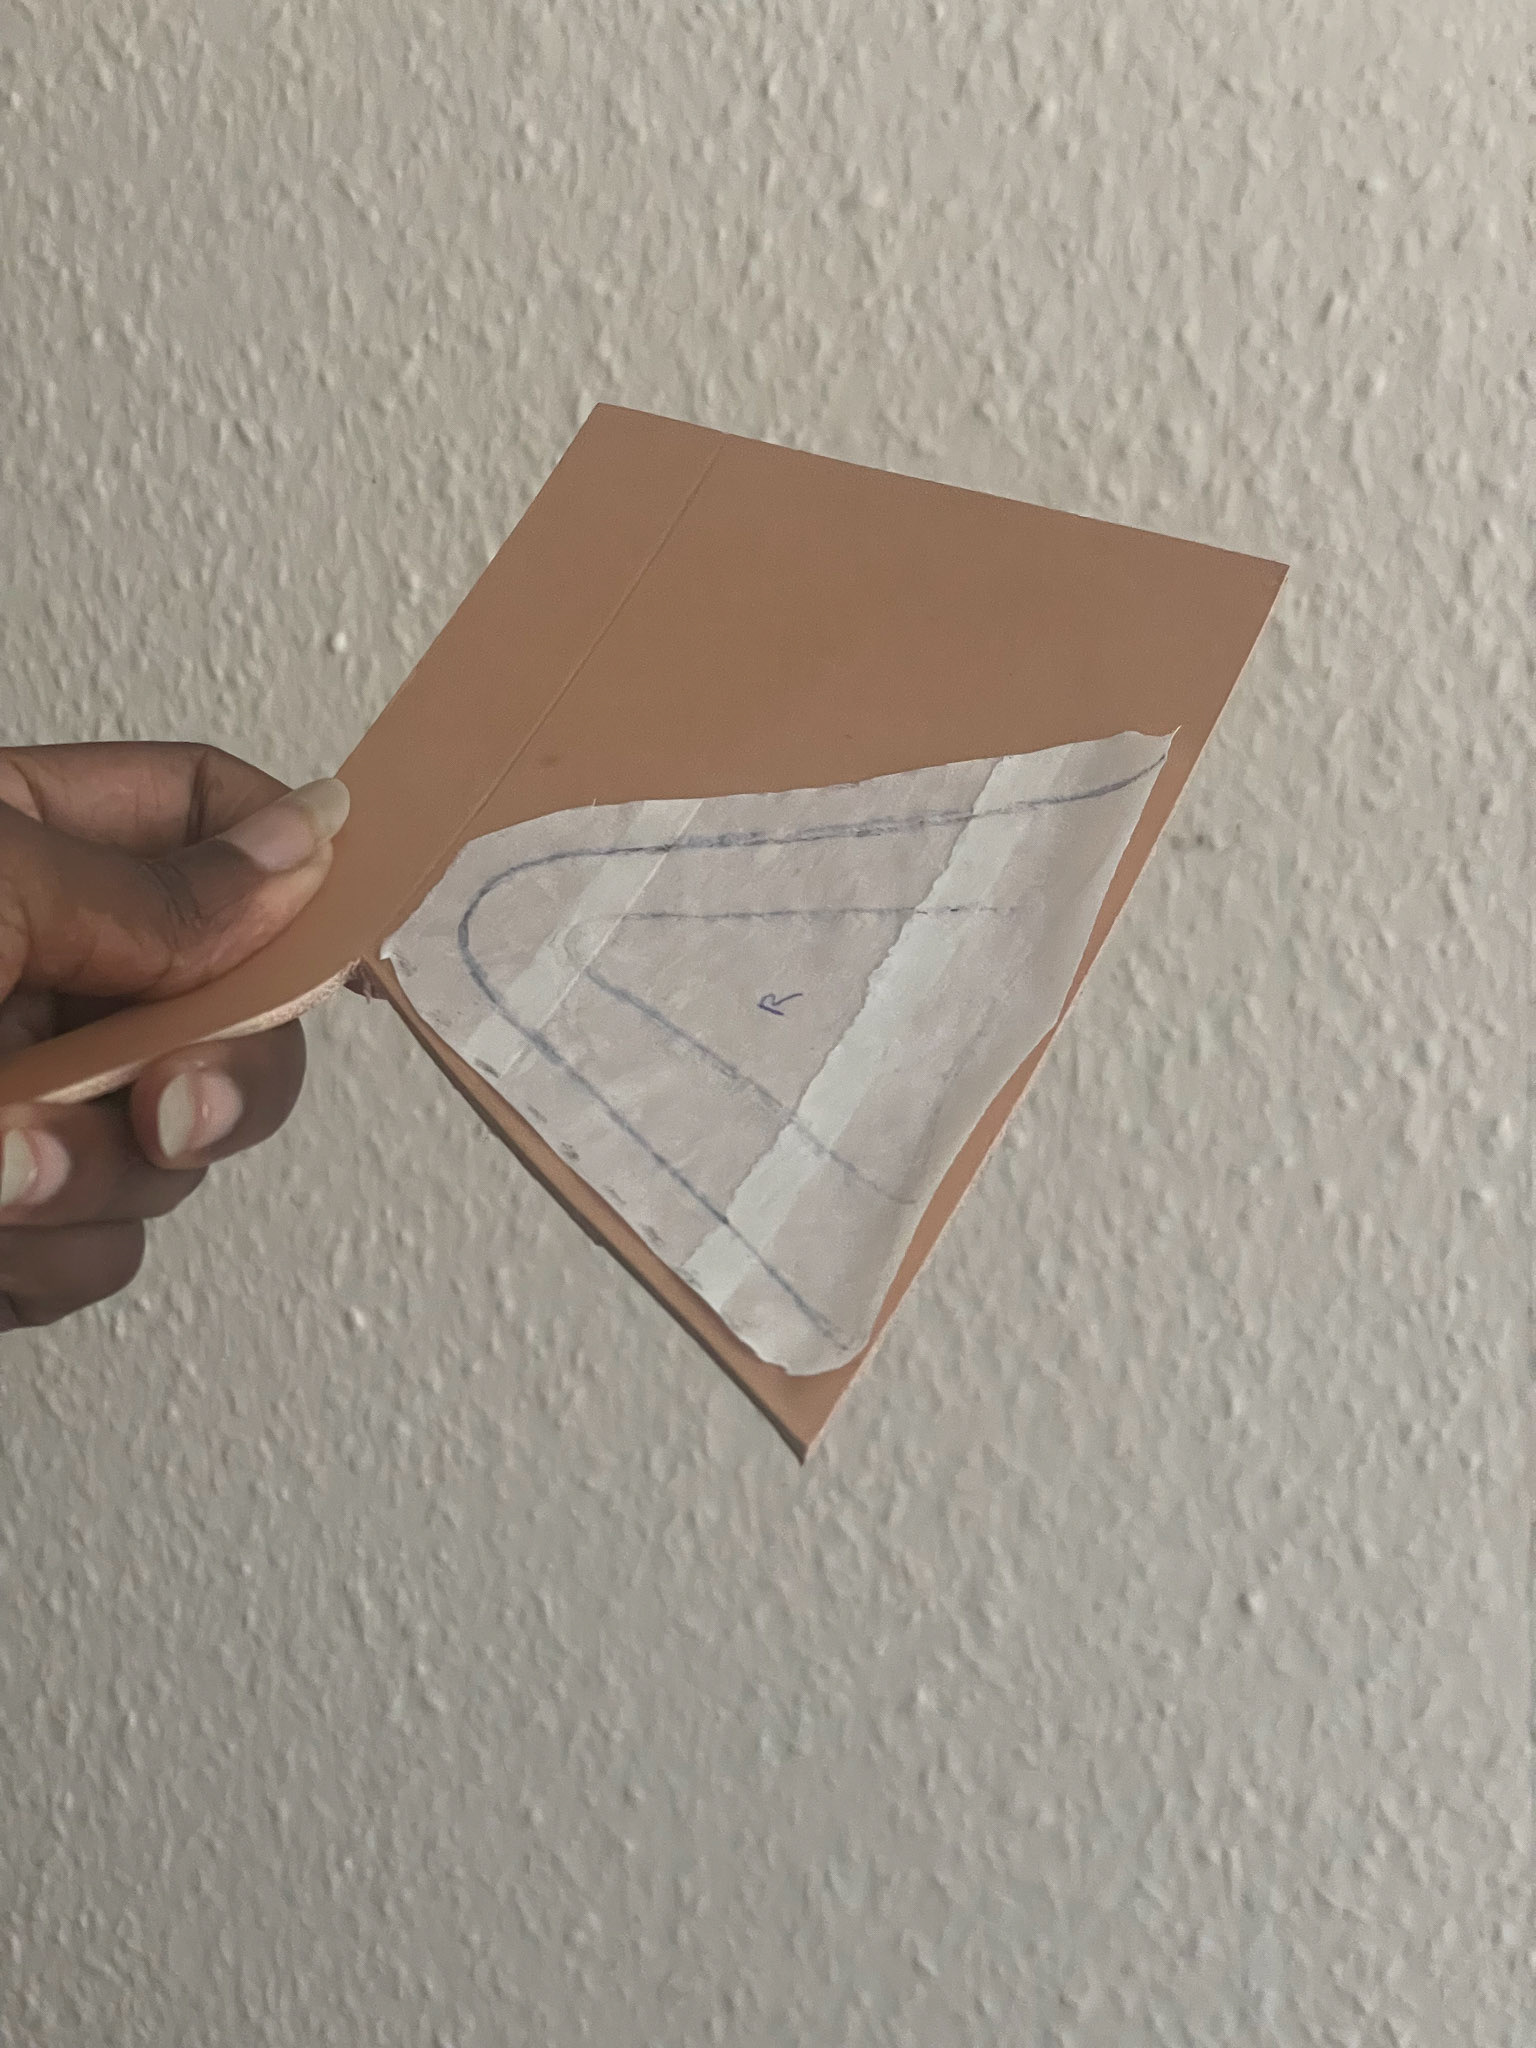
Tracing toe puff pattern on veg tanned leather
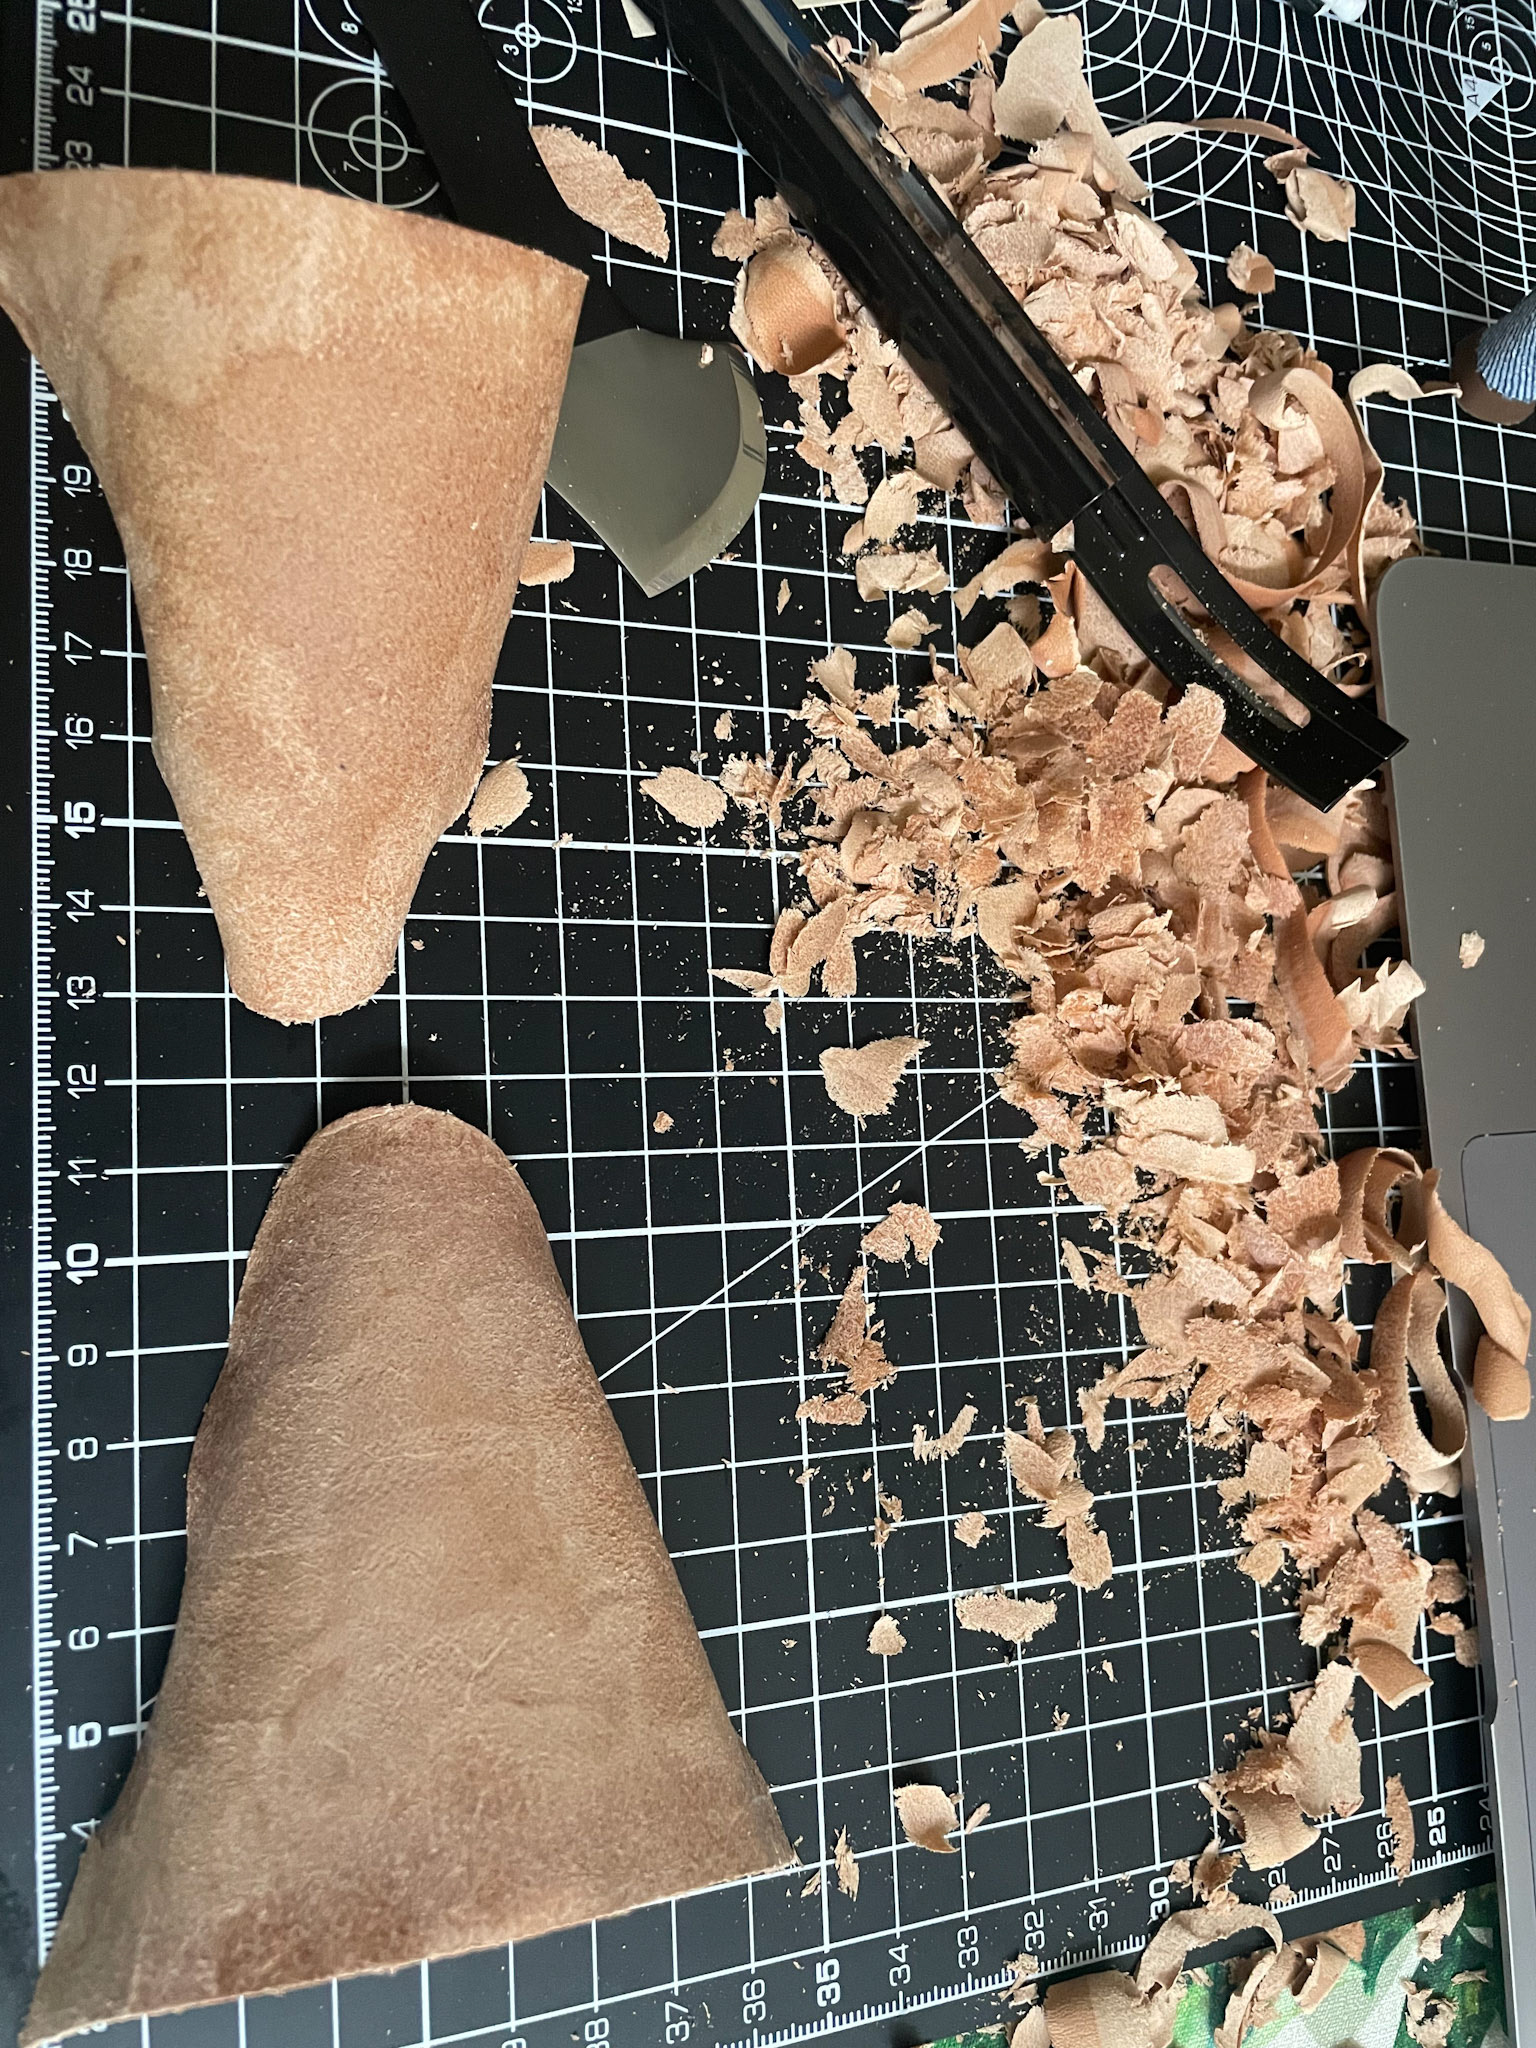
Skiving the toe puffs after soaking in warm water
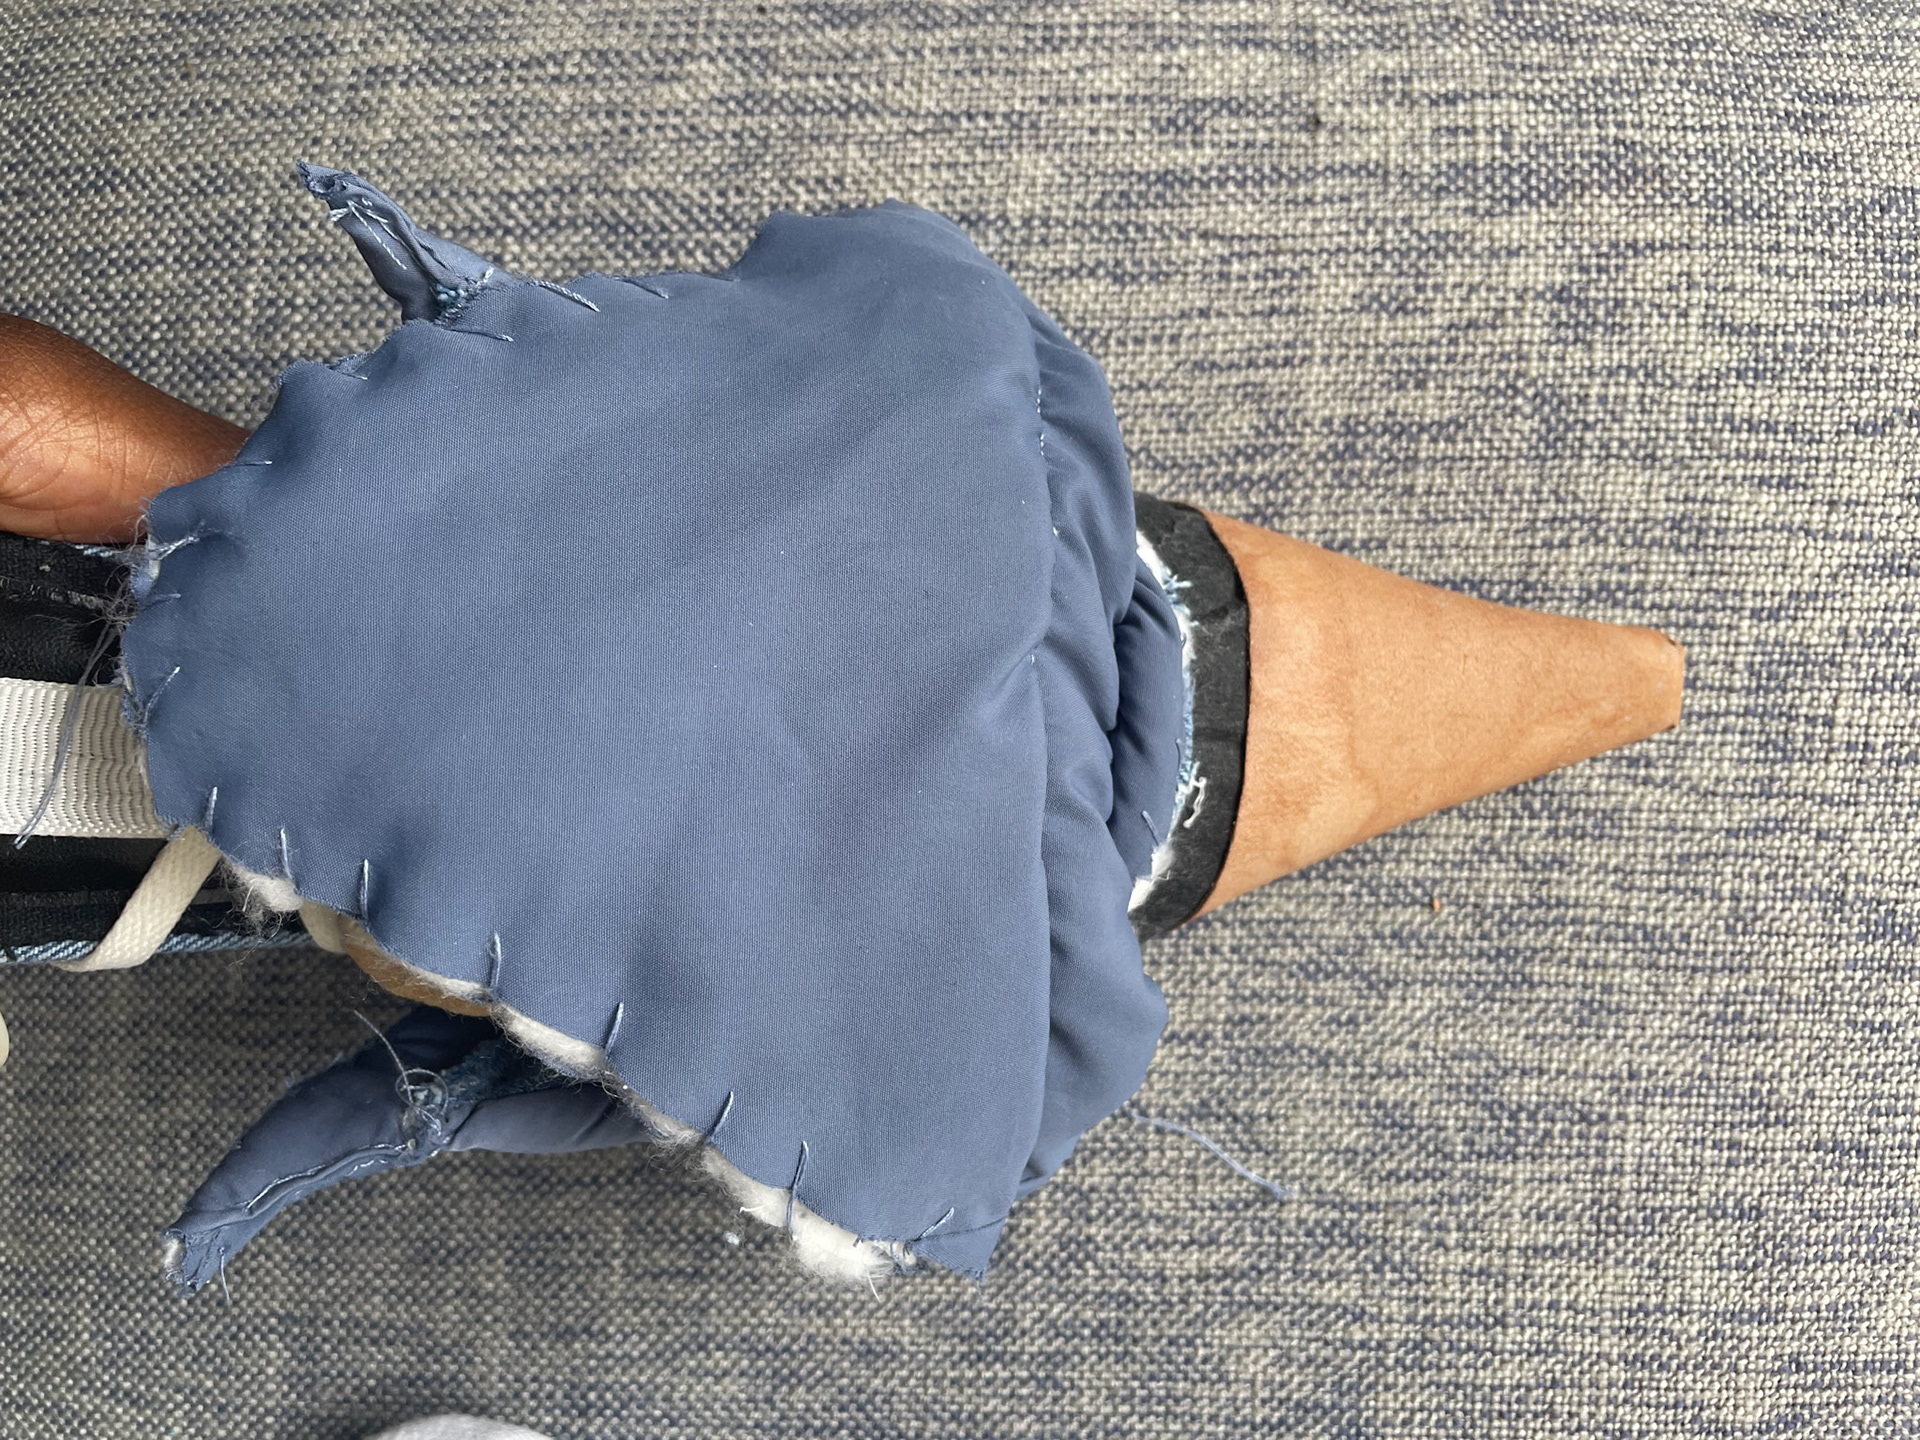
Forming the skived toe puffs (whilst still damp) with Hirschkleber.
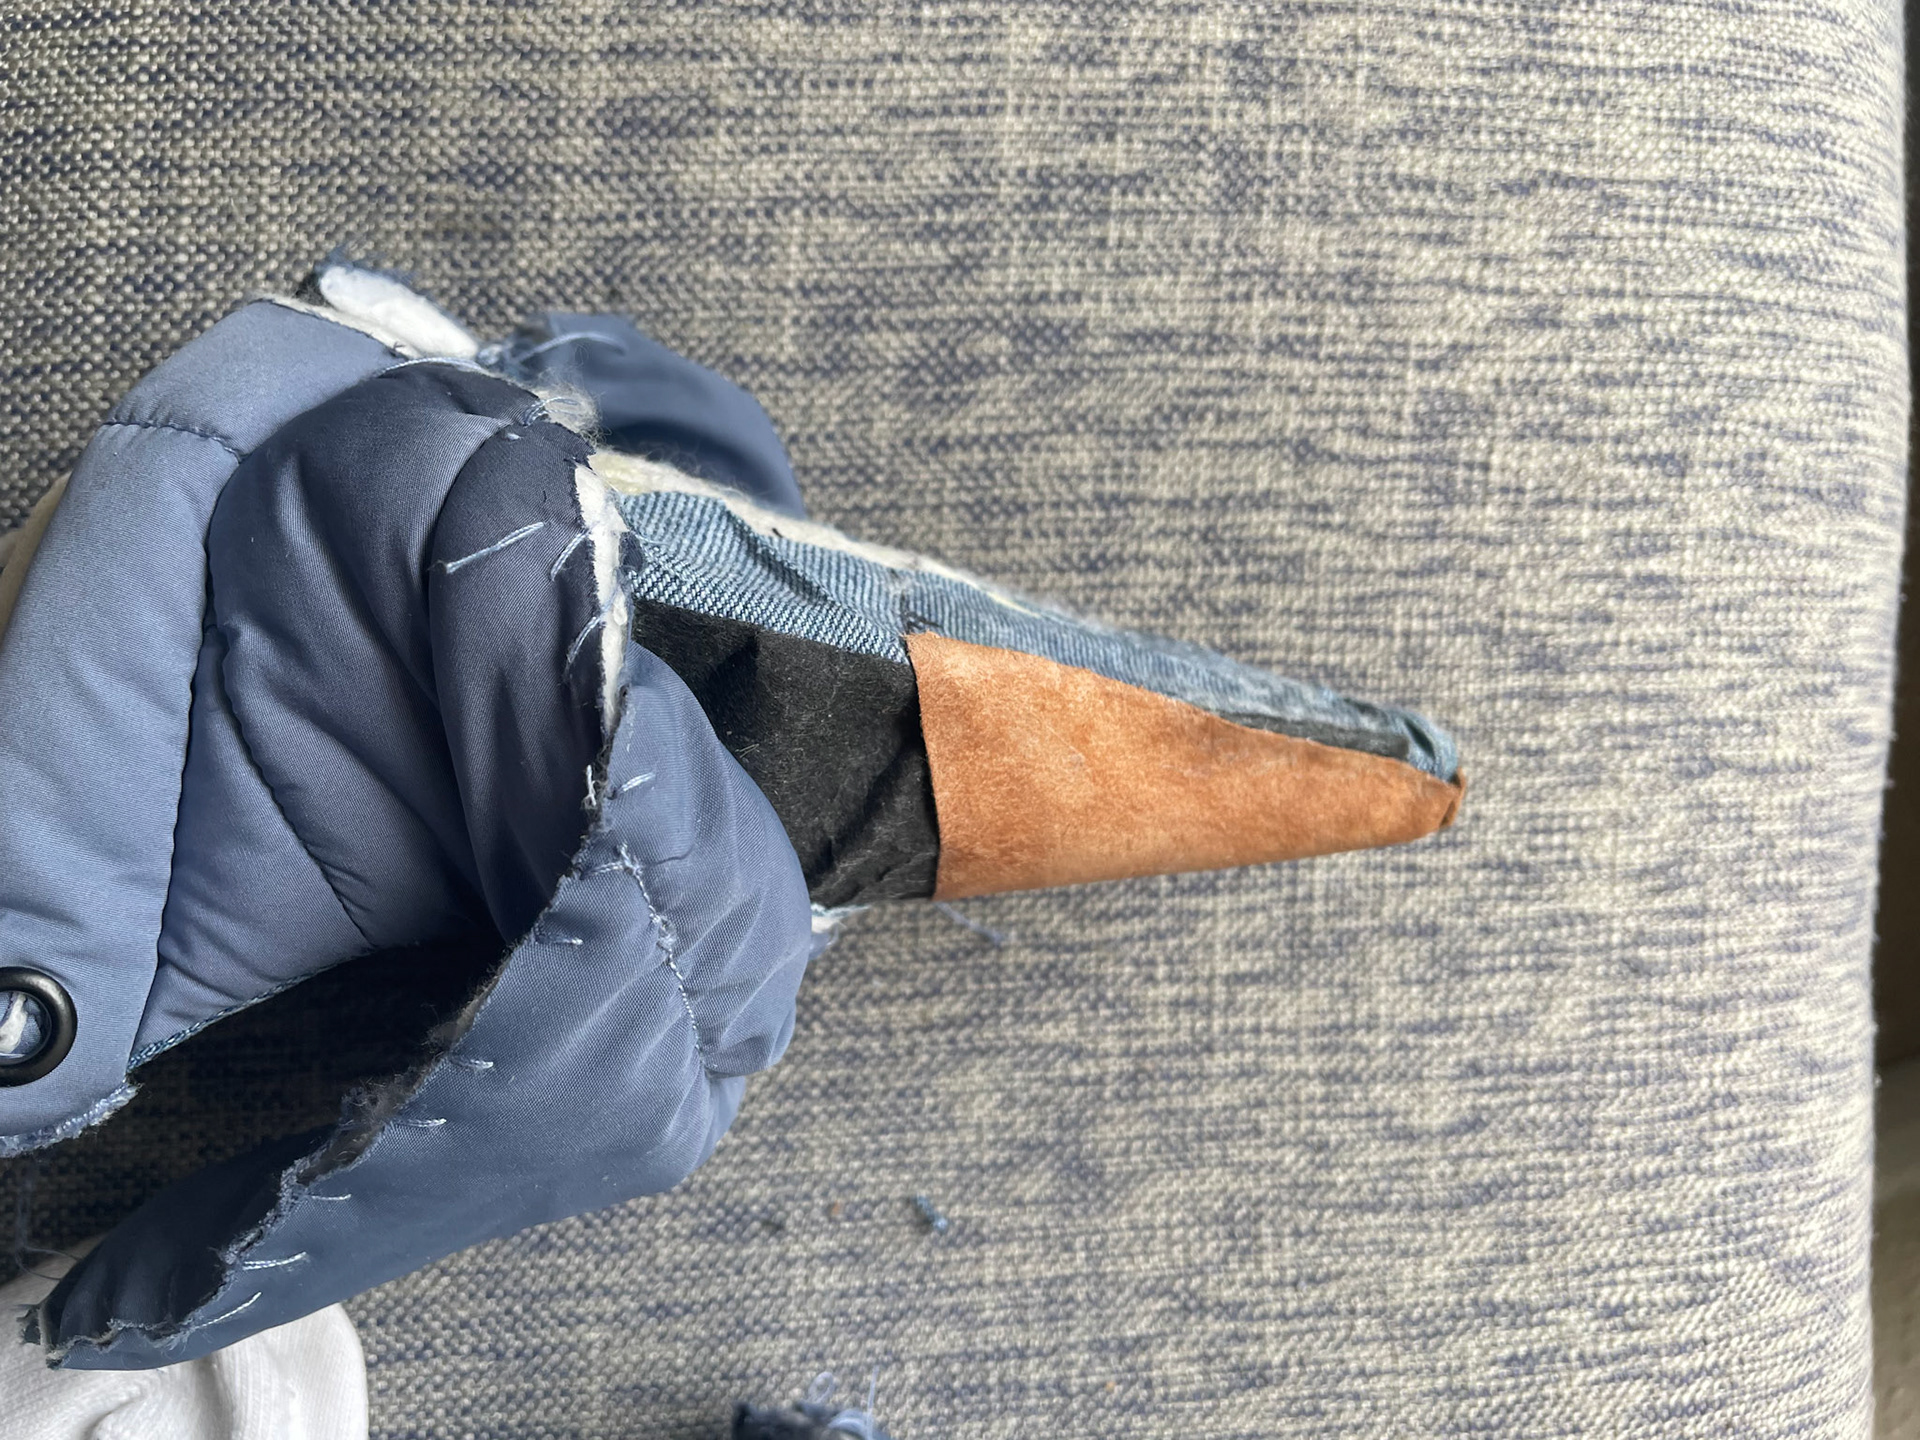
Realising I didn't leave enough allowance to fully wrap around the base of the shoe
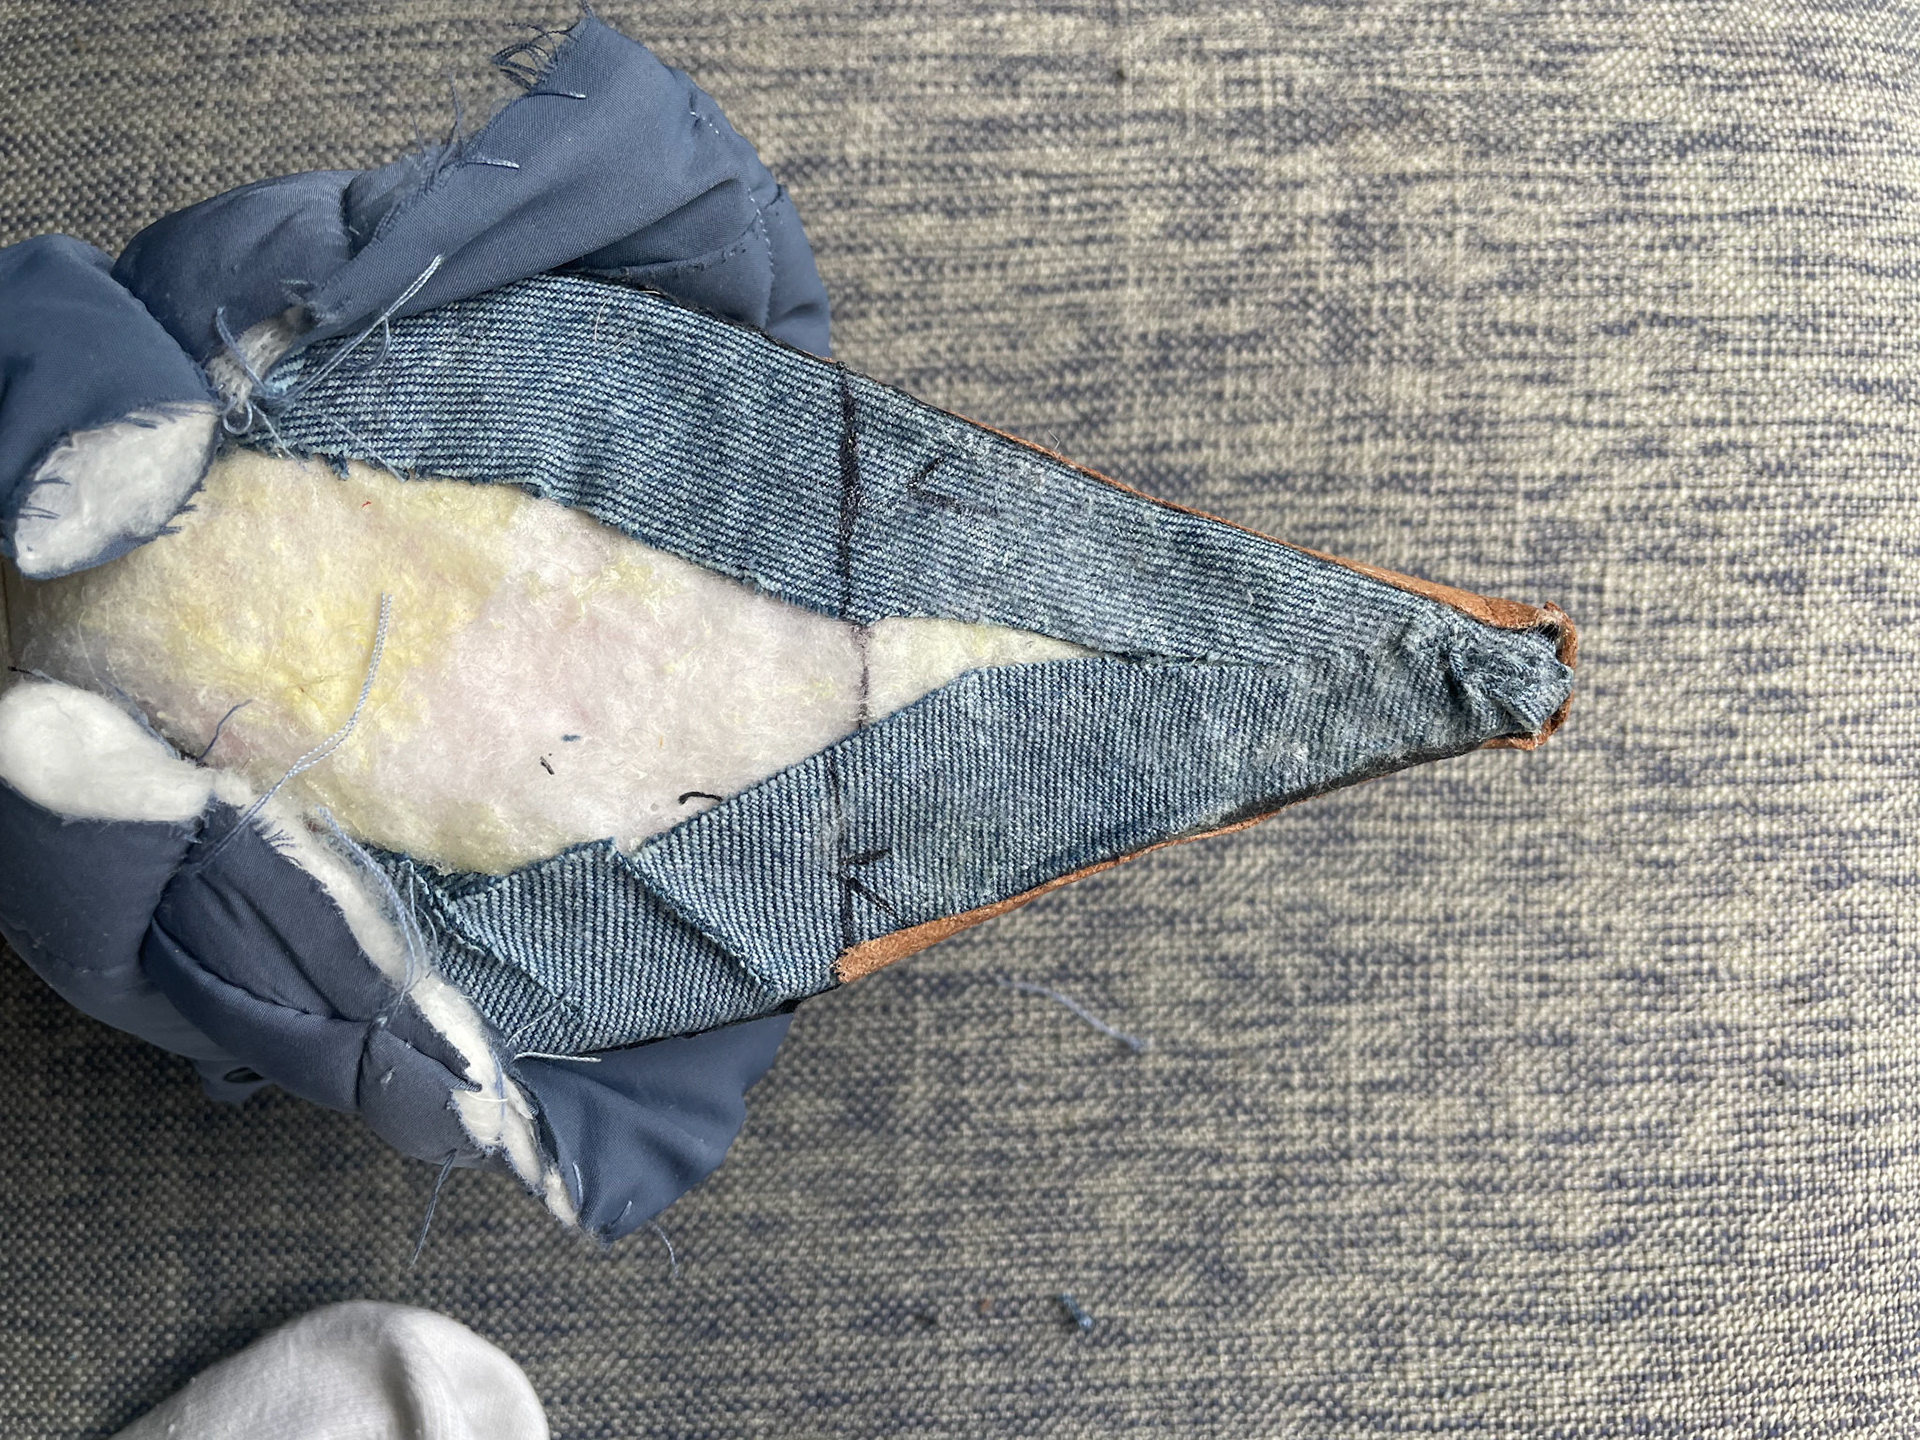
(Bottom view) I had trouble lasting the leather around the tip, perhaps I also didn't skive enough
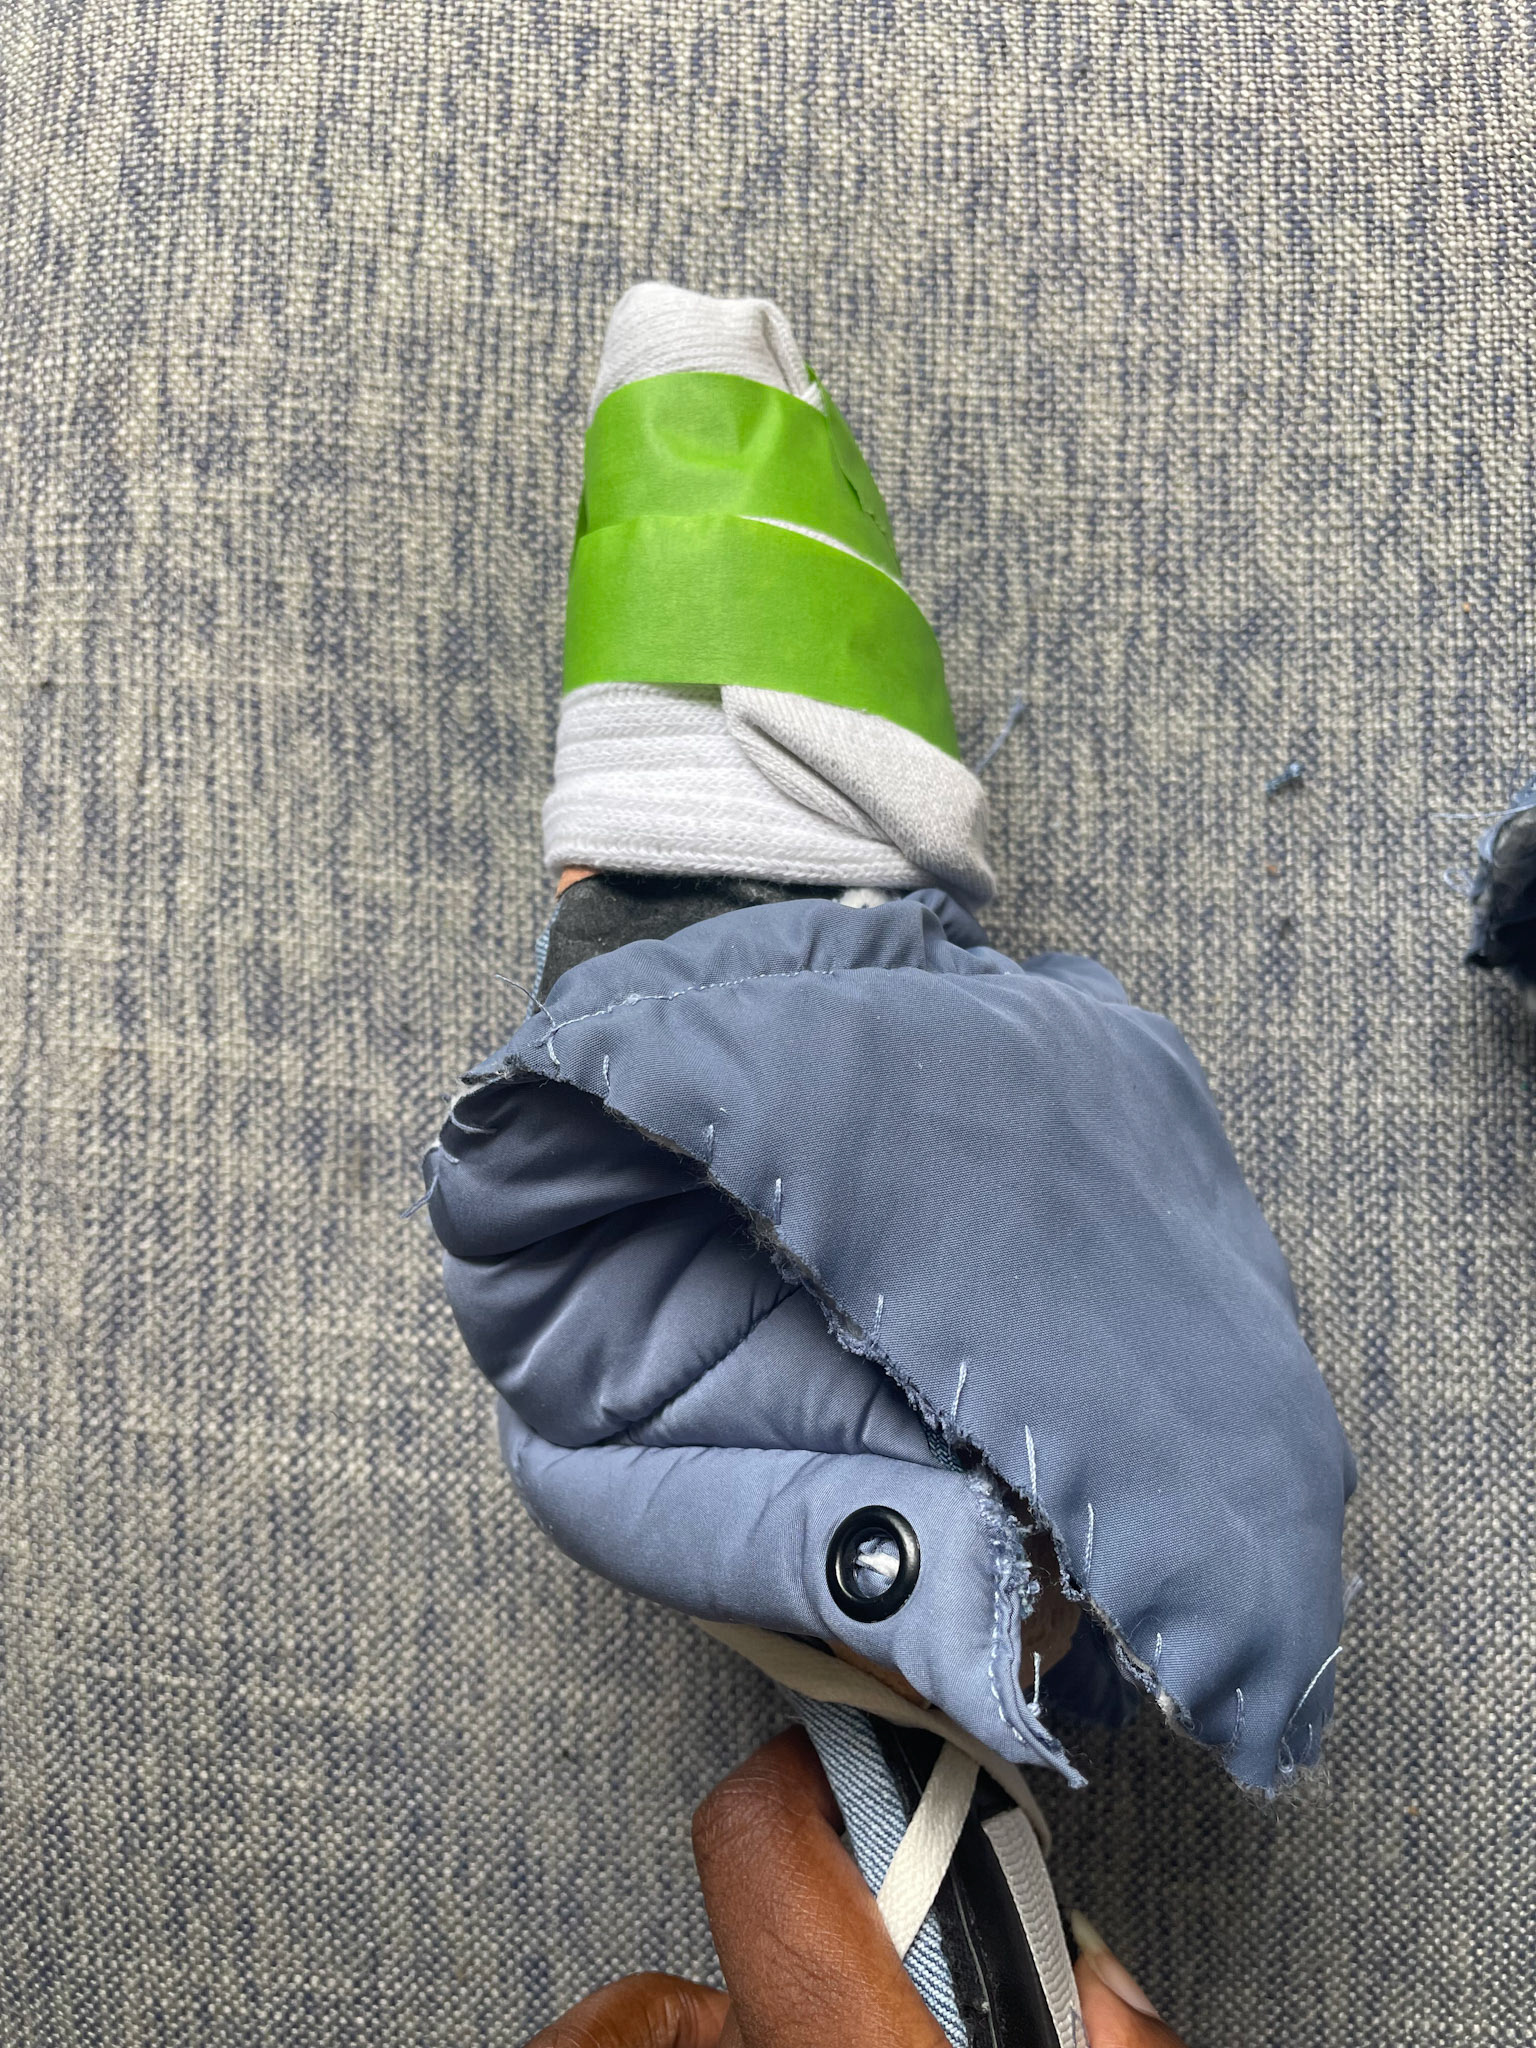
Wrapping an old sock with tape to apply pressure and keep form as the paste dries.
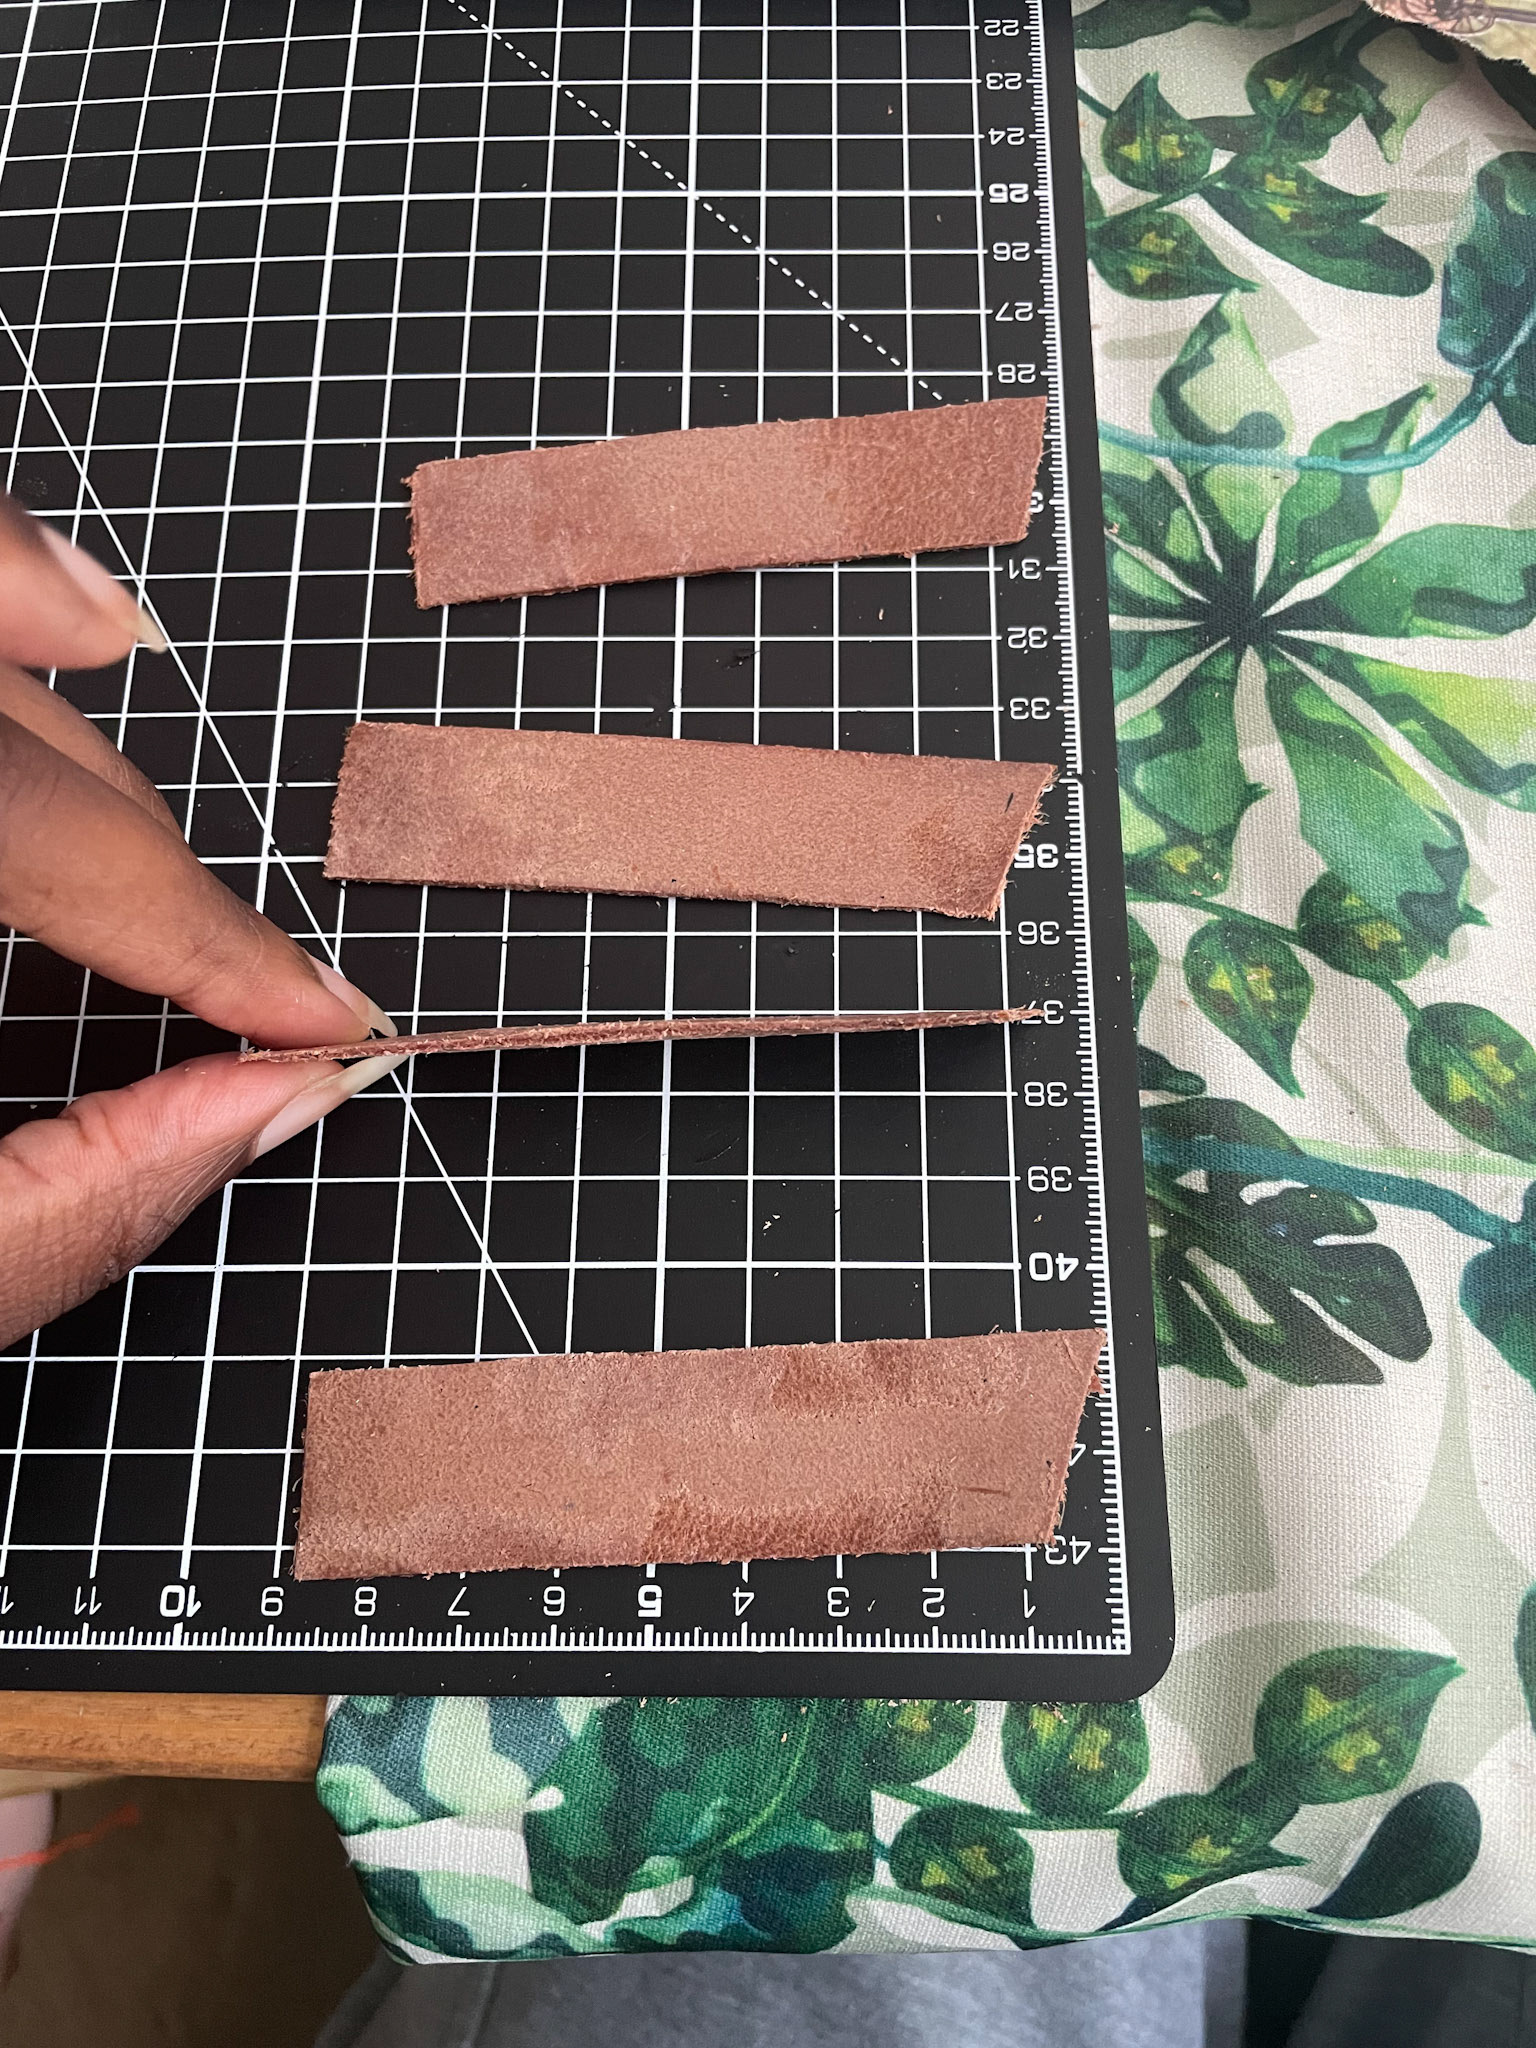
Using tanned leather offcuts to create side stiffeners
M A K I N G : Lasting and outsole
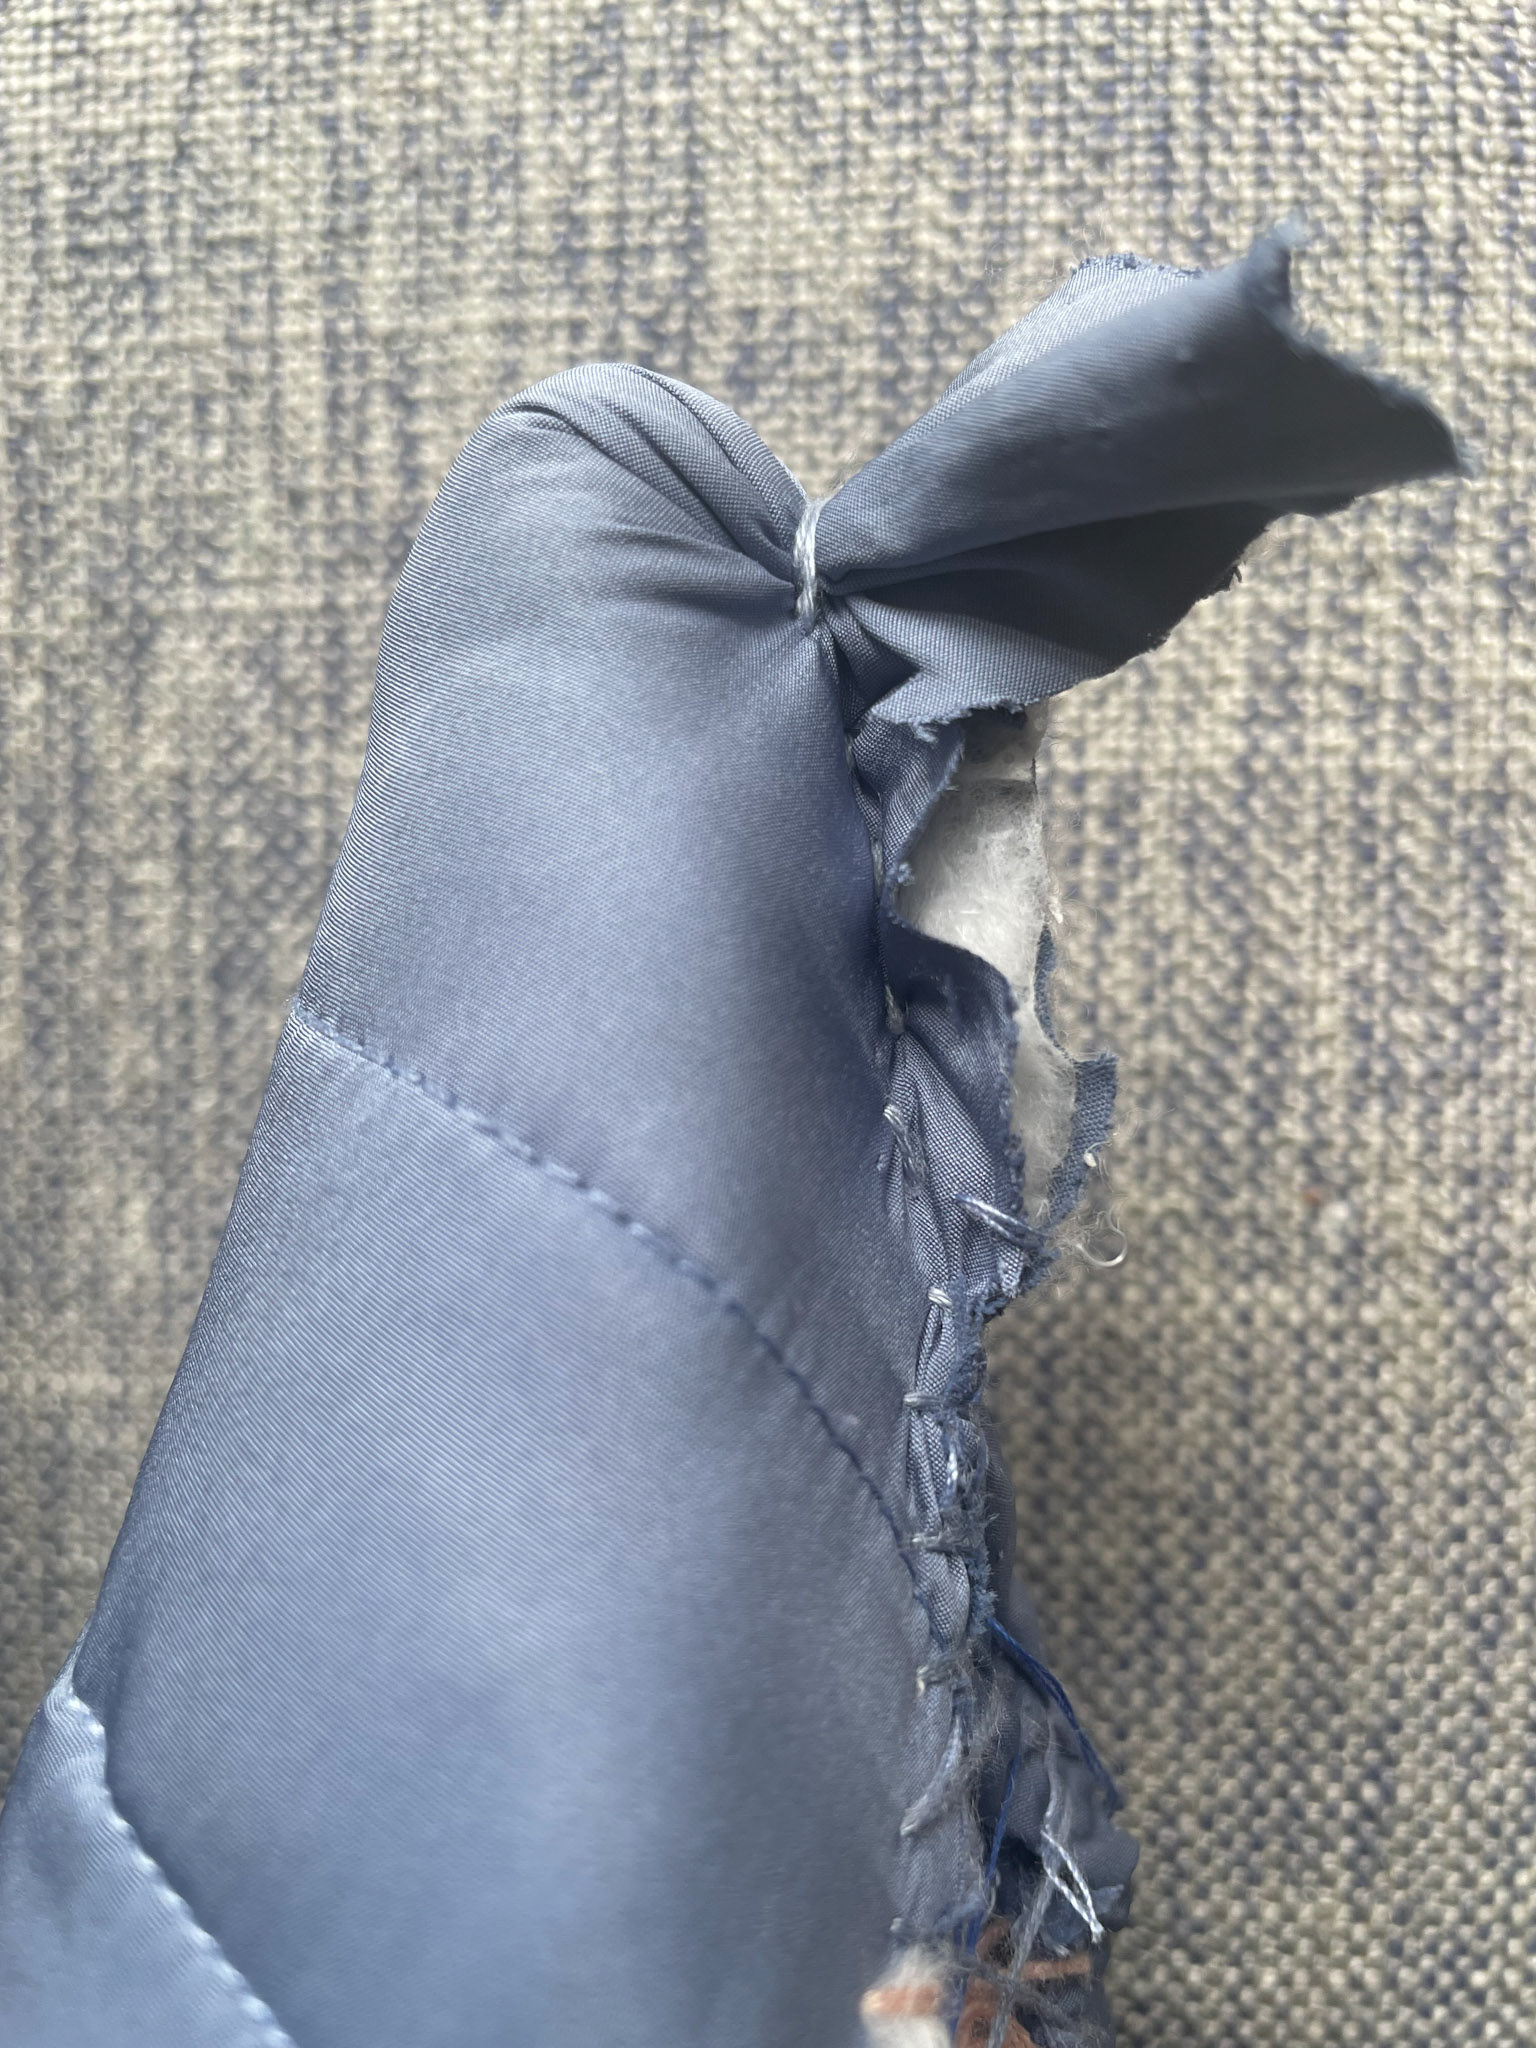
First (of many) trials to stitch-last the upper whilst minimising the bunch up at the toe box
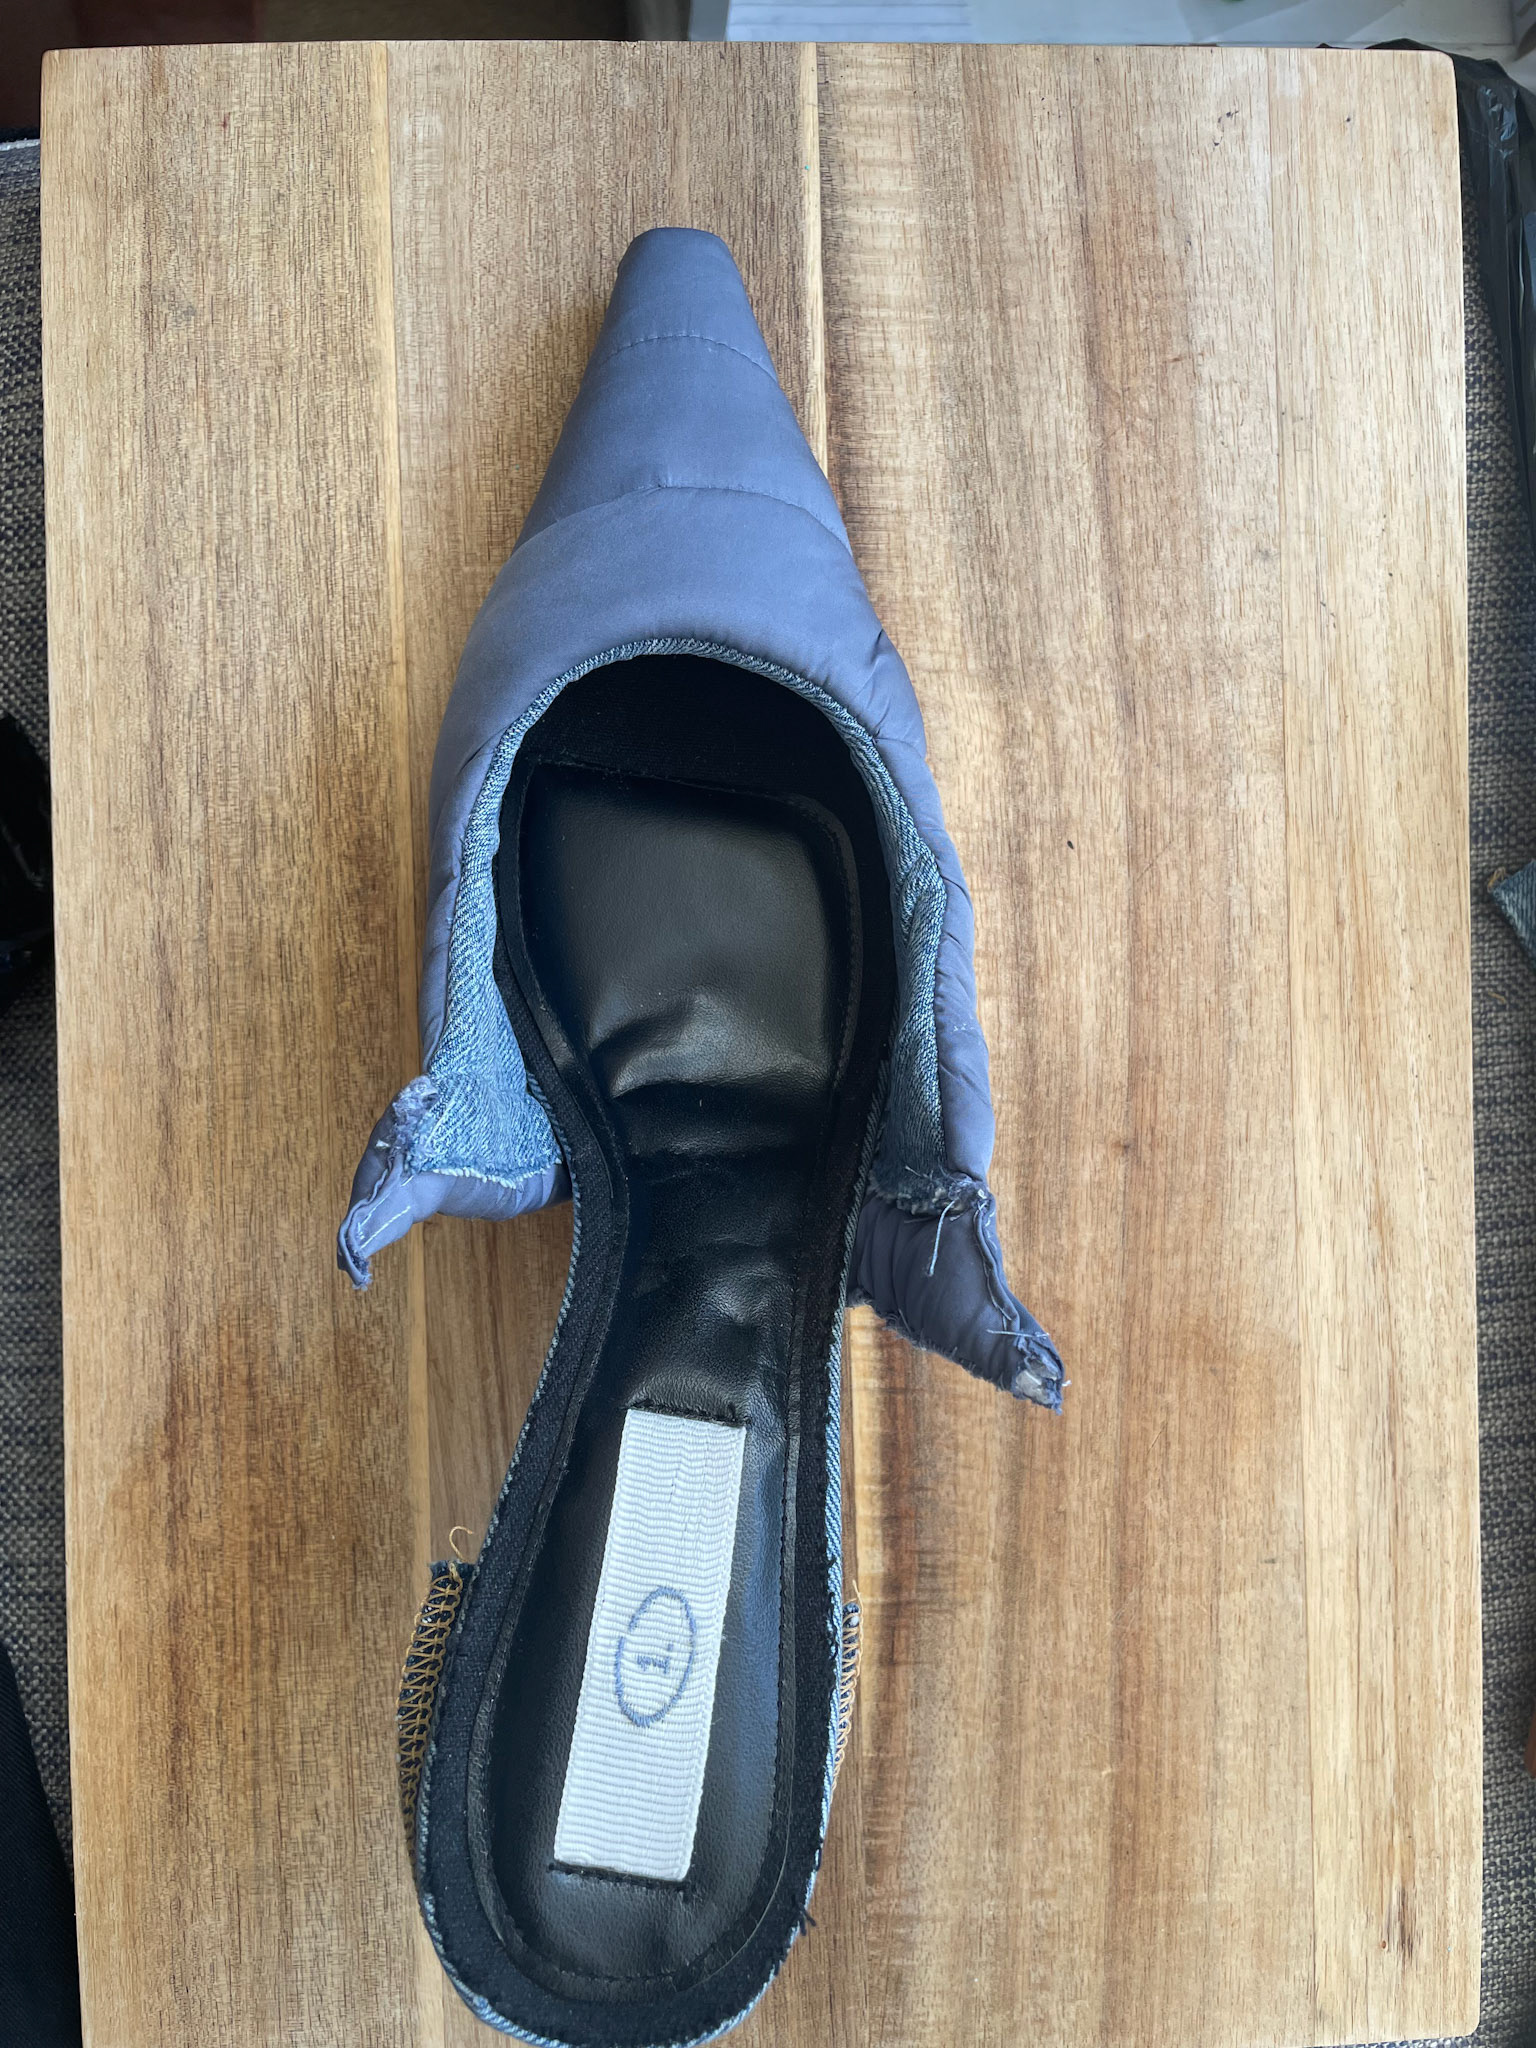
Birds eye view of the final result
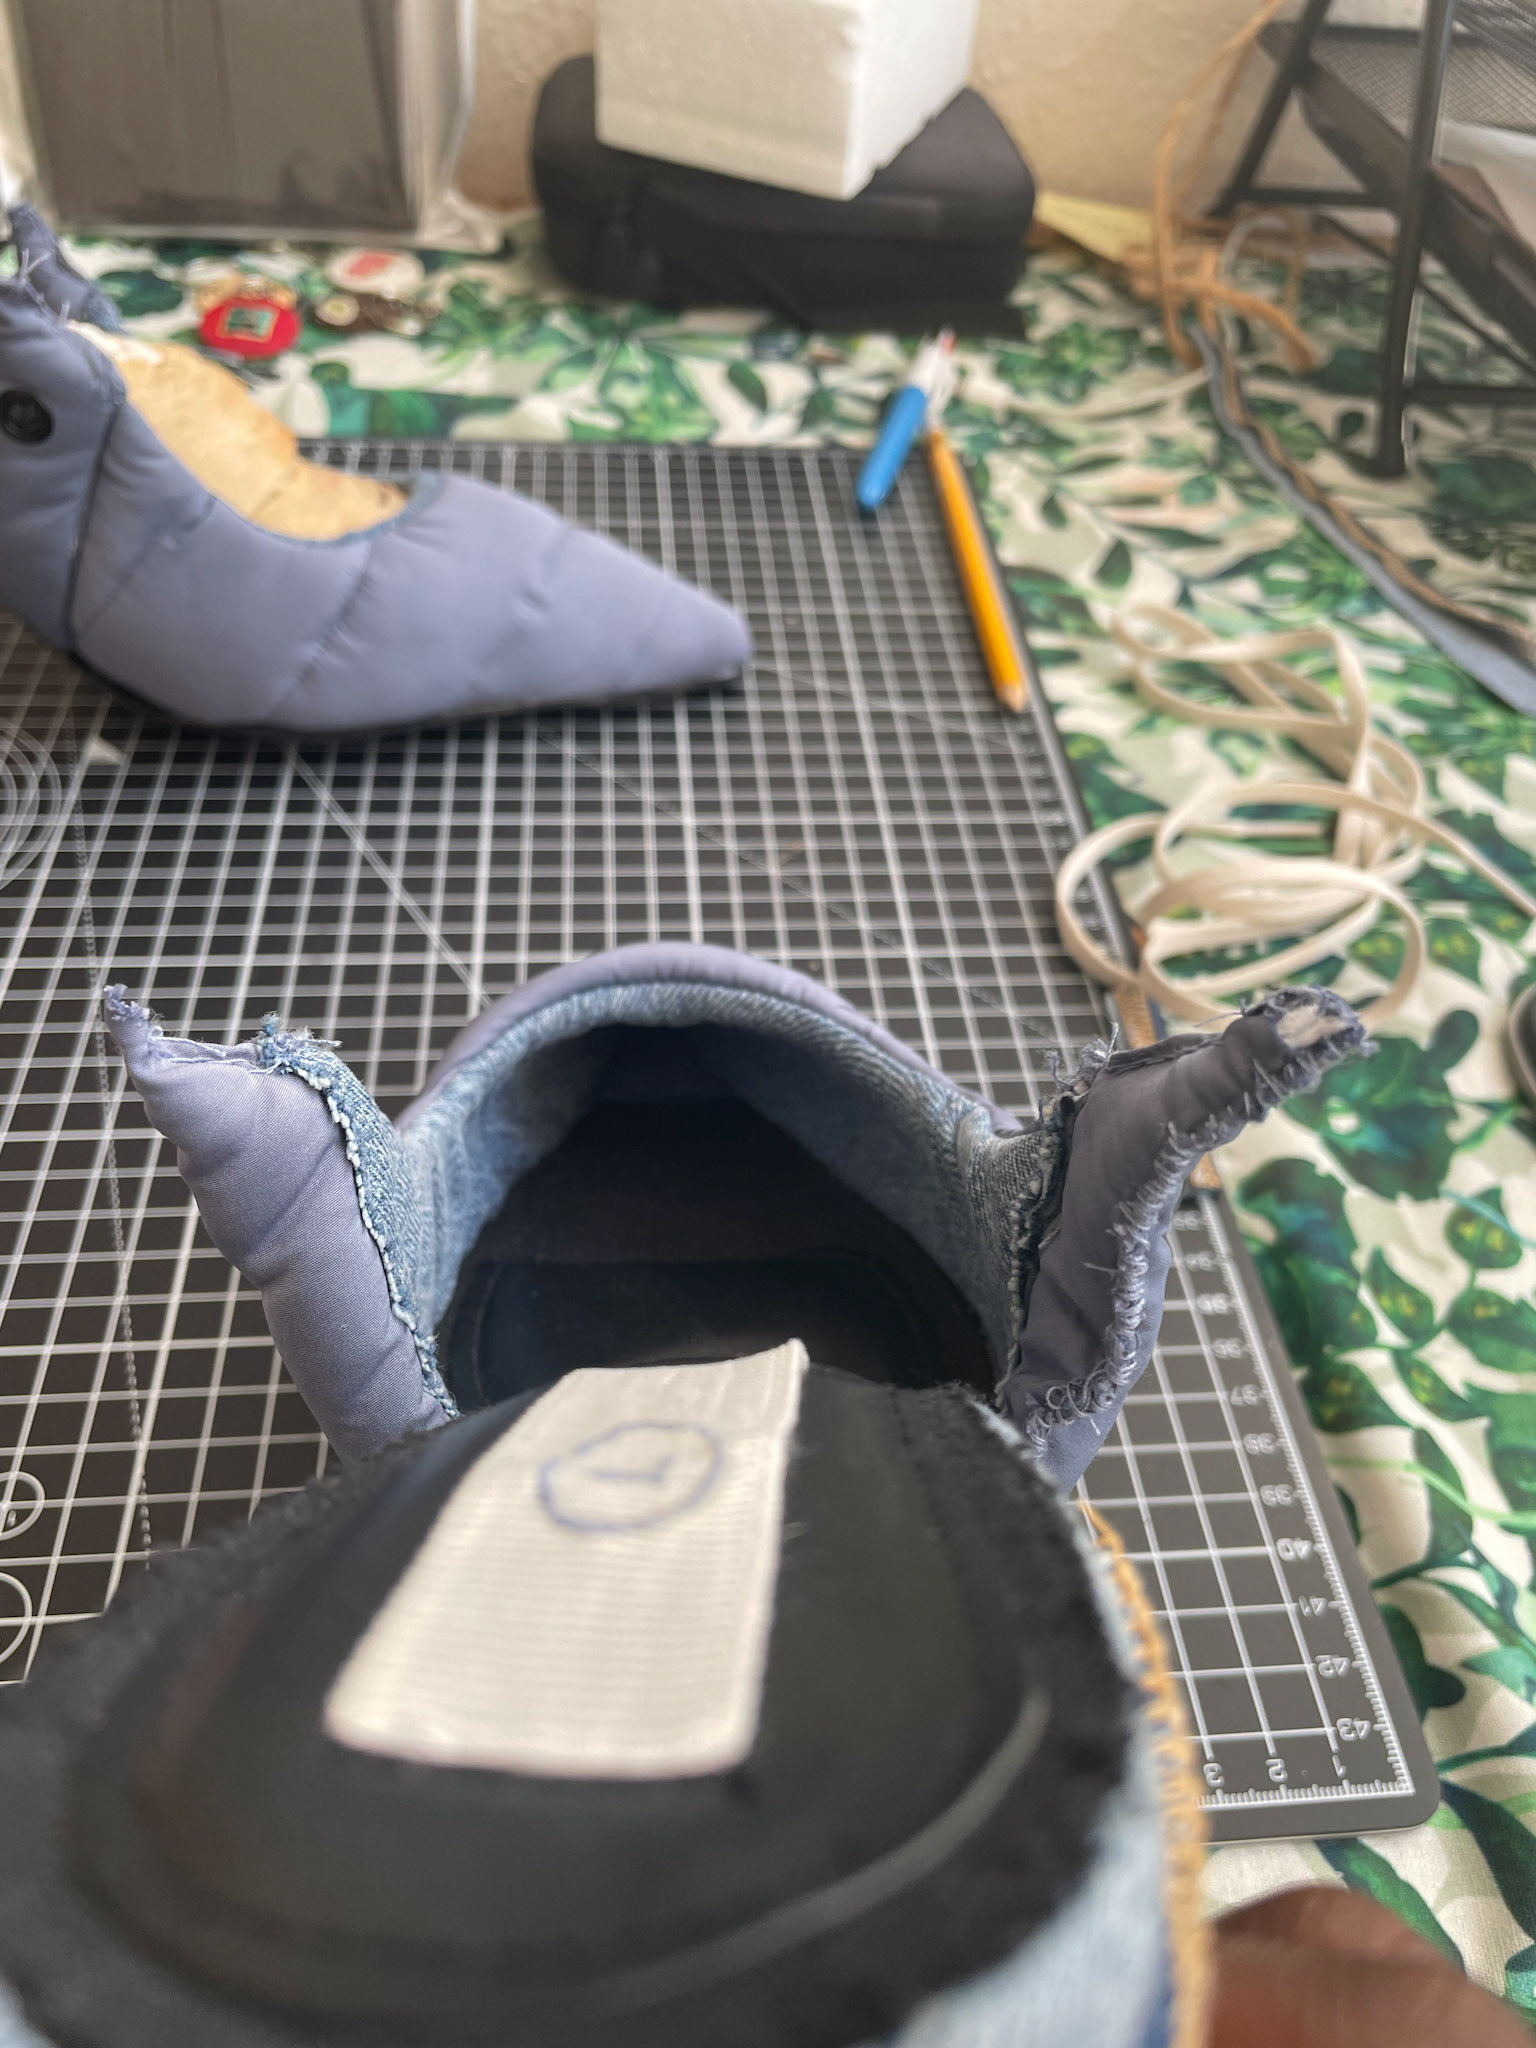
Internal view
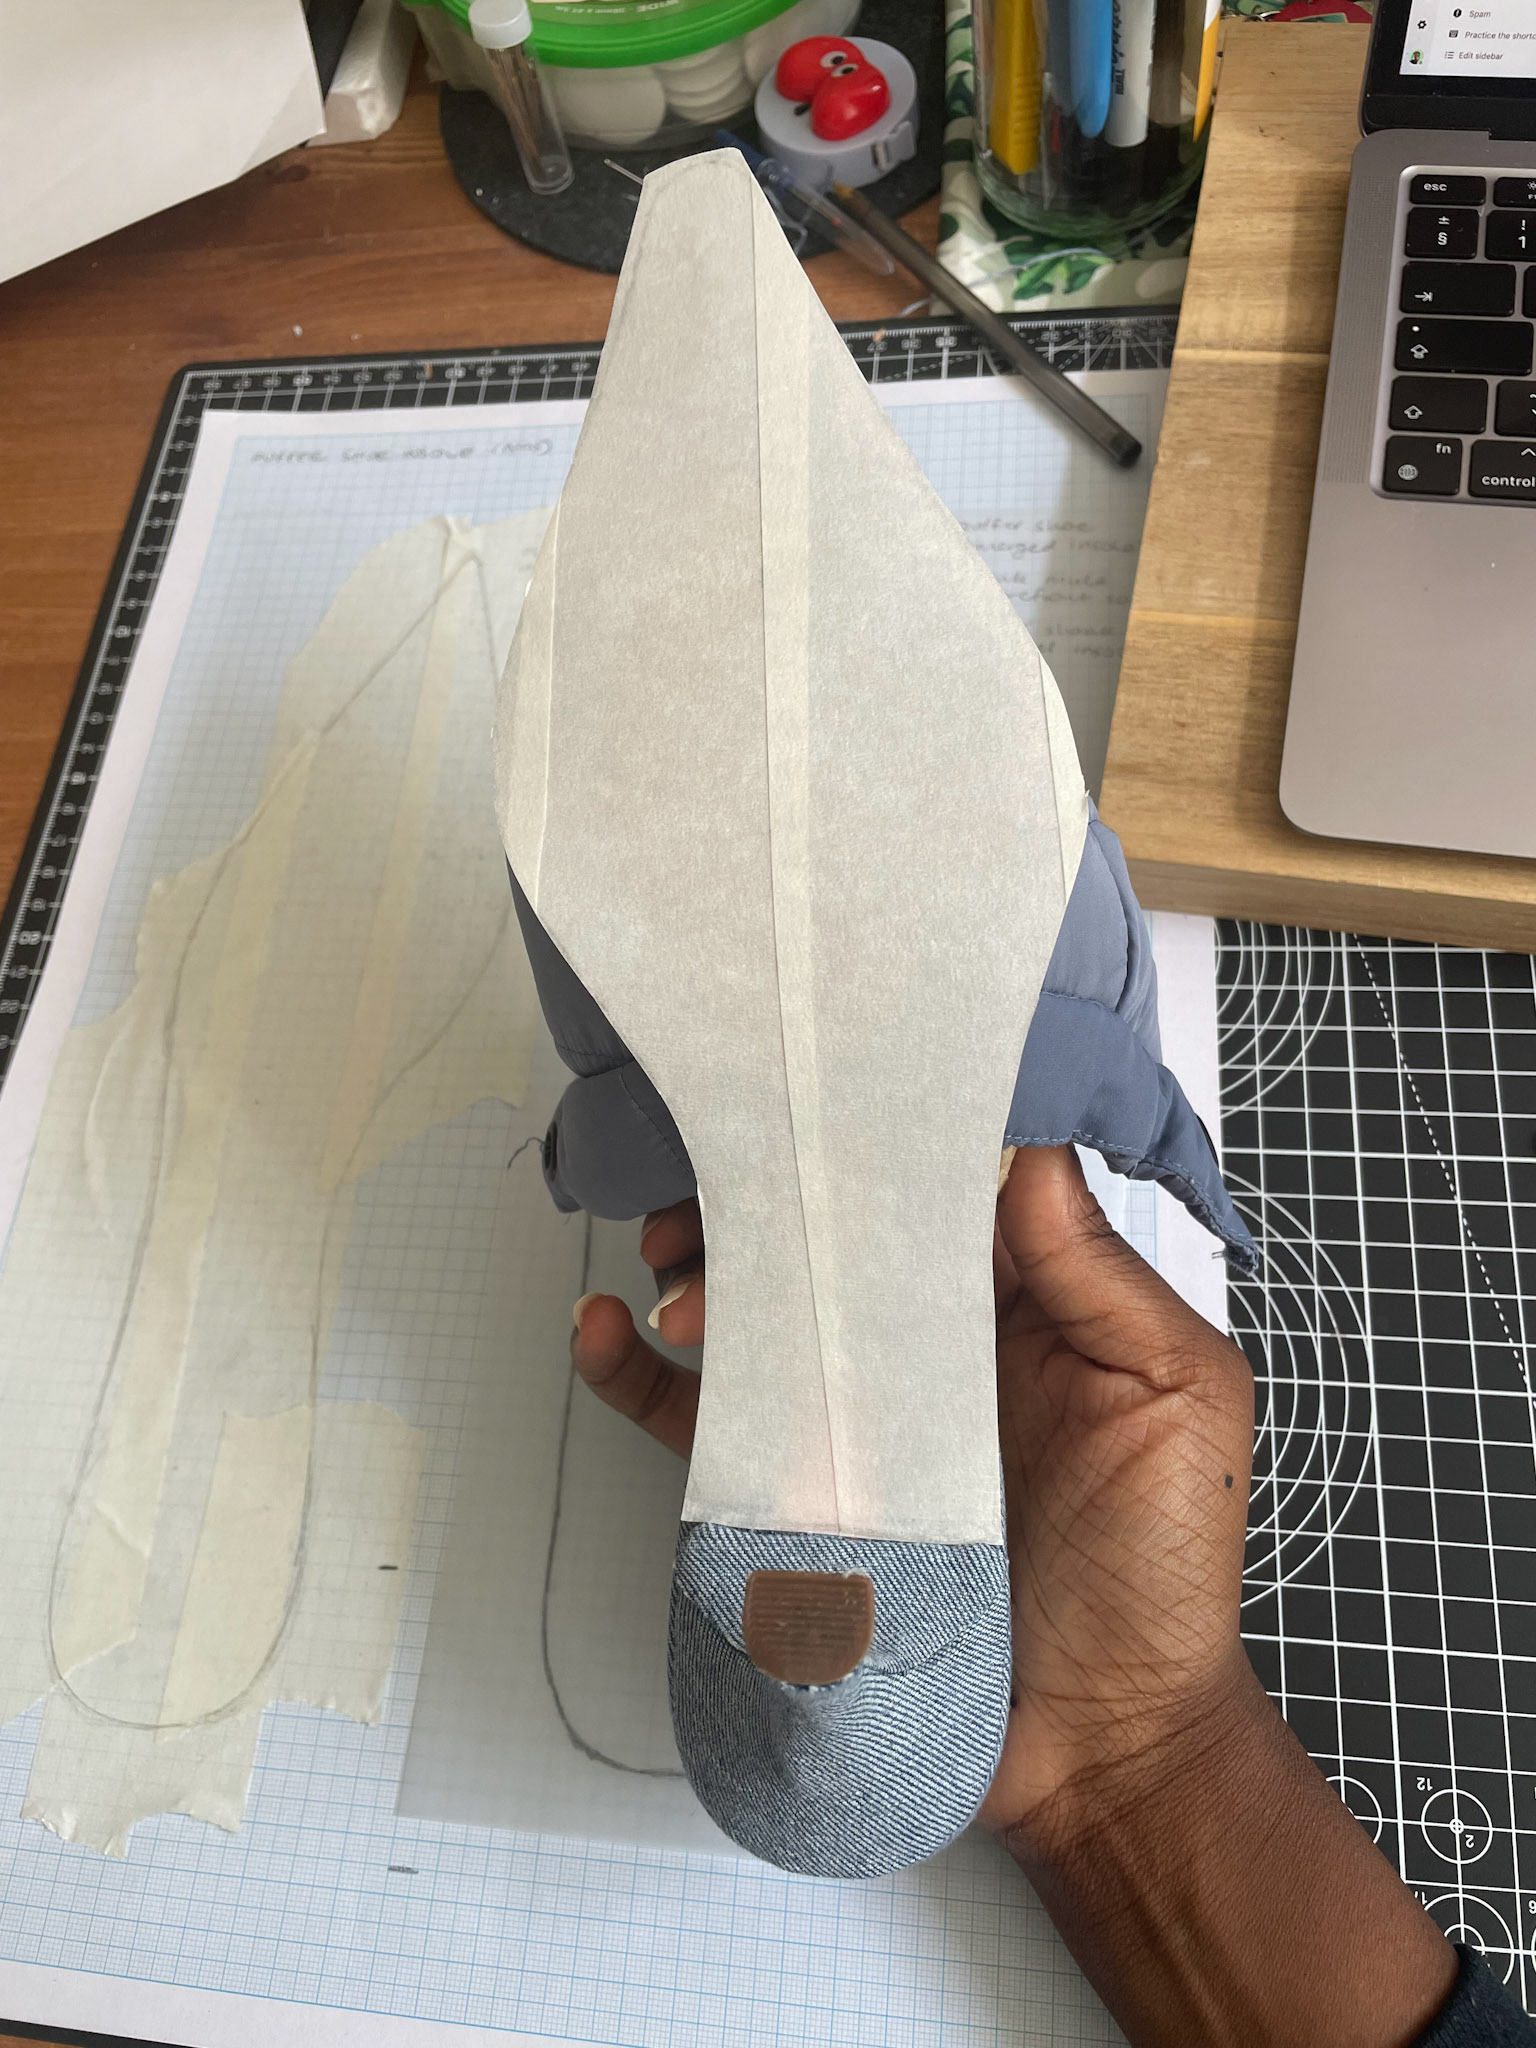
Taping the bottom of the shoe to create outsole pattern
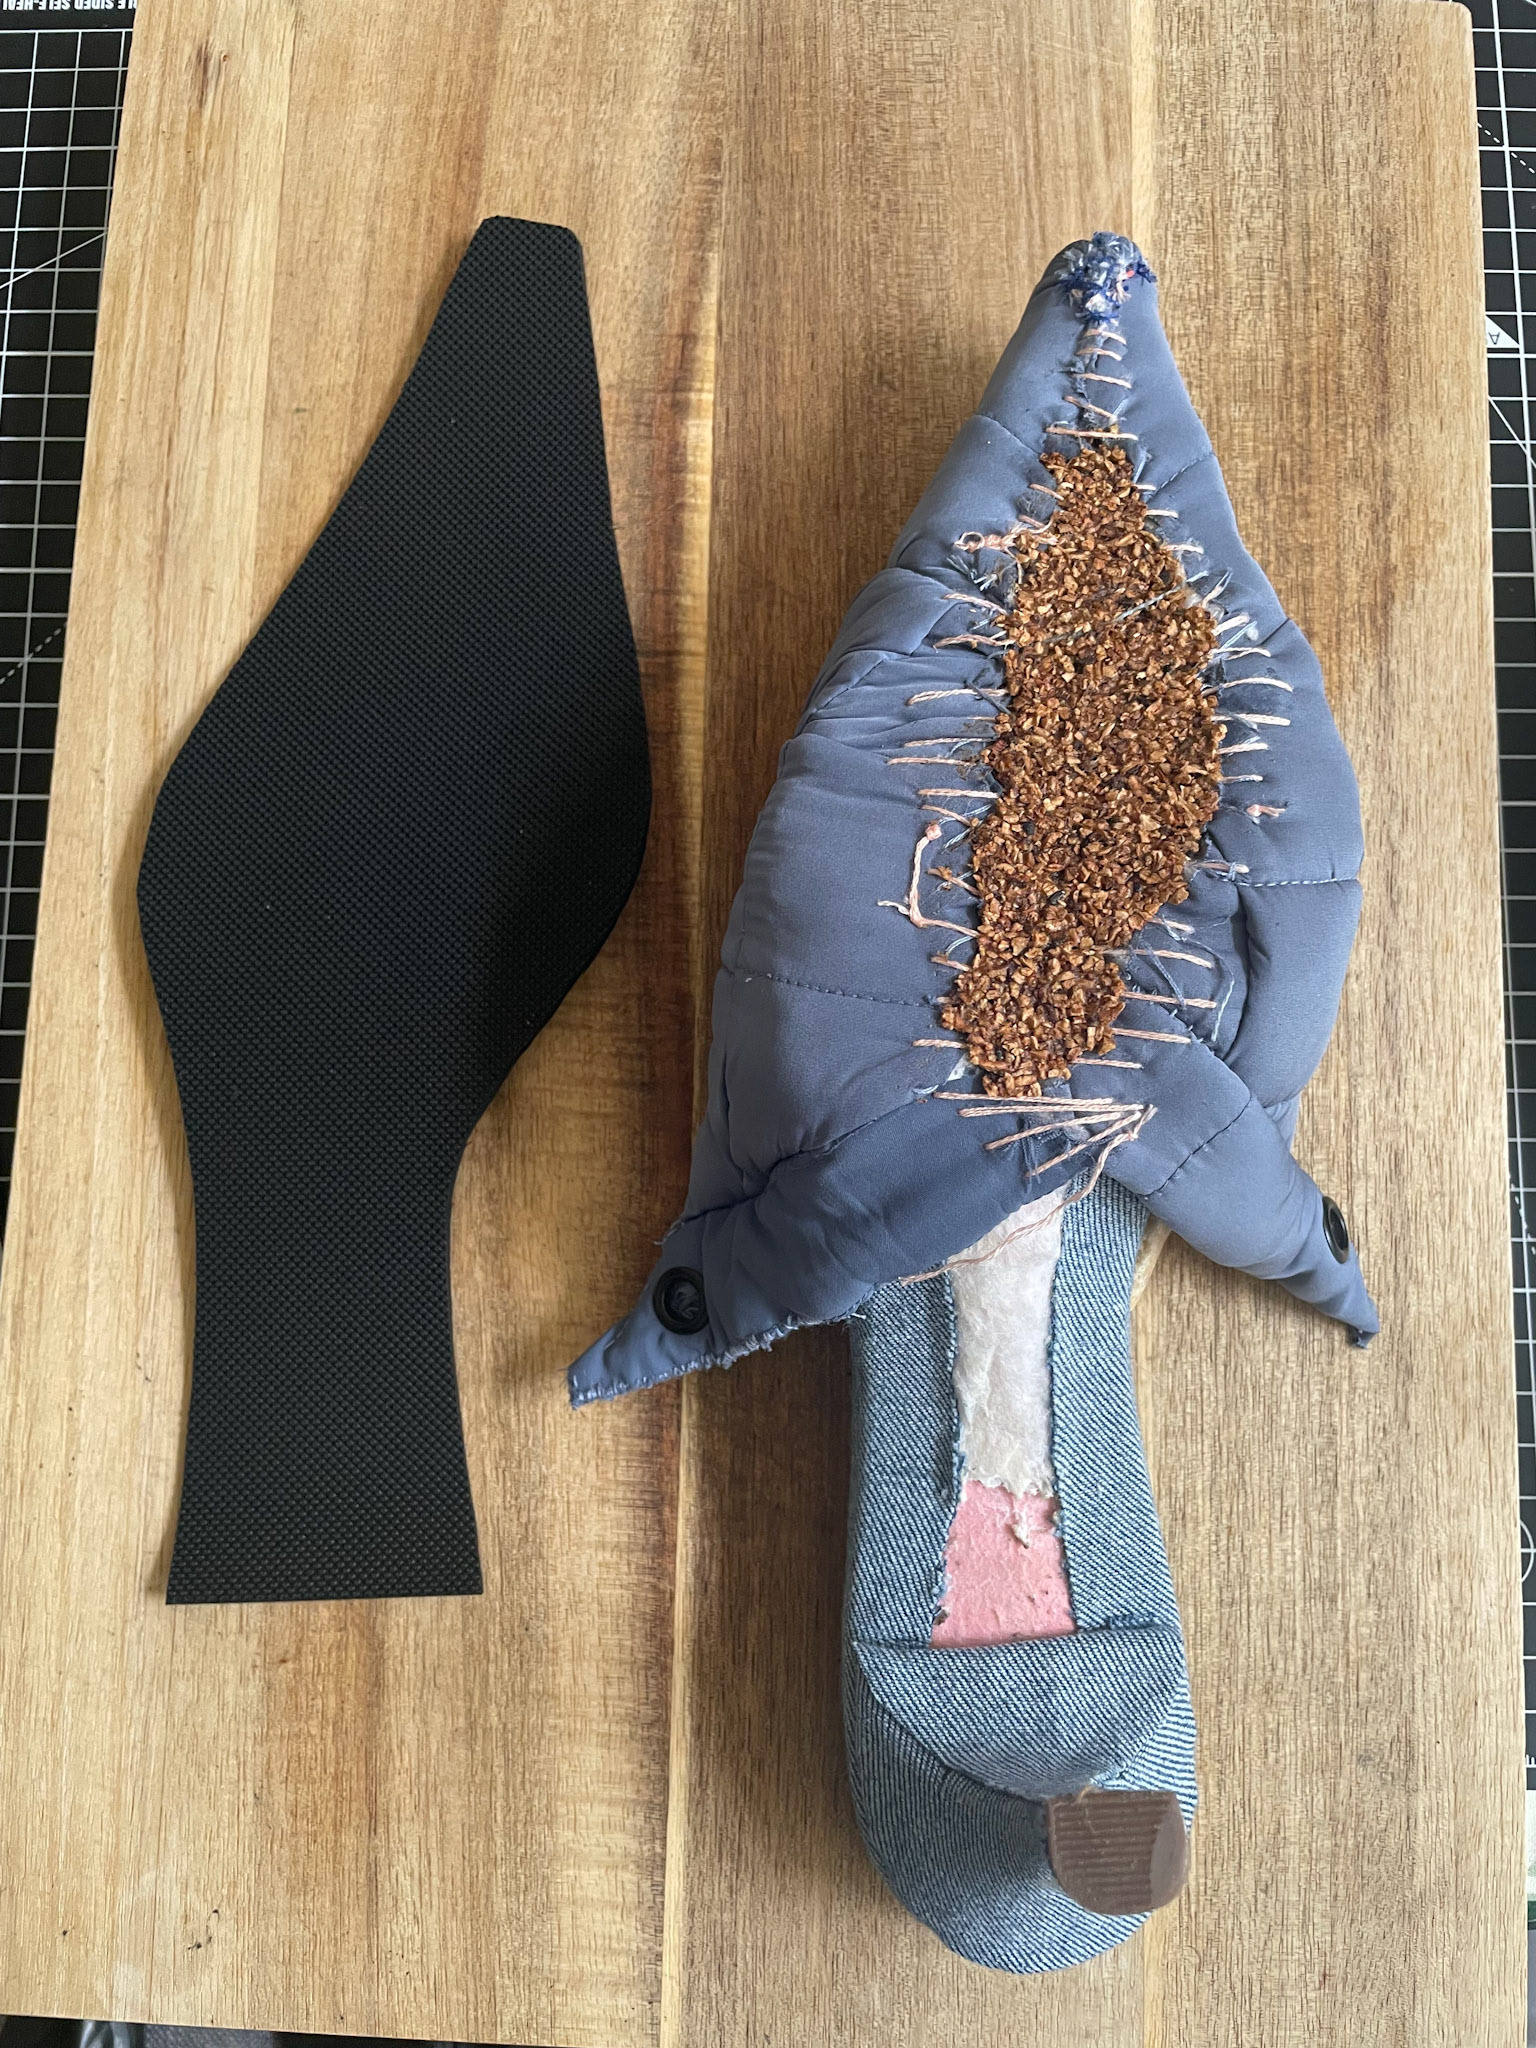
Bottom view of the cork-filled lasted upper, noticing that I had to redo the toe box area to ensure a flatter base to attach to outsole.
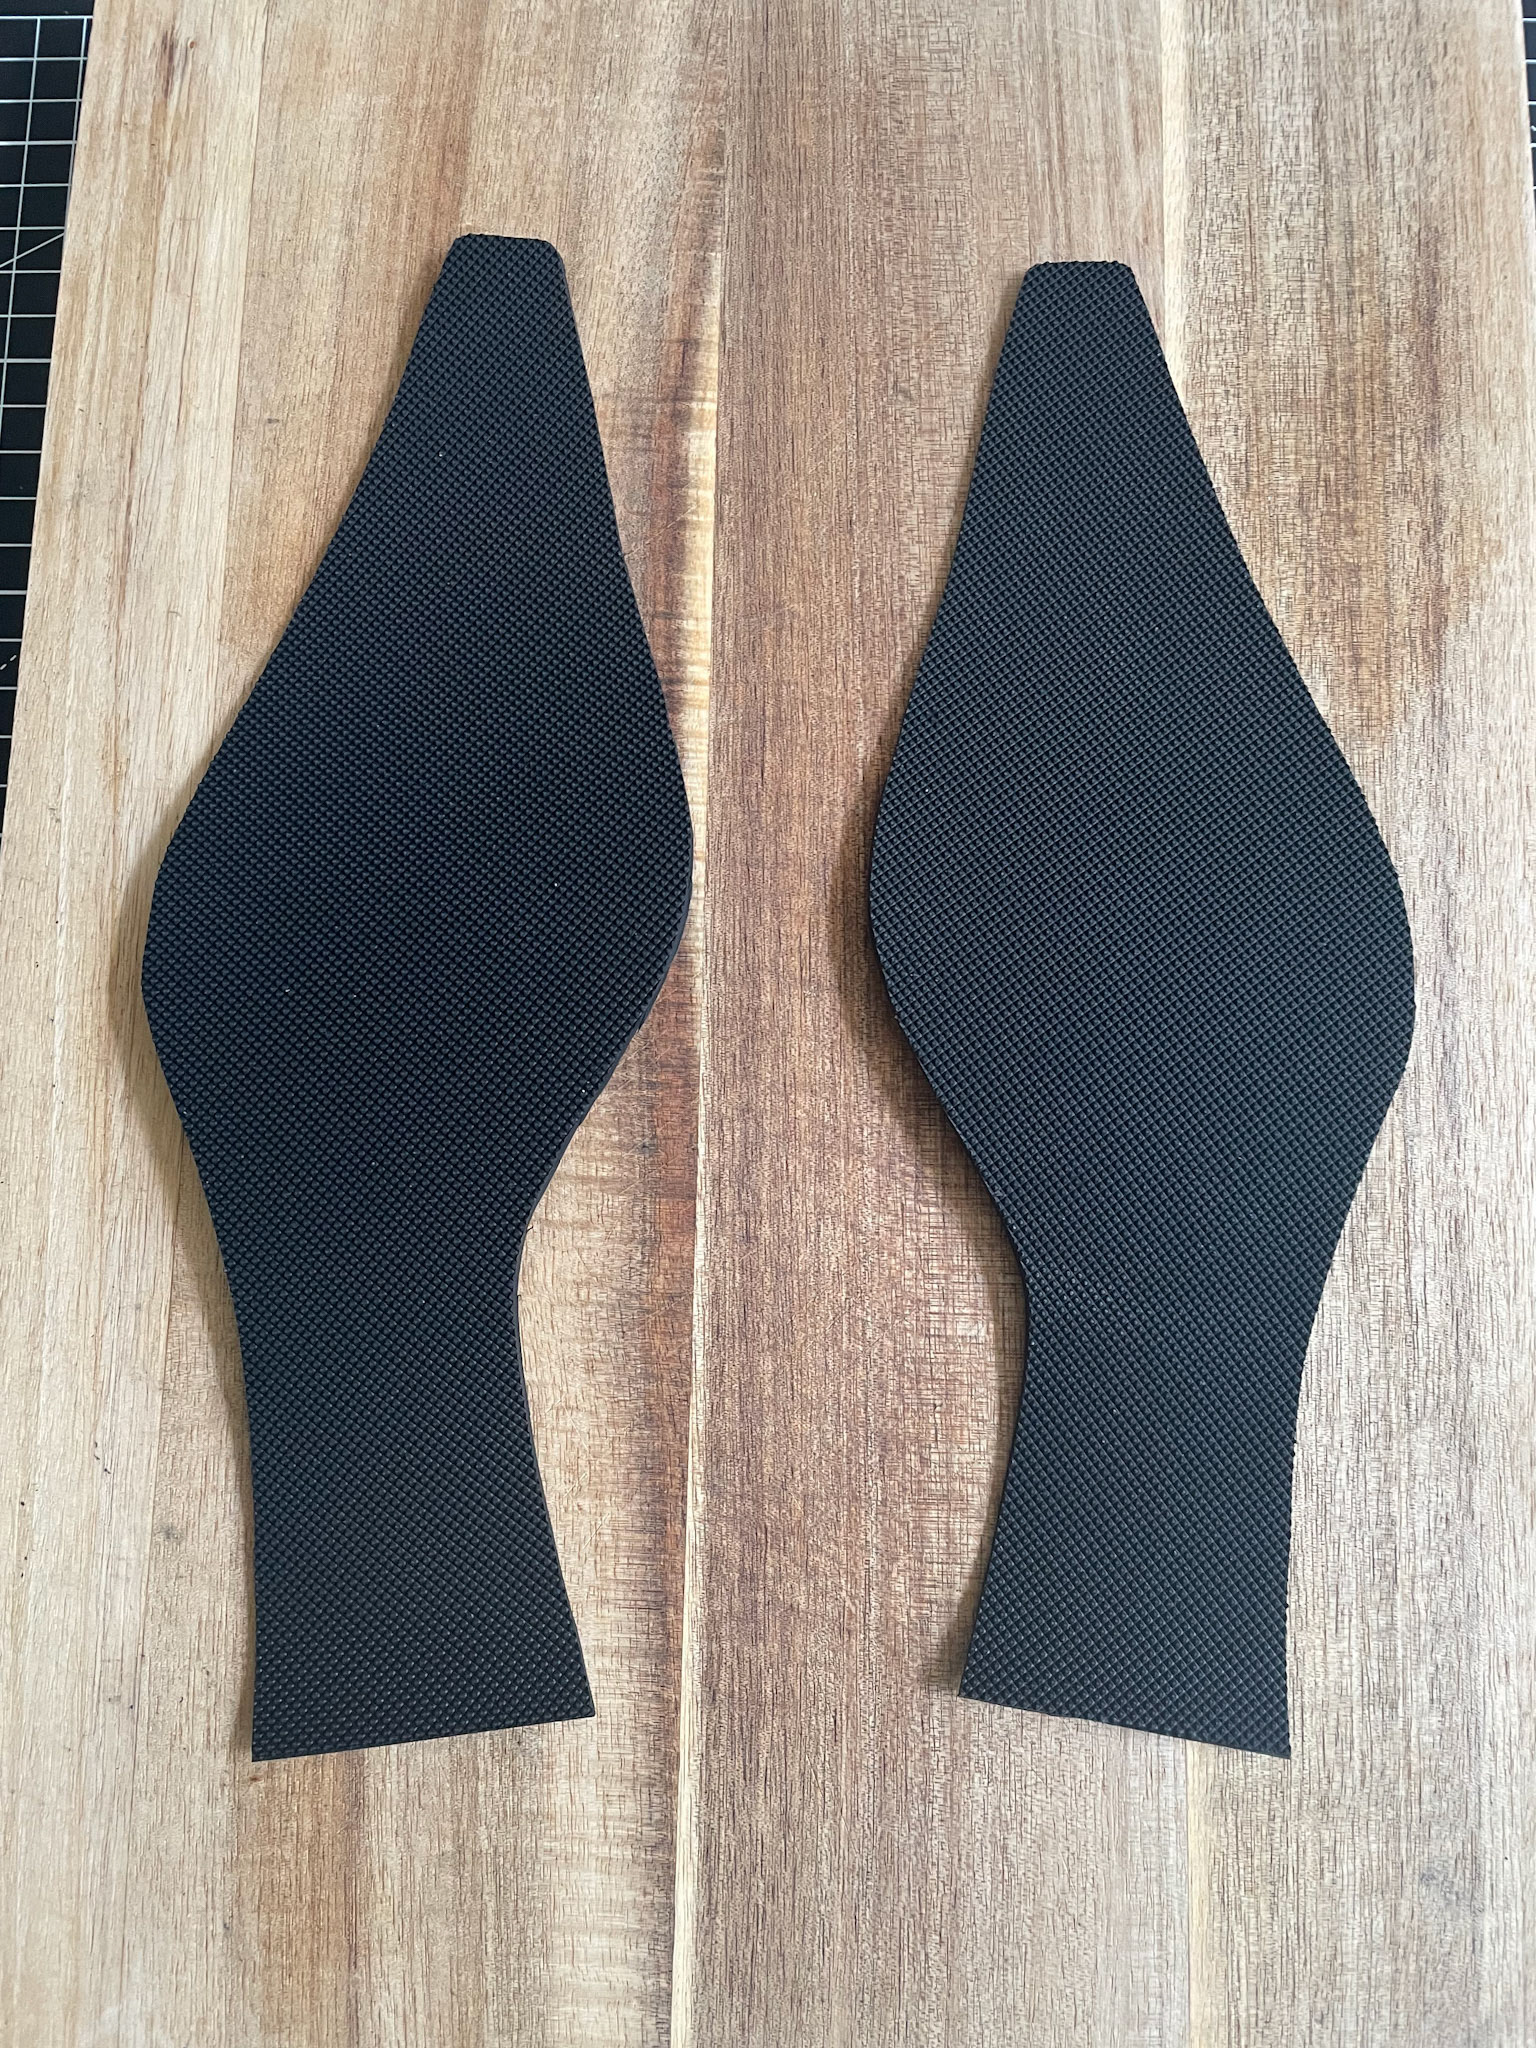
My two 3mm rubber outsoles, ready to be attached.
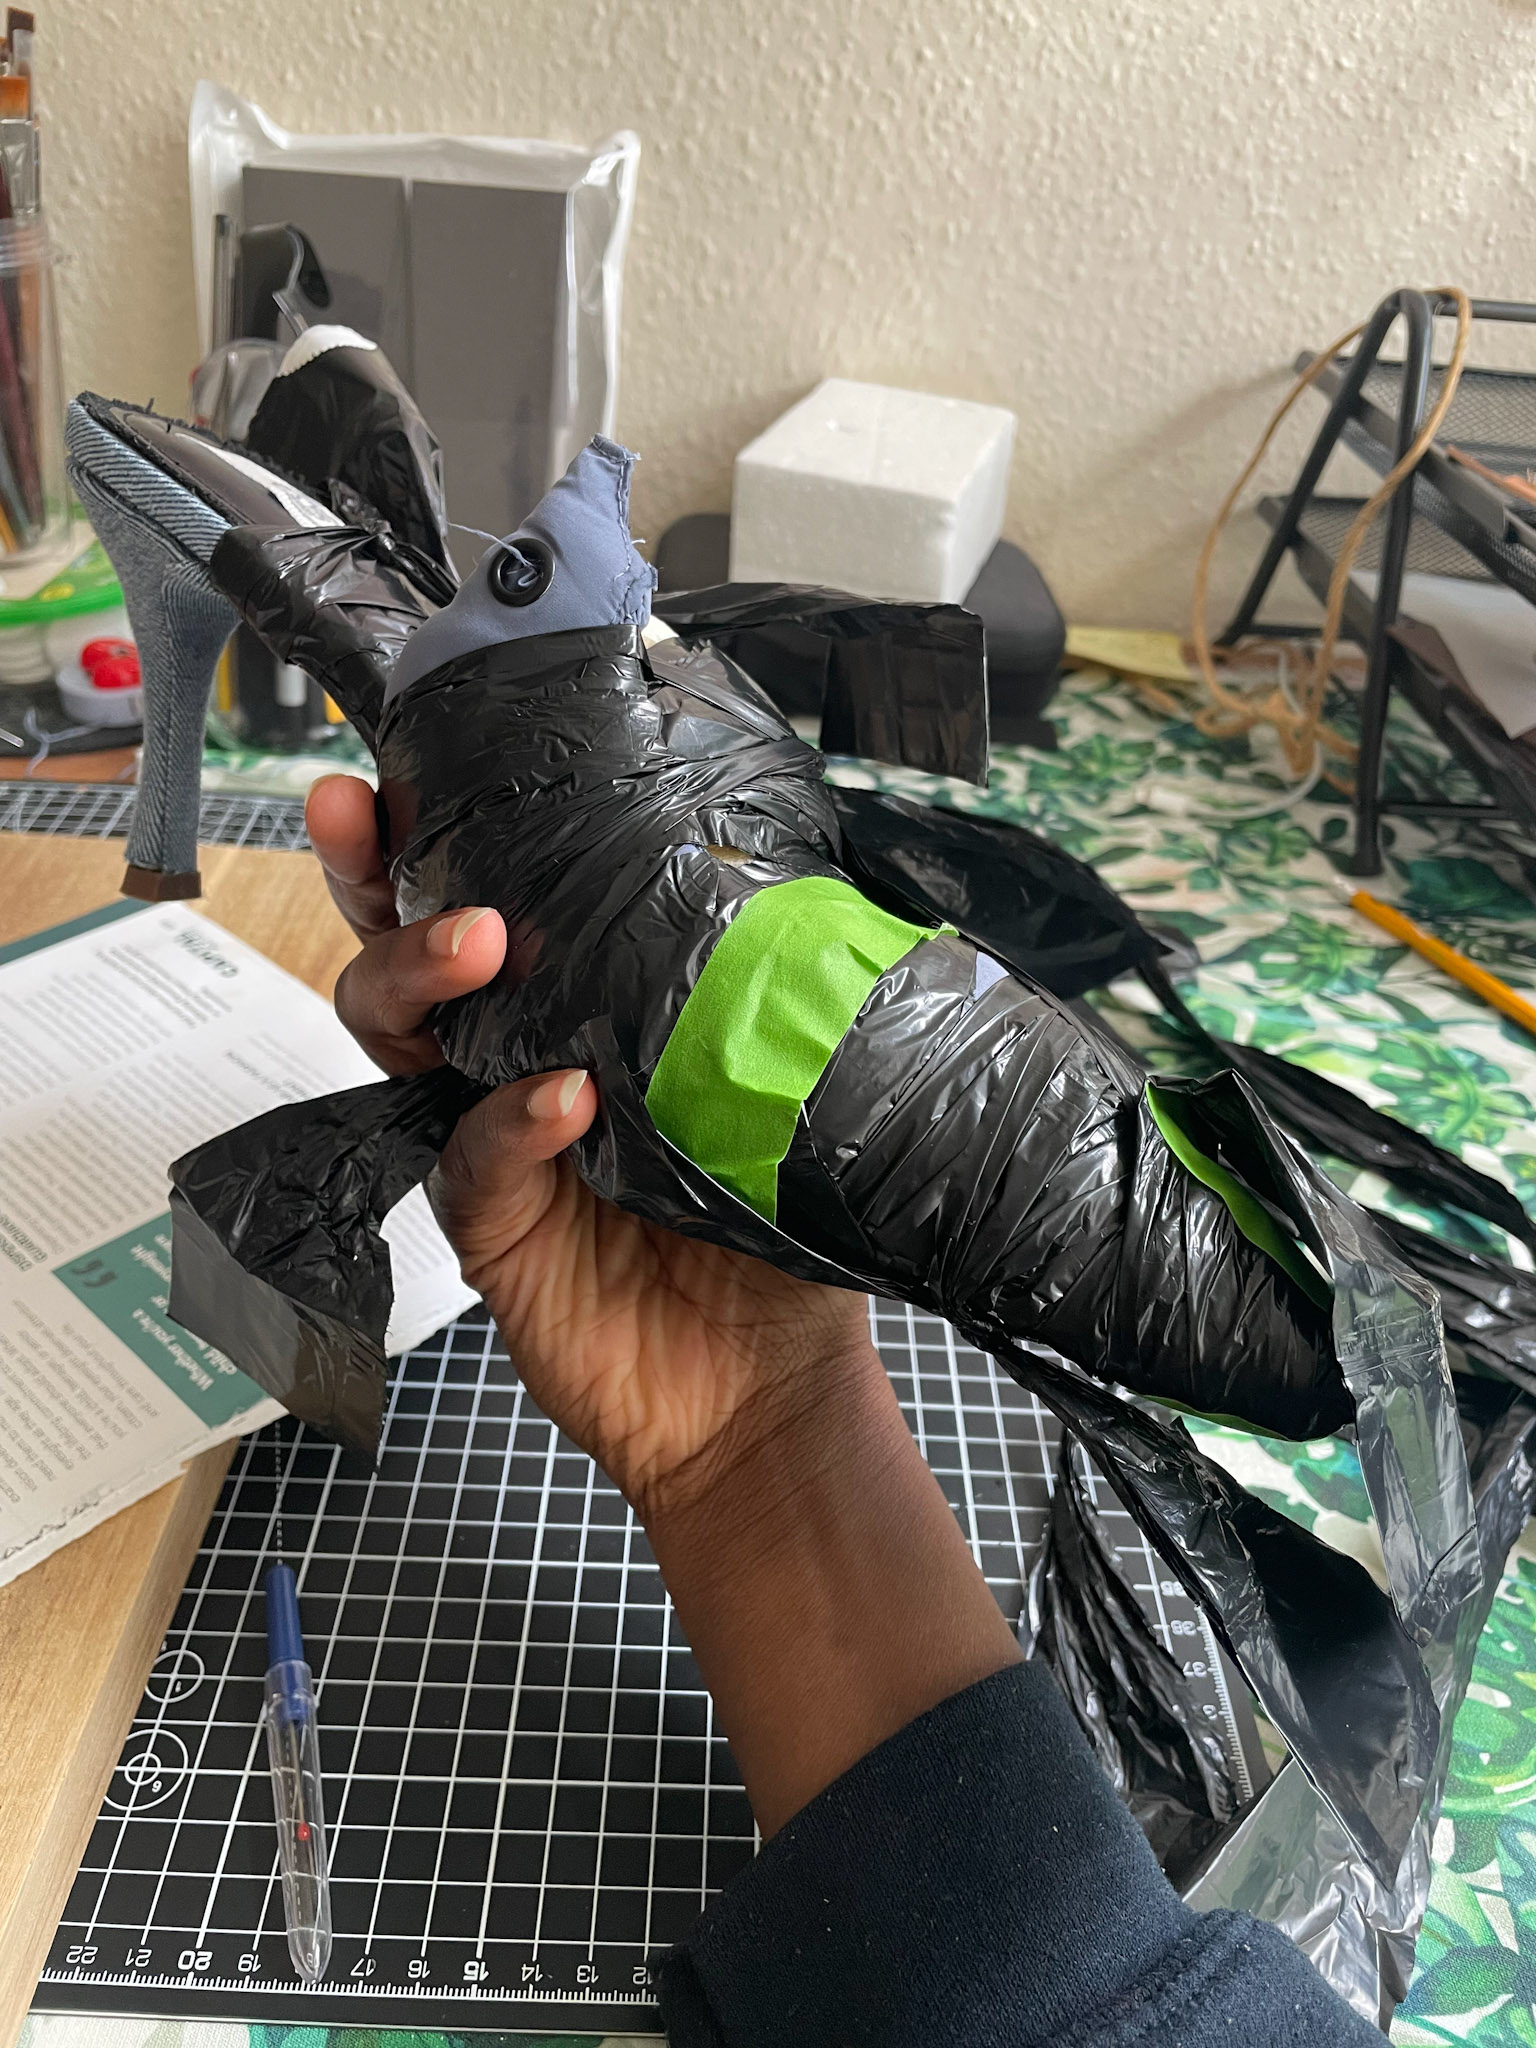
Wrapping the outsole to the shoe to keep the form, during adhesion
M A K I N G : Inaccuracies + adjustments
Recognising the visual differences between the two sides (notably 1. the uneven vamp seam, with the left shoe revealing more of the lining and 2. the wider gap between the insole and heel on the right shoe from earlier disassembly attempts), I began playing with denim trimmings and ways to lean into the asymmetry.
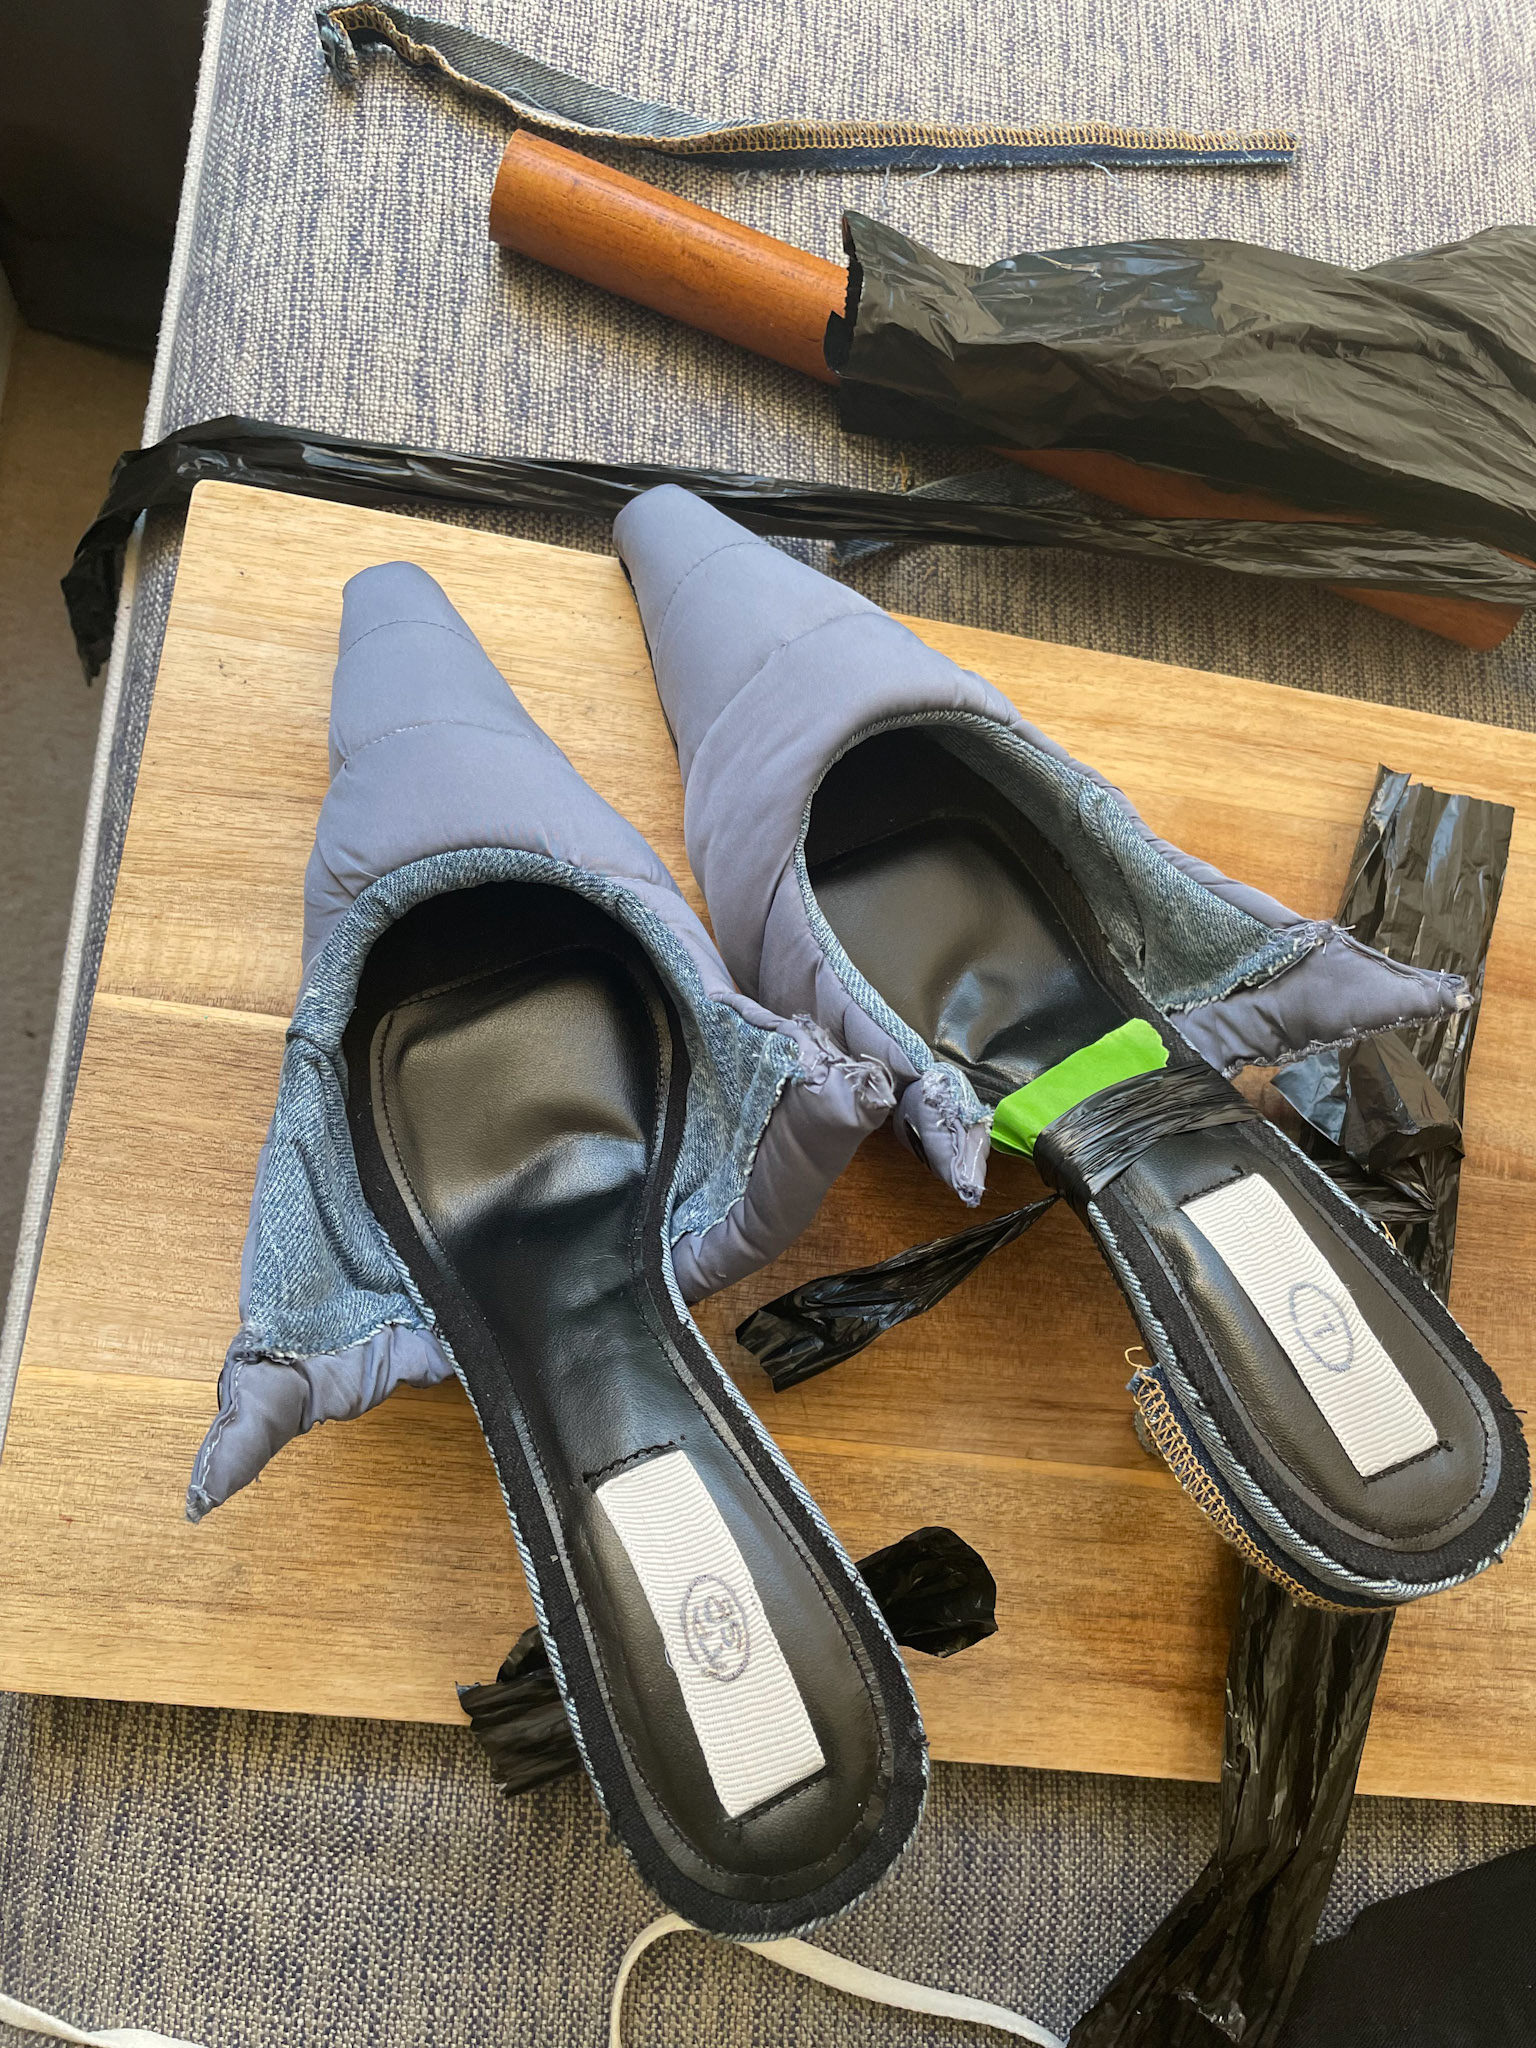
Lining "overbite" on the left shoe :(
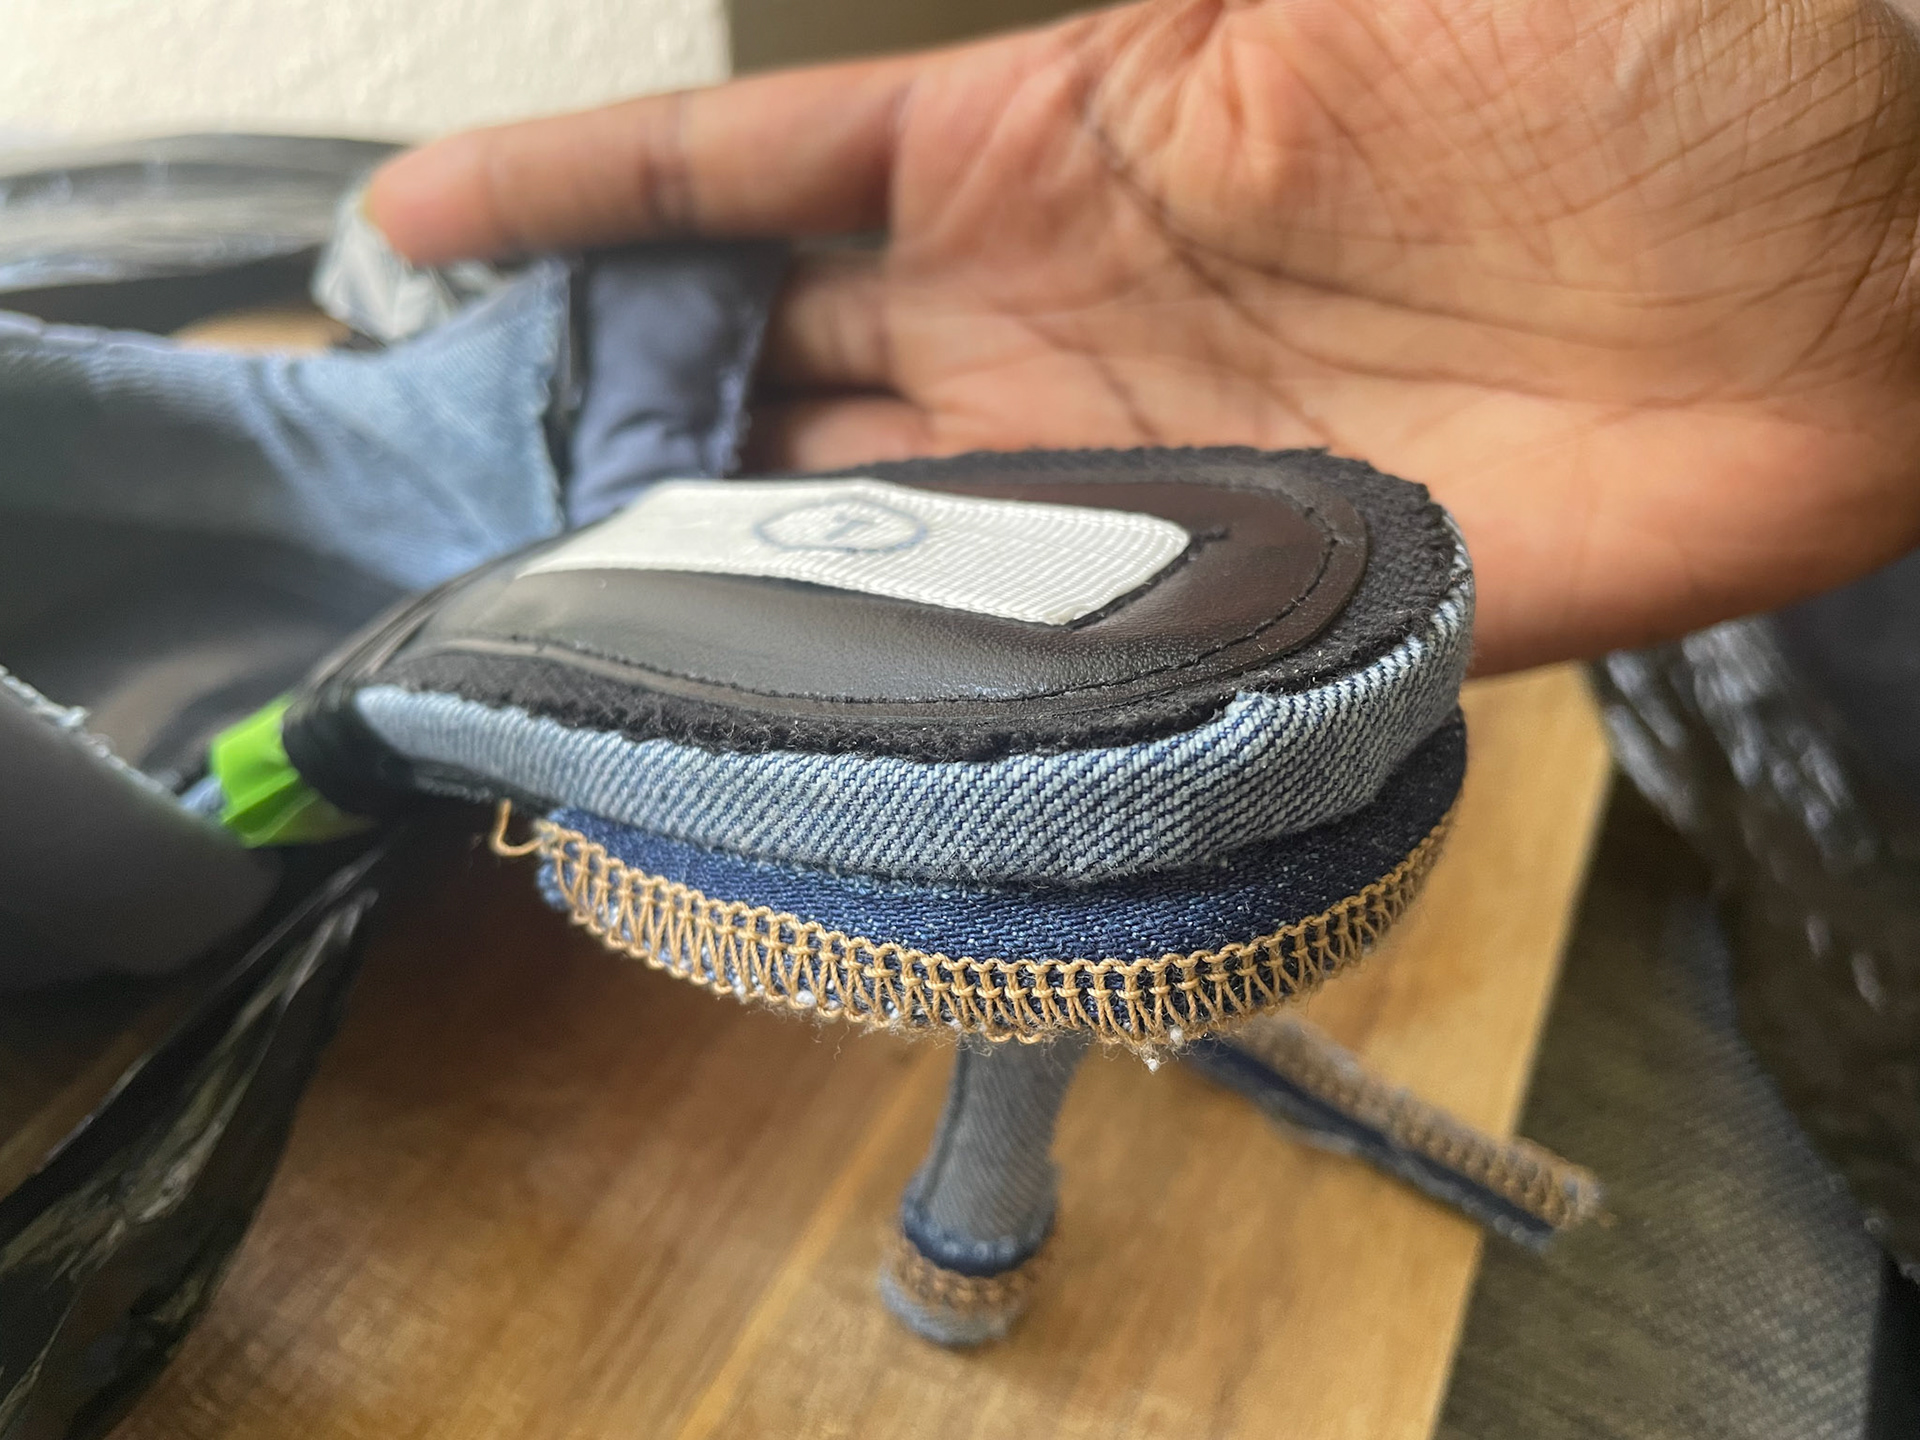
Filling the heel-insole gap on the right shoe
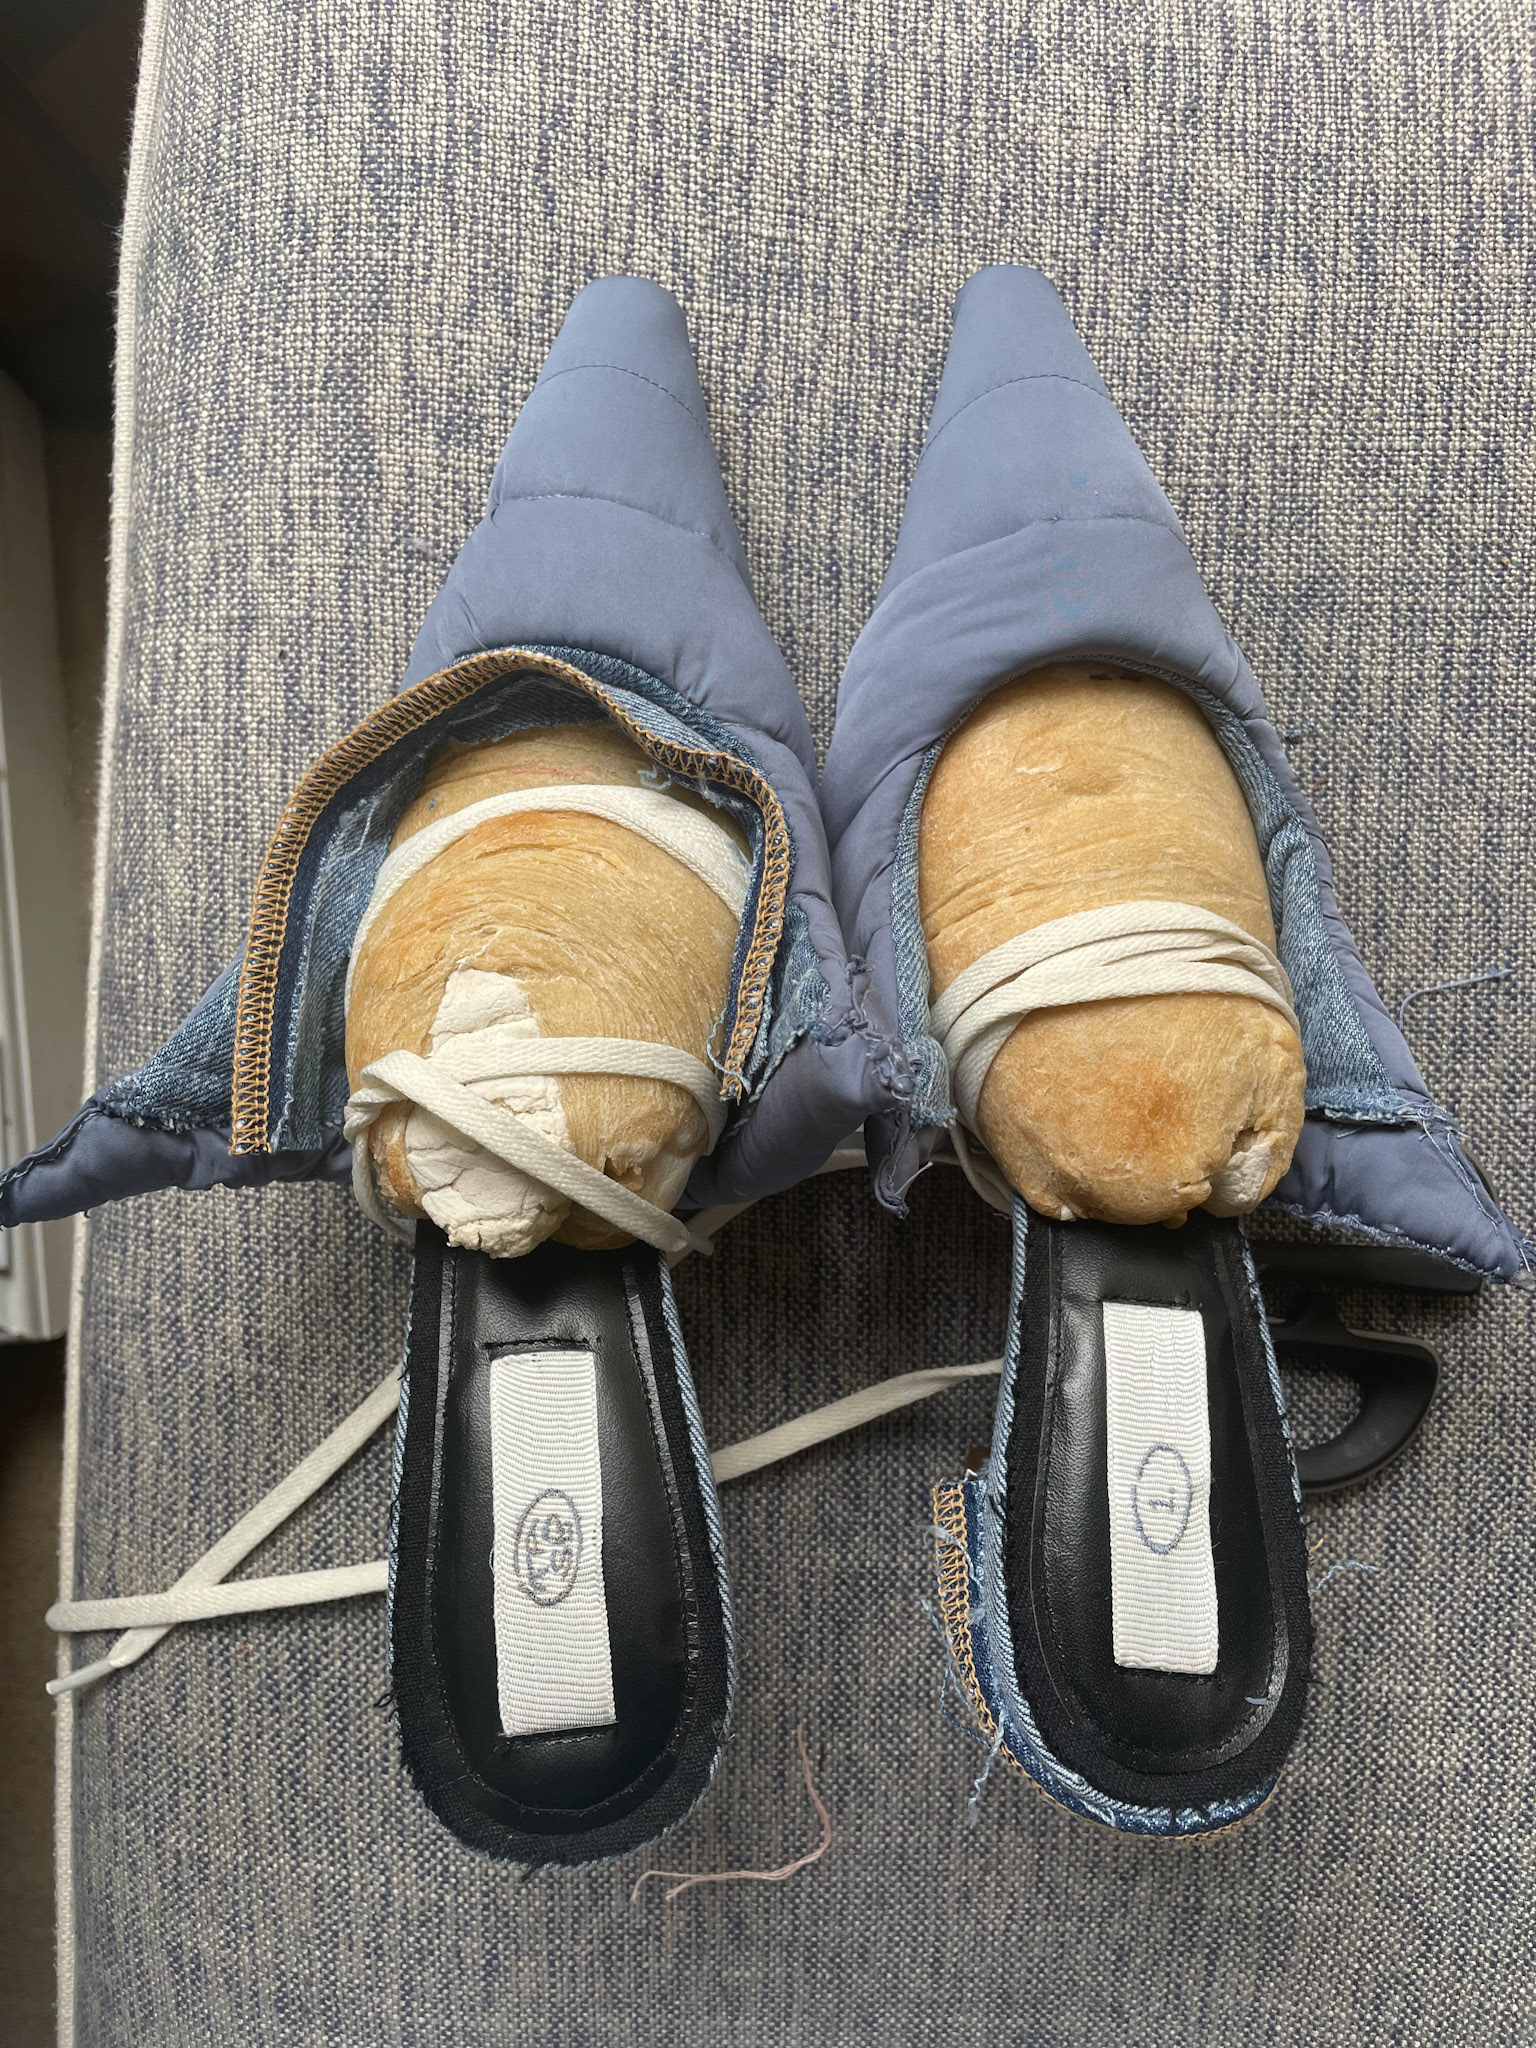
Considering a fringe on the left shoe upper, to match the back of the right shoe
